Difference between revisions of "Microduino-Shield 3D Printer"
From Microduino Wiki
(Created page with "{{Language|Microduino-3D Printer}} {| style="width: 800px;" |- | 400px|thumb|right|Microduino-3D Printer Microduino-3D Printer is a 3D p...") |
|||
| (4 intermediate revisions by 2 users not shown) | |||
| Line 16: | Line 16: | ||
==Feature== | ==Feature== | ||
| − | *Support SD card offline print (Only need to stack D | + | *Support SD card offline print (Only need to stack D) and adopt rotary encoder to control. |
*Support long-distance wireless print, such as Bluetooth. Need to stack [[Microduino-BT]]. | *Support long-distance wireless print, such as Bluetooth. Need to stack [[Microduino-BT]]. | ||
*Plug-in module, easy for use and change. | *Plug-in module, easy for use and change. | ||
| − | *Small, powerful and practical. You can make a self-balance robot with | + | *Small, powerful and practical. You can make a self-balance robot with stepping motor control. |
==Specification== | ==Specification== | ||
===3D Base Board Control=== | ===3D Base Board Control=== | ||
*Core | *Core | ||
| − | ** Microduino-Core+(ATmega1284P@ | + | ** Microduino-Core+(ATmega1284P@16M, 5V) |
*Electrical | *Electrical | ||
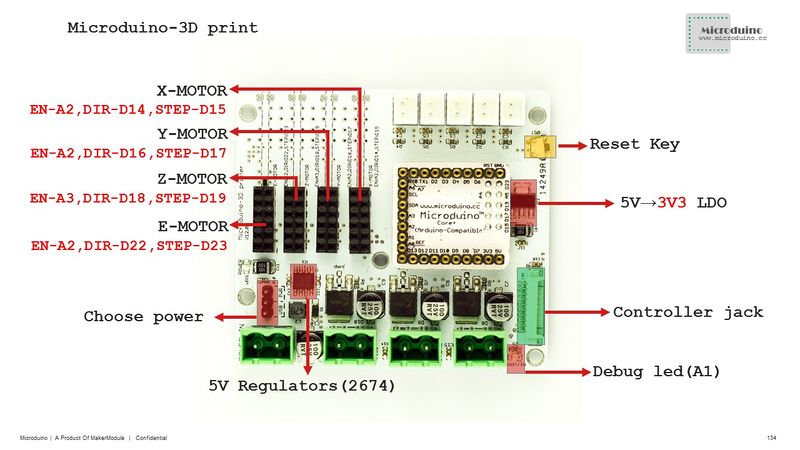
**5V stabilivolt: Adopt LM2674 voltage reduction scheme. | **5V stabilivolt: Adopt LM2674 voltage reduction scheme. | ||
| Line 30: | Line 30: | ||
**USB or external power supply. You need mini jumpers to connect. | **USB or external power supply. You need mini jumpers to connect. | ||
**External power supply adopts voltage reduction scheme, please make sure power source above 5V. | **External power supply adopts voltage reduction scheme, please make sure power source above 5V. | ||
| − | * | + | *Stepping motor drive |
{|class="wikitable" | {|class="wikitable" | ||
! rowspan="1" | || EN || DIR|| STEP | ! rowspan="1" | || EN || DIR|| STEP | ||
| Line 44: | Line 44: | ||
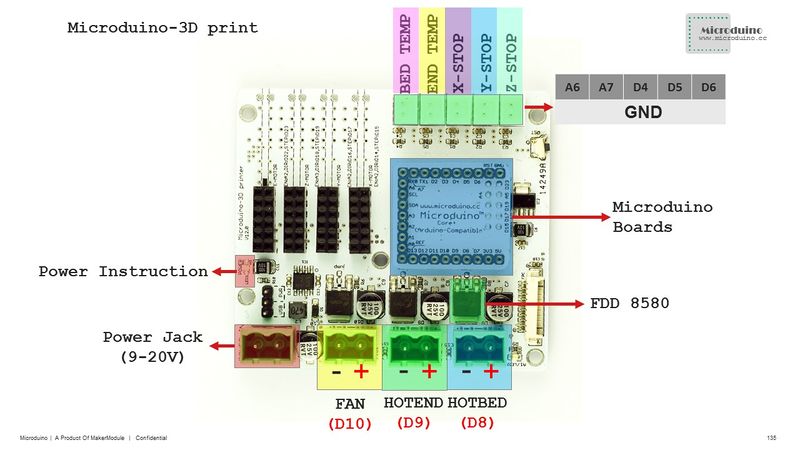
*Limit switch | *Limit switch | ||
| − | **X- | + | **X-STOP: D4 |
| − | **Y- | + | **Y-STOP: D5 |
| − | **Z- | + | **Z-STOP: D6 |
*Heat stop control(sensor): | *Heat stop control(sensor): | ||
| − | **Hotbed heat stop:A6 | + | **Hotbed heat stop: A6 |
| − | **Extrusion head heat stop:A7 | + | **Extrusion head heat stop: A7 |
*Heating control | *Heating control | ||
| − | ** | + | **Hotbed: D8 |
| − | **Extrusion | + | **Extrusion head: D9 |
| − | **Fan heatsink:D10 | + | **Fan heatsink: D10 |
| + | |||
===Controller=== | ===Controller=== | ||
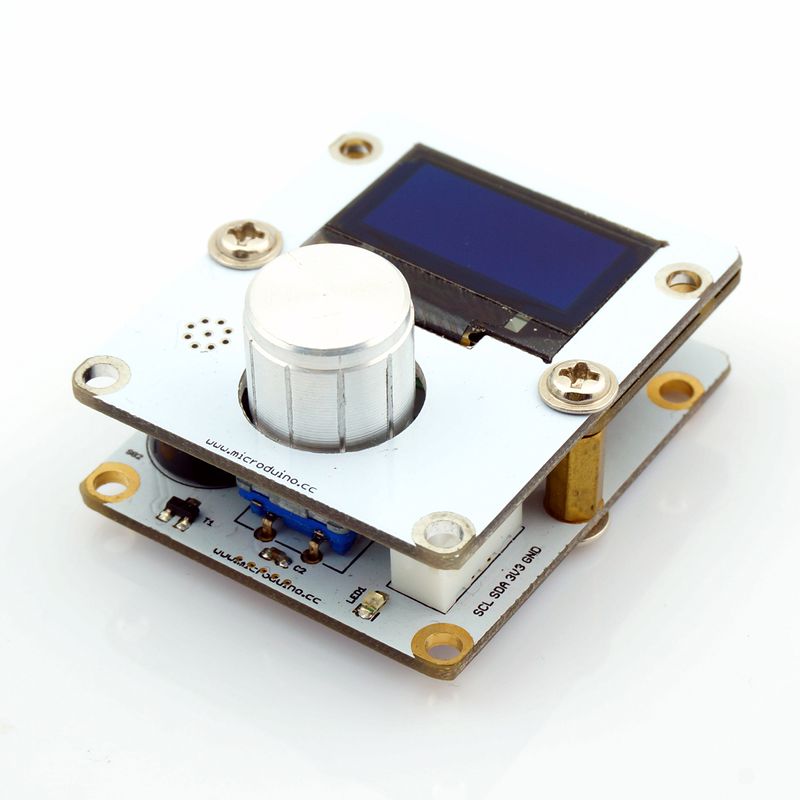
*Rotary encoder selection | *Rotary encoder selection | ||
| Line 78: | Line 79: | ||
*You need to stack [[Microduino-USBTTL]] to download program to the core module. | *You need to stack [[Microduino-USBTTL]] to download program to the core module. | ||
**Choose Microduino-Core+ (ATmega1284P@16M,5V) as the board. | **Choose Microduino-Core+ (ATmega1284P@16M,5V) as the board. | ||
| − | *After the download, you can check the system through the controller. | + | *After the download, you can check the system through the controller. Here, we only provide drive board. |
==Application== | ==Application== | ||
Latest revision as of 06:07, 4 August 2017
| Language: | English • 中文 |
|---|
|
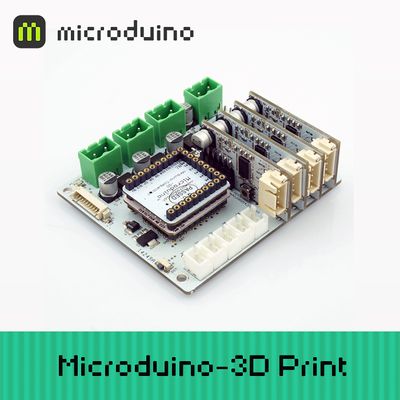
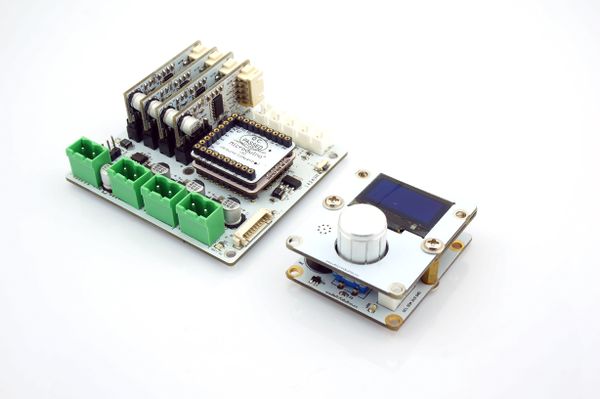
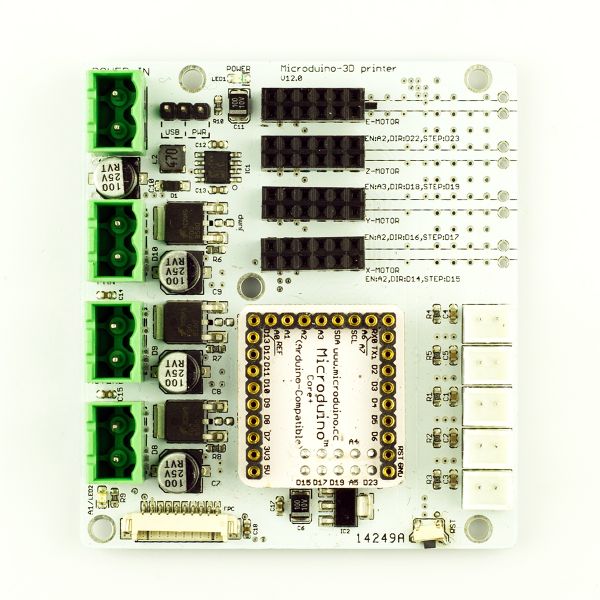
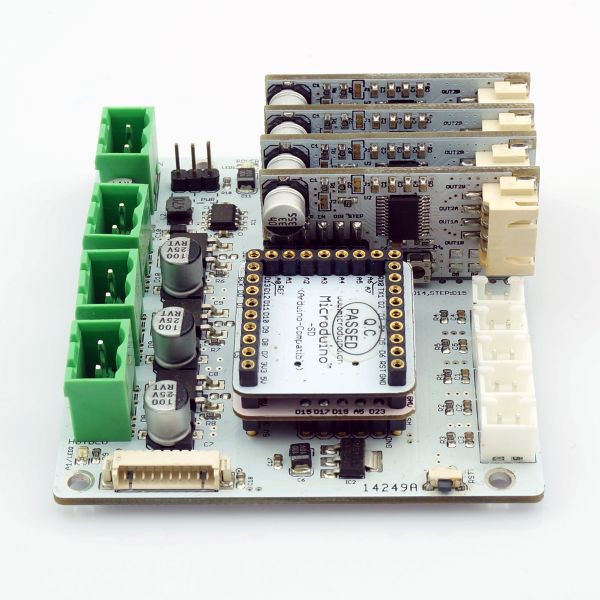
Microduino-3D Printer is a 3D printer controller, which includes a control board as well as a controller.
ContentsFeature
Specification3D Base Board Control
Controller
Document
Development
The factory download firmware only needs to be re-download unless the system is damaged.
ApplicationPurchaseHistoryPictureVideo |
