Difference between revisions of "Servo (use with mDesigner)"
From Microduino Wiki
(→Compatible Pins) |
(→Blocks) |
||
| Line 103: | Line 103: | ||
=Blocks= | =Blocks= | ||
| + | ==Servo - Set Angle== | ||
| + | This block moves the Servo's horn to the configured angle. The Servo will attempt to move to the angle at the fastest speed. | ||
| + | {| class="wikitable" style="background-color:#FEF9E7;" | ||
| + | |'''Note:''' The angle is relative to where the Servo's horn has been place. Therefore, it is recommended to calibrate the angle first by setting the angle to 0, then placing the '''Servo horn'''. | ||
| + | |} | ||
| + | |||
| + | ==Servo - Set Angle Duration== | ||
Revision as of 23:51, 15 June 2018
The Servo is an actuator with precise position control. The angle of the arm (called the Servo Horn), can be controlled. Connectivity to an mCookie project is accomplished with the used of Hub Connector Cables and a Servo Connector. Support for this module is found in mDesigner.
Compatible Pins
A use of a Servo Connector and Hub Connector cables are required to connect a Servo to a project.
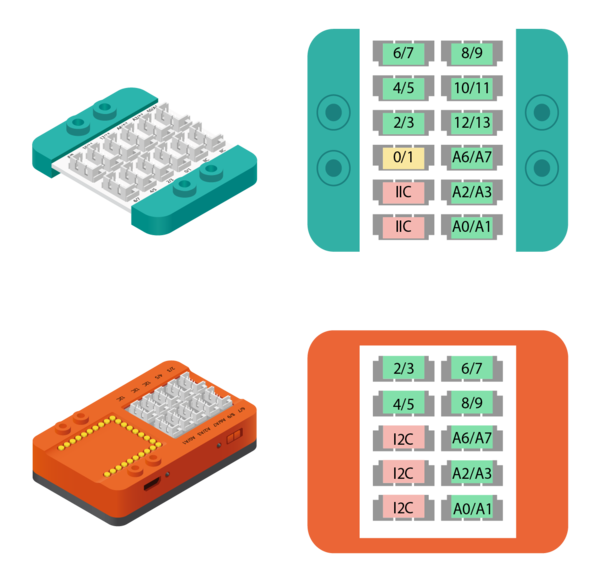
The following pins on the Hub or mCenter+'s Hub support this module:
| Pin Name | Compatibility | Notes |
|---|---|---|
| Pin 0 | Yes | Not recommended, Pin 0 & 1 used by mDesigner (serial communication). |
| Pin 1 | Yes | Not recommended, Pin 0 & 1 used by mDesigner (serial communication). |
| Pin 2 | Yes | |
| Pin 3 | Yes | |
| Pin 4 | Yes | |
| Pin 5 | Yes | |
| Pin 6 | Yes | |
| Pin 7 | Yes | |
| Pin 8 | Yes | |
| Pin 9 | Yes | |
| Pin 10 | Yes | |
| Pin 11 | Yes | |
| Pin 12 | Yes | |
| Pin 13 | Yes | |
| Pin A0 | Yes | |
| Pin A1 | Yes | |
| Pin A2 | Yes | |
| Pin A3 | Yes | |
| Pin A6 | Yes | |
| Pin A7 | Yes | |
| Pin I2C | No |
Blocks
Servo - Set Angle
This block moves the Servo's horn to the configured angle. The Servo will attempt to move to the angle at the fastest speed.
| Note: The angle is relative to where the Servo's horn has been place. Therefore, it is recommended to calibrate the angle first by setting the angle to 0, then placing the Servo horn. |
