Difference between revisions of "Microduino CC3000 get weather information by internet -203KIT"
(→Outline) |
|||
| (One intermediate revision by the same user not shown) | |||
| Line 1: | Line 1: | ||
| + | {{Language|通过Microduino_CC3000互联网获取天气-203KIT}} | ||
{| style="width: 800px;" | {| style="width: 800px;" | ||
|- | |- | ||
| Line 37: | Line 38: | ||
*Software package | *Software package | ||
Arduino IDE(1.0 release or upper), Microduino test program (Arduino part), download the "TI WIFI SMARTCINFIG" from App Store. | Arduino IDE(1.0 release or upper), Microduino test program (Arduino part), download the "TI WIFI SMARTCINFIG" from App Store. | ||
| − | |||
| − | |||
|- | |- | ||
| | | | ||
| Line 54: | Line 53: | ||
| | | | ||
*If no extension board, use the jumper to connect the Microduino OLED. | *If no extension board, use the jumper to connect the Microduino OLED. | ||
| − | |||
| − | |||
| − | |||
|- | |- | ||
| | | | ||
| Line 65: | Line 61: | ||
Step 3: Open the "SMARTCINFIG" application | Step 3: Open the "SMARTCINFIG" application | ||
Connect the IOS to router, turn on "TI WIFI SMARTCINFIG", input the "Password". | Connect the IOS to router, turn on "TI WIFI SMARTCINFIG", input the "Password". | ||
| − | |||
| − | |||
| − | |||
|- | |- | ||
| | | | ||
Latest revision as of 16:09, 8 September 2014
| Language: | English • 中文 |
|---|
OutlineProject:Microduino CC3000 get the weather information Objective:Use Microduino CC3000 module to get the specific position's weather information from internet. This experiment need Microduino core+ module. Microduino-core module only can be used for some simple example program, you can try it by yourself. Difficulty:Elementary Time-consuming:2 hours Maker:Microduino Studio-YLB | |||||||||||||||
Bill of Materials
| |||||||||||||||
mic USB data cable, OLED Cable connections, bread board and cable connections
Arduino IDE(1.0 release or upper), Microduino test program (Arduino part), download the "TI WIFI SMARTCINFIG" from App Store. | |||||||||||||||
Document | |||||||||||||||
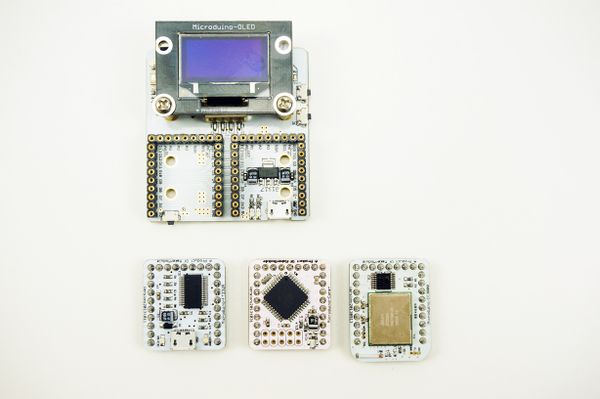
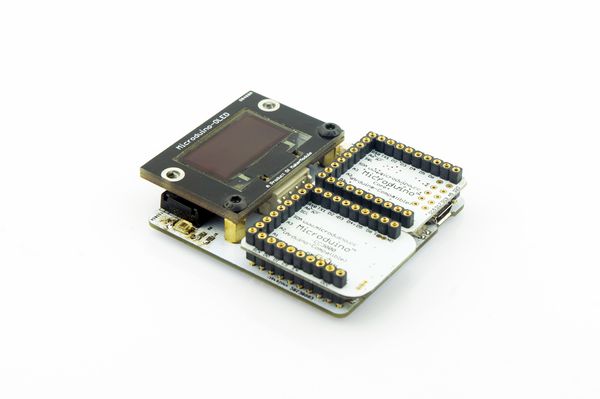
DebuggingSetp 1:Set up hardware
| |||||||||||||||
| |||||||||||||||
|
Step 2:download program Start Arduino IED, open the Microduino test program, board type choose "Microduino Core +(Atmega644P@16M,5V)", download directly. | |||||||||||||||
|
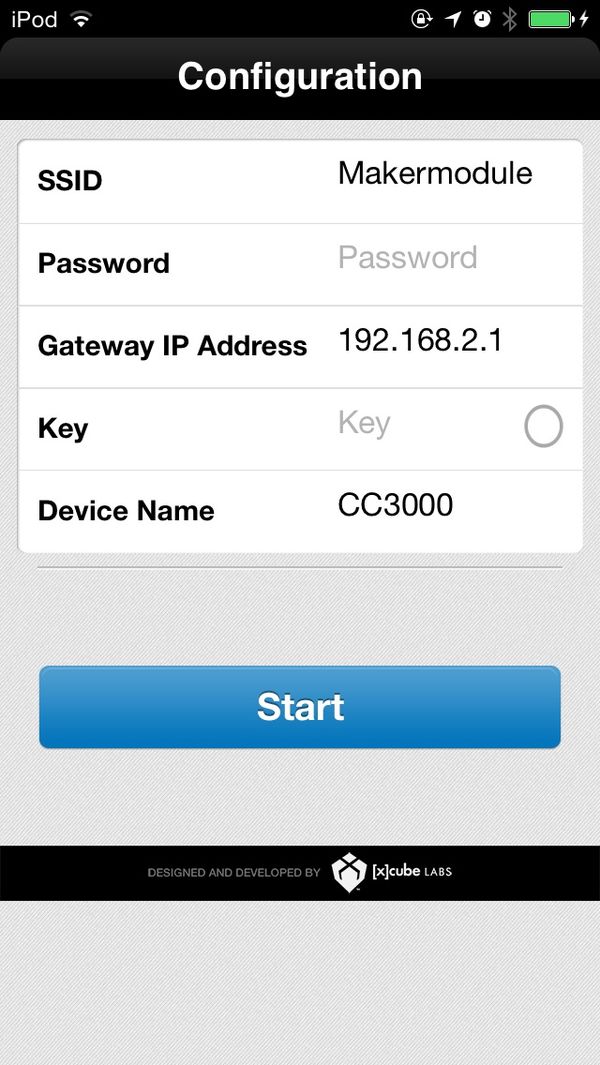
Step 3: Open the "SMARTCINFIG" application Connect the IOS to router, turn on "TI WIFI SMARTCINFIG", input the "Password". | |||||||||||||||
|
Step 4:Connect IOS device to Microduino Observe the Microduino OLED, when text “Waiting for a SmartConfig connection (~60s) ...” appears,press the "Start", then wait for OLED display the result. | |||||||||||||||
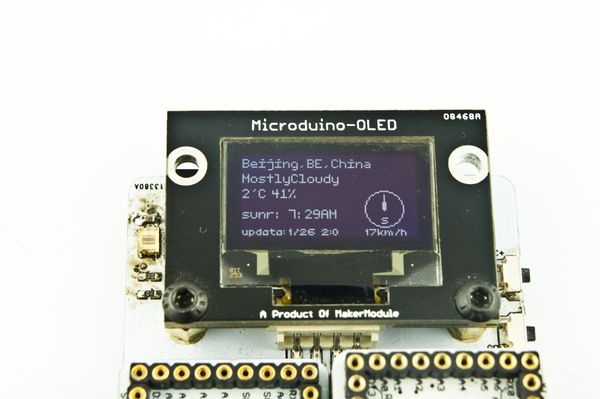
ResultAfter connection success, following information will be display in Microduino OLED上.
| |||||||||||||||
Note
|


