Difference between revisions of "MCookie-CoreRF"
(→Development) |
|||
| Line 137: | Line 137: | ||
==Test== | ==Test== | ||
| − | Use the example program | + | Use the example program "ZigduinoRadioExample" in ZigduinoRadio library to test |
<source lang = "cpp"> | <source lang = "cpp"> | ||
void loop() | void loop() | ||
| Line 198: | Line 198: | ||
</source> | </source> | ||
This example realizes the wireless transmission function. | This example realizes the wireless transmission function. | ||
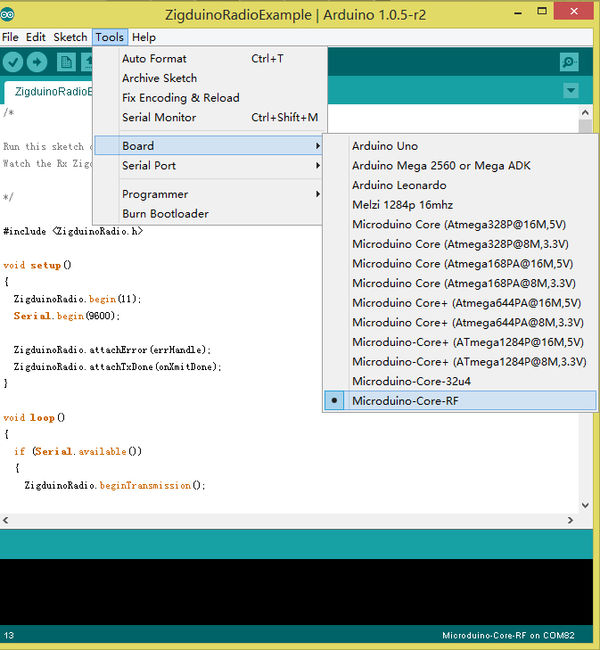
| − | Because Core RF adopts ports to download, you need to stack a Microduino-USBTTL at | + | Because Core RF adopts ports to download, you need to stack a Microduino-USBTTL at first: |
The board card , choose Microduino Core RF. | The board card , choose Microduino Core RF. | ||
[[File:154343ch79m113a77932i7.jpg|600px|thumb|center]] | [[File:154343ch79m113a77932i7.jpg|600px|thumb|center]] | ||
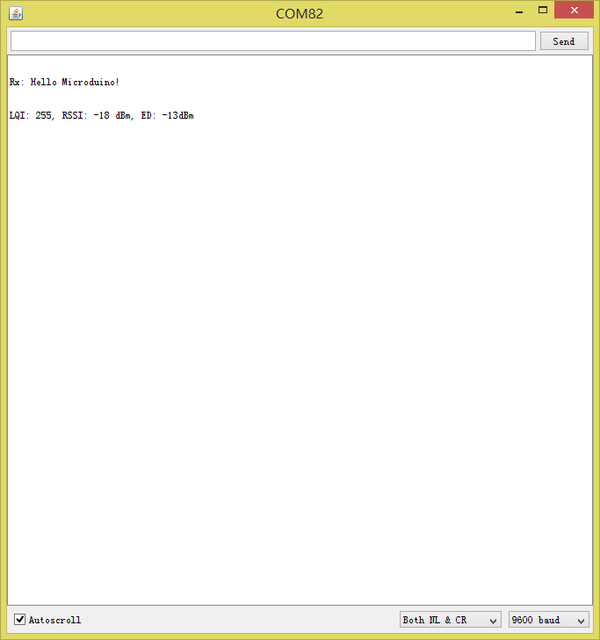
| − | After downloading programs to two Core-RF, open the serial port monitor, and input | + | After downloading programs to two Core-RF, open the serial port monitor, and input "Hello Microduino!", then you will get the following result: |
[[File:Result.png|600px|thumb|center]] | [[File:Result.png|600px|thumb|center]] | ||
[[File:Result1.png|600px|thumb|center]] | [[File:Result1.png|600px|thumb|center]] | ||
Latest revision as of 09:45, 28 September 2016
|
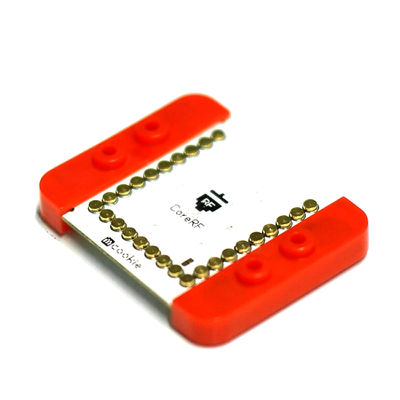
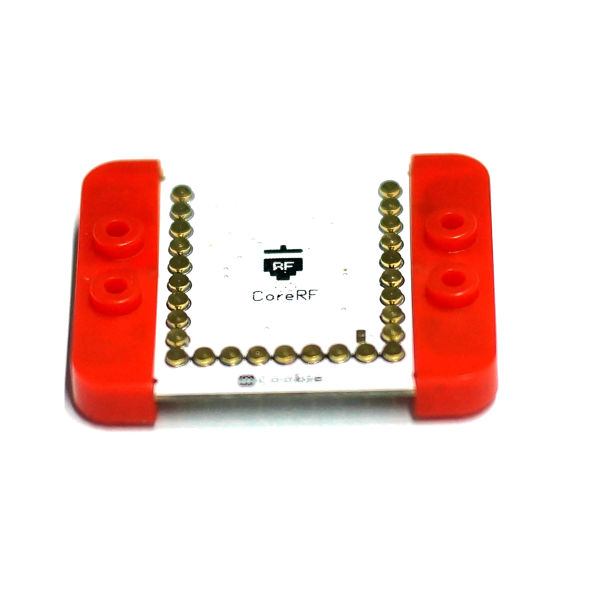
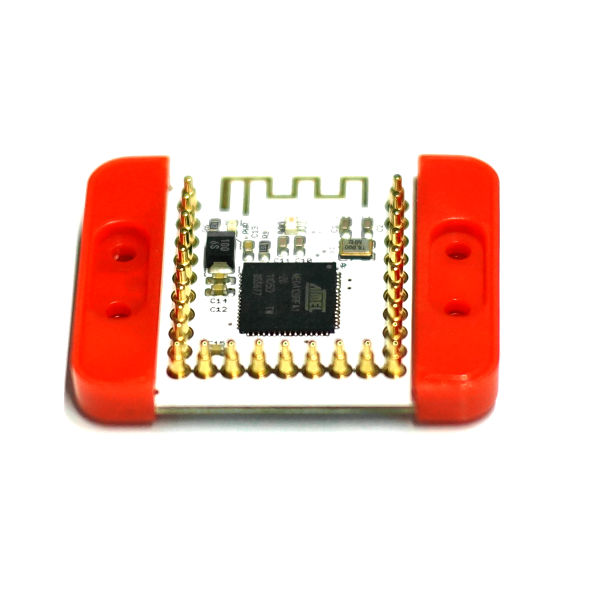
mCookie-CoreRF is AVR core board, supporting for 802.15 Wireless Protocol natively. It integrates 802.15.4 Wireless Protocol modules, including ZigBee, MAC/6LoWPAN and RF4CE. ContentsFeatures
SpecificationAdopt ATmega128RFA1 core:
File:MCookie-CoreRf-pin.jpg Microduino-CoreRF Pins File:MCookie-CoreRFpinlayout.jpg Microduino-CoreRF Components Documents
ATmega128RFA1: http://www.atmel.com/zh/cn/devices/ATMEGA128RFA1.aspx?tab=documents Development
ApplicationMicroduino-Quadcopter Tutorial TestUse the example program "ZigduinoRadioExample" in ZigduinoRadio library to test void loop()
{
if (Serial.available())
{
ZigduinoRadio.beginTransmission();
Serial.println();
Serial.print("Tx: ");
while(Serial.available())
{
char c = Serial.read();
Serial.write(c);
ZigduinoRadio.write(c);
}
Serial.println();
ZigduinoRadio.endTransmission();
}
if (ZigduinoRadio.available())
{
Serial.println();
Serial.print("Rx: ");
while(ZigduinoRadio.available())
Serial.write(ZigduinoRadio.read());
Serial.println();
Serial.print("LQI: ");
Serial.print(ZigduinoRadio.getLqi(), 10);
Serial.print(", RSSI: ");
Serial.print(ZigduinoRadio.getLastRssi(), 10);
Serial.print(" dBm, ED: ");
Serial.print(ZigduinoRadio.getLastEd(), 10);
Serial.println("dBm");
}
delay(100);
}
void errHandle(radio_error_t err)
{
Serial.println();
Serial.print("Error: ");
Serial.print((uint8_t)err, 10);
Serial.println();
}
void onXmitDone(radio_tx_done_t x)
{
Serial.println();
Serial.print("TxDone: ");
Serial.print((uint8_t)x, 10);
Serial.println();
}This example realizes the wireless transmission function. Because Core RF adopts ports to download, you need to stack a Microduino-USBTTL at first: The board card , choose Microduino Core RF. After downloading programs to two Core-RF, open the serial port monitor, and input "Hello Microduino!", then you will get the following result: The test is completed now. FAQPurchaseHistoryGallery | |||||||||||||||||||||||||||||||||||||||||||||||||||||||||||||||||||||||||||||||||||||||||||||||||||||||||||||||||||||||||||||||||||||||||||||||||||||||||||||||||||||||||||||||||||||||||||||||||||||||||||||||||||||||||||||||||||||||||||||||||||||||||||||||||||||||||||||||||||||||||||||||||||||||||||||||||||||||||||||
