Difference between revisions of "Template:IDE Setup (Windows)"
| (2 intermediate revisions by the same user not shown) | |||
| Line 6: | Line 6: | ||
|} | |} | ||
| − | 1. Download the latest Windows IDE: [ | + | 1. Download the latest Windows IDE (Version 5.0, 2019-03-25): [https://microduinoinc.com/downloads/Arduino.IDE.for.Microduino-win-1.8.4-V5.0.exe <big>HERE</big>] |
| − | [[File:Arduino_Download.png|link= | + | [[File:Arduino_Download.png|link=https://microduinoinc.com/downloads/Arduino.IDE.for.Microduino-win-1.8.4-V5.0.exe|150px|left|thumb]]<br clear=all> |
2. Double click on the setup file to start the installation process. Click <b>Next</b>. | 2. Double click on the setup file to start the installation process. Click <b>Next</b>. | ||
[[File:WinInstallNew_01.png|500px|left|thumb]]<br clear=all> | [[File:WinInstallNew_01.png|500px|left|thumb]]<br clear=all> | ||
Latest revision as of 16:12, 25 March 2019
Note: If you have a previous version installed already, you must uninstall that version prior to installing a newer version.
Then proceed to the next steps. |
1. Download the latest Windows IDE (Version 5.0, 2019-03-25): HERE
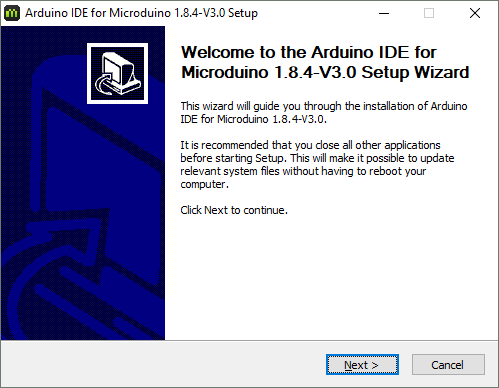
2. Double click on the setup file to start the installation process. Click Next.
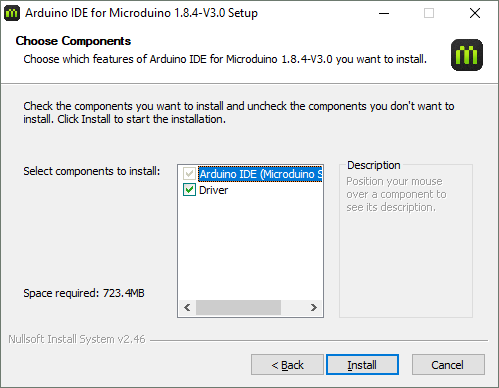
3. The next window will allow you to select which options to install. Leave all checked and click Install.
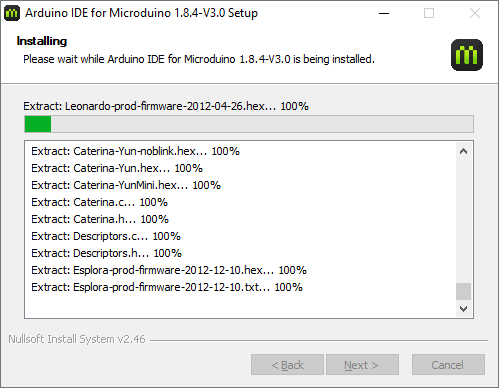
4. The installation process will begin for the Arduino IDE.
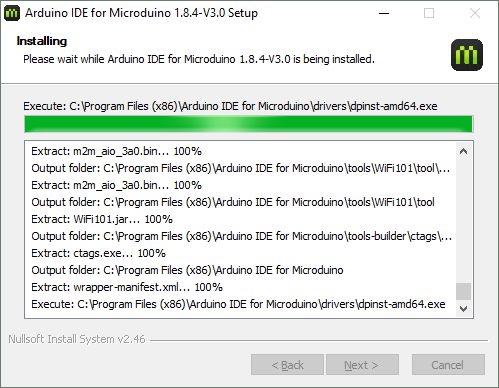
5. Wait until it is complete.
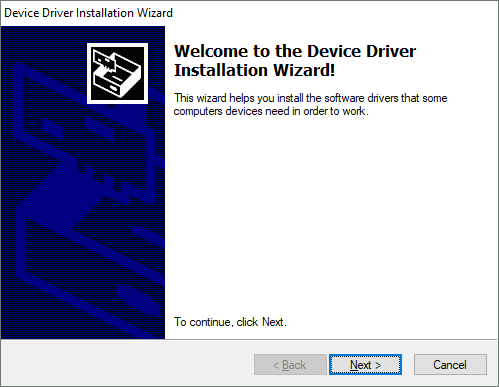
6. After the Arduino IDE has been installed, a window for driver installation will appear. Click Next.
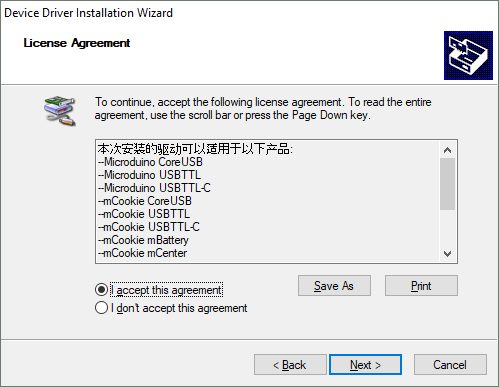
7. Click on "I accept this agreement" and click Next to start the drivers installation.
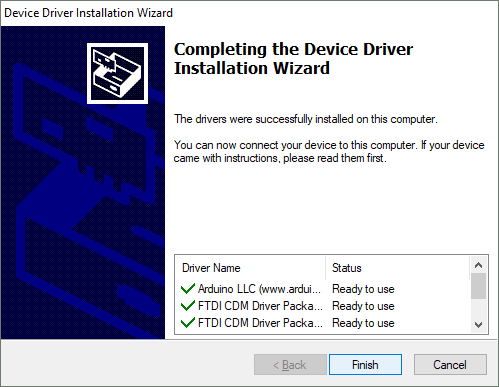
8. After the drivers are installed, click Finish.
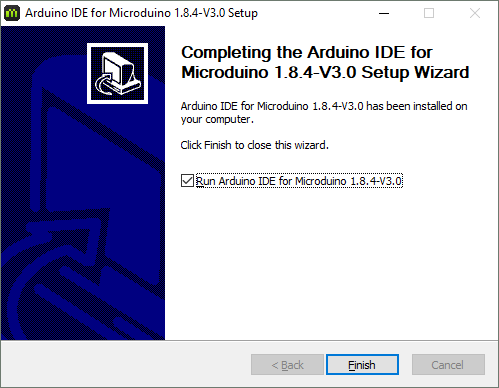
9.Installation is now complete! Click on Finish.
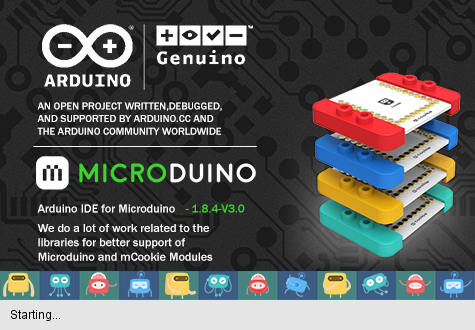
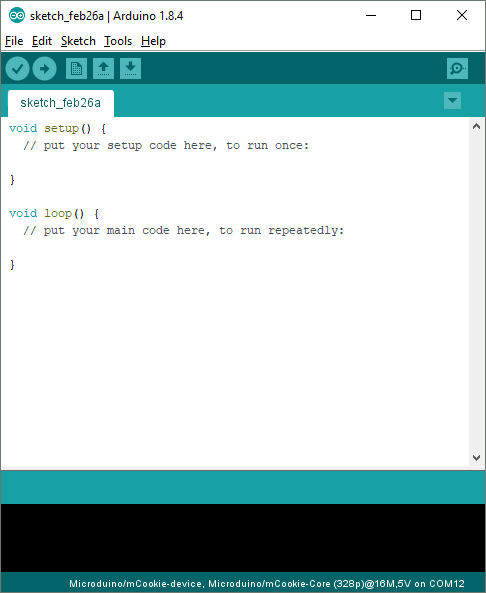
10.If you left the run option checked, the software will start to launch. Otherwise locate the program shortcut on your desktop or start menu and launch it.
11. The software is now ready to be used!

