Difference between revisions of "Microduino GPS recorder-306KIT"
m (→Note) |
|||
| (7 intermediate revisions by 2 users not shown) | |||
| Line 6: | Line 6: | ||
Project:Microduino GPS Recorder | Project:Microduino GPS Recorder | ||
| − | + | Objective:Adopt the Microduino GPS module to acquire the geographic information and store it into Microduino-SD. | |
Difficulty:Elementary | Difficulty:Elementary | ||
| Line 15: | Line 15: | ||
|- | |- | ||
| | | | ||
| + | |||
==Bill of Materials== | ==Bill of Materials== | ||
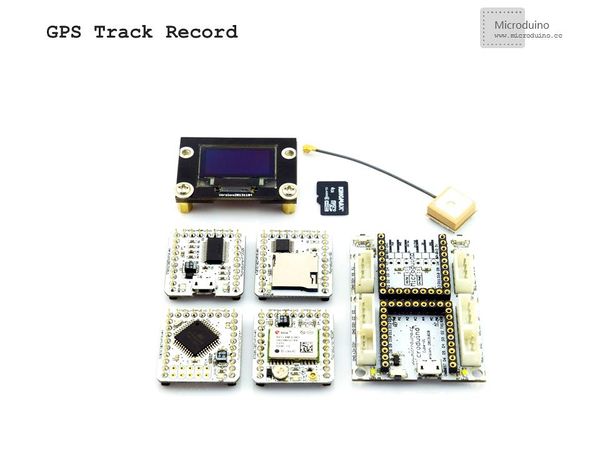
*Microduino module:(MICRODUINO 203KIT) | *Microduino module:(MICRODUINO 203KIT) | ||
| Line 23: | Line 24: | ||
|Microduino-Core+||1||Core module | |Microduino-Core+||1||Core module | ||
|- | |- | ||
| − | |Microduino-FT232R ||1|| | + | |Microduino-FT232R ||1||Program download |
|- | |- | ||
| − | |Microduino-NEO-6M||1|| | + | |Microduino-NEO-6M||1||GPS module |
|- | |- | ||
| − | |Microduino-SD||1|| | + | |Microduino-SD||1||Information storage |
|- | |- | ||
| − | |Microduino-OLED||1||Display | + | |Microduino-OLED||1||Information Display |
|} | |} | ||
|- | |- | ||
| Line 36: | Line 37: | ||
|- | |- | ||
| | | | ||
| + | |||
==Document== | ==Document== | ||
| Line 41: | Line 43: | ||
| | | | ||
==Debug== | ==Debug== | ||
| − | Step | + | Step 1:Build the hardware |
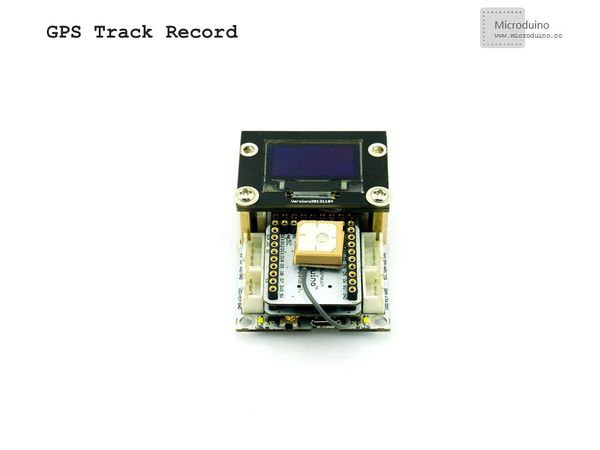
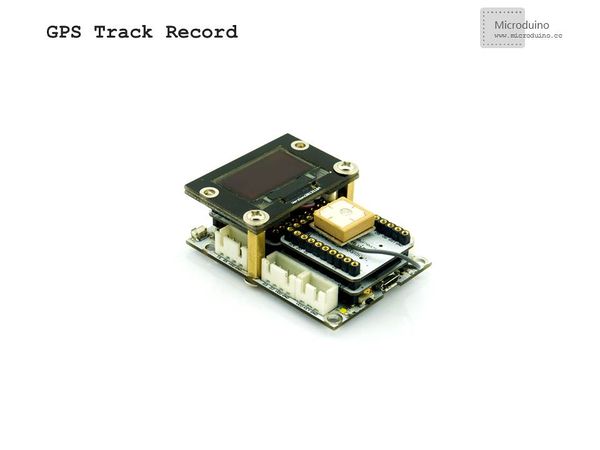
| − | Stack all the modules | + | Stack all the modules. Just put the GPS antenna outside, or it can not receive the signal. |
|- | |- | ||
| Line 51: | Line 53: | ||
|- | |- | ||
| | | | ||
| − | Step 2:Download program | + | Step 2:Download the program |
| − | If | + | If wanting to keep the default jumper (RX0、TX1), you need to unplug the Microduino NEO-6M during the download; |
| − | Step | + | Step 3:Debug |
| − | Find an open area to | + | Find an open area to debug for better signal. |
| − | The current status of the module can be judged by the PPS indicator: lighting, indicates that the module has started to work, but hasn't achieved position | + | The current status of the module can be judged by the PPS indicator: lighting, indicates that the module has started to work, but hasn't achieved position information. Flashing (100ms off, 900ms on), means that the module has been successfully positioned. |
|- | |- | ||
| | | | ||
| + | |||
==Result== | ==Result== | ||
| − | + | You can see the parameters after acquiring the positioning information and you can also record the data into the memory card. | |
*Walking speed | *Walking speed | ||
*Latitude and longitude | *Latitude and longitude | ||
| − | *Signal | + | *Signal intensity |
| − | *The number of | + | *The number of satellites |
*Altitude | *Altitude | ||
|- | |- | ||
| | | | ||
| + | |||
==Note== | ==Note== | ||
| − | *Before download the program, please make sure the jumper connection firstly,detailed information refer | + | *Before download the program, please make sure the jumper connection firstly,detailed information refer to:[[Microduino-GPS]] |
*Debugging need in the open area. | *Debugging need in the open area. | ||
==Video== | ==Video== | ||
| − | + | ||
|} | |} | ||
Latest revision as of 10:13, 26 July 2016
| Language: | English • 中文 |
|---|
OutlineProject:Microduino GPS Recorder Objective:Adopt the Microduino GPS module to acquire the geographic information and store it into Microduino-SD. Difficulty:Elementary Time-consuming:2 hours Maker:Microduino Studio-YLB | ||||||||||||||||||
Bill of Materials
| ||||||||||||||||||
Document | ||||||||||||||||||
DebugStep 1:Build the hardware Stack all the modules. Just put the GPS antenna outside, or it can not receive the signal. | ||||||||||||||||||
|
Step 2:Download the program If wanting to keep the default jumper (RX0、TX1), you need to unplug the Microduino NEO-6M during the download; Step 3:Debug Find an open area to debug for better signal. The current status of the module can be judged by the PPS indicator: lighting, indicates that the module has started to work, but hasn't achieved position information. Flashing (100ms off, 900ms on), means that the module has been successfully positioned. | ||||||||||||||||||
ResultYou can see the parameters after acquiring the positioning information and you can also record the data into the memory card.
| ||||||||||||||||||
Note
Video |


