Difference between revisions of "Microduino GPS recorder-306KIT"
m (→Note) |
|||
| Line 70: | Line 70: | ||
| | | | ||
==Note== | ==Note== | ||
| − | *Before download the program, please make sure the jumper connection firstly,detailed information refer to:http://wiki.microduino.net/index.php?title=Microduino-NEO-6M | + | *Before download the program, please make sure the jumper connection firstly,detailed information refer to:http://wiki.microduino.net/index.php?title=Microduino-NEO-6M and [English] http://www.microduino.cc/wiki/index.php?title=Microduino-NEO-6M |
*Debugging need in the open area. | *Debugging need in the open area. | ||
| + | |||
==Video== | ==Video== | ||
http://v.youku.com/v_show/id_XNjY1NzE3NDQ0.html | http://v.youku.com/v_show/id_XNjY1NzE3NDQ0.html | ||
|} | |} | ||
Revision as of 13:40, 21 March 2014
| Language: | English • 中文 |
|---|
OutlineProject:Microduino GPS Recorder Objective:Use the Microduino GPS module to get the geographic Information and store into Microduino SD card. Difficulty:Elementary Time-consuming:2 hours Maker:Microduino Studio-YLB | ||||||||||||||||||
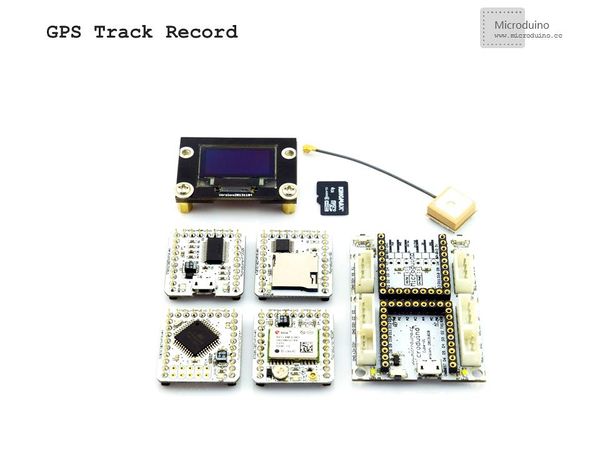
Bill of Materials
| ||||||||||||||||||
Document | ||||||||||||||||||
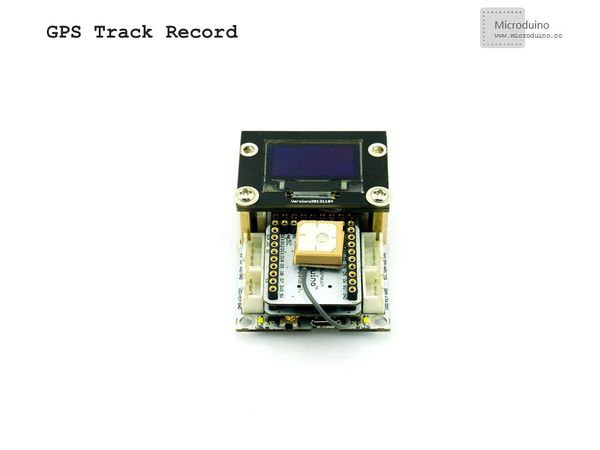
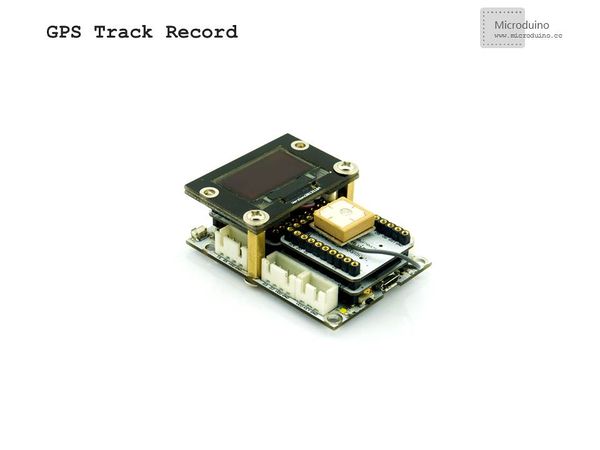
DebugStep 1:Set up hardware Stack all the modules, and put the GPS antenna to outside, or may not receive the signal. | ||||||||||||||||||
|
Step 2:Download program If use the default jumper (RX0、TX1), need unplug the Microduino NEO-6M when download program; Step 3:Test Find an open area to test, can't in the room, because no signal is received. The current status of the module can be judged by the PPS indicator: lighting, indicates that the module has started to work, but hasn't achieved position informaton. Flashing (100ms off, 900ms bright), which means that the module has been successful positioning. | ||||||||||||||||||
ResultAfter get the position information, the parameters can be seen, and these data can be recorded into the memory card.
| ||||||||||||||||||
Note
Video |


