Difference between revisions of "Getting started: Microduino IDE for Windows"
From Microduino Wiki
(→Determining Processor Variant) |
(→Download) |
||
| Line 4: | Line 4: | ||
| | | | ||
=Download= | =Download= | ||
| − | *Download the latest Windows IDE: | + | *Download the latest Windows IDE: https://www.microduino.cc/download |
| − | https://www.microduino.cc/download | + | |
=Installation= | =Installation= | ||
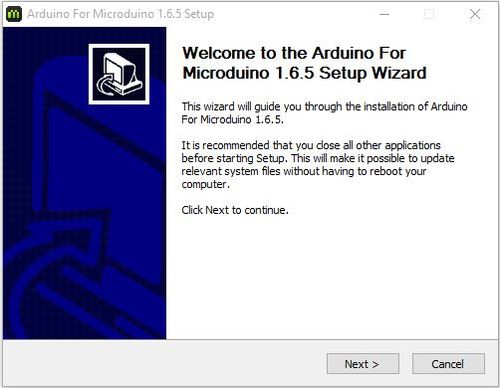
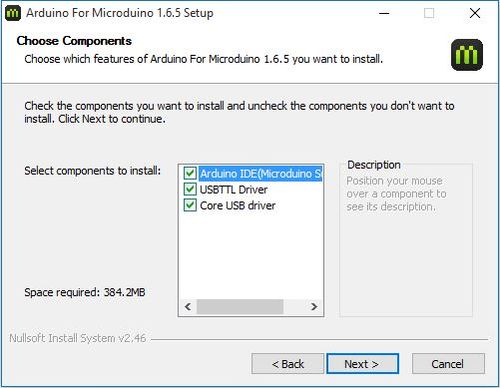
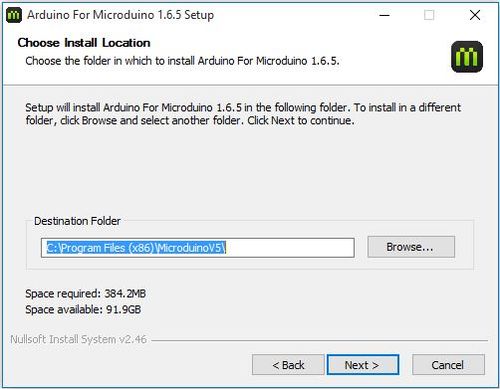
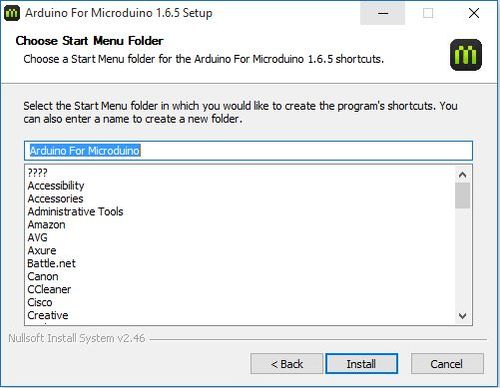
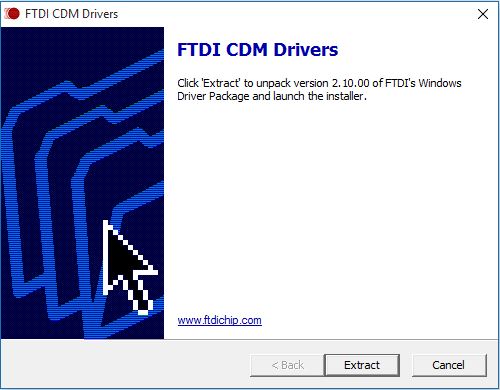
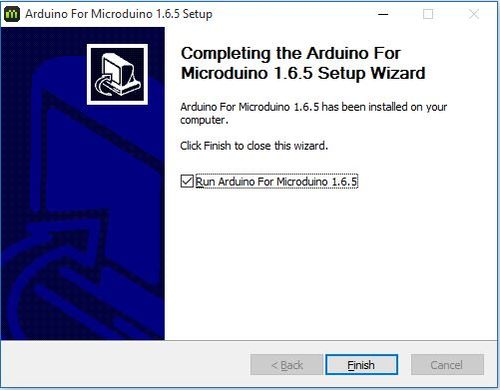
*Double click on the setup file '''Arduino IDE 1.X.X for Microduino.exe'''. Click '''[Next]'''. | *Double click on the setup file '''Arduino IDE 1.X.X for Microduino.exe'''. Click '''[Next]'''. | ||
Revision as of 00:23, 23 March 2017
| Language: | English • 中文 |
|---|
Contents[hide]Download
Installation
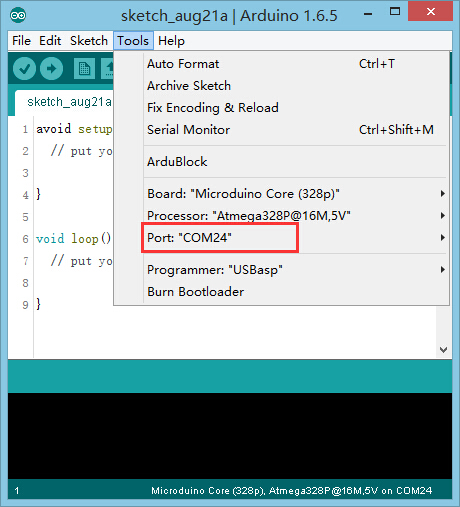
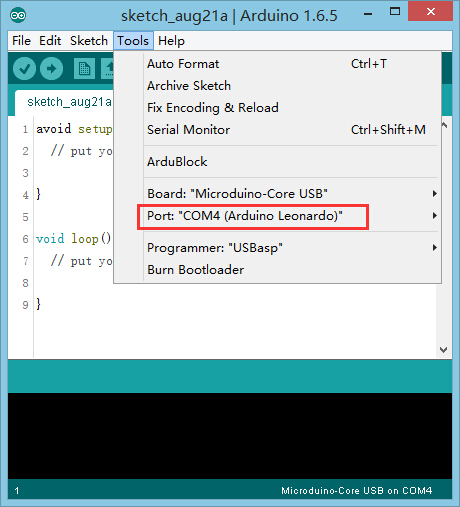
Confirm Drivers Installed SuccessfullyUSBTTL
CoreUSB
mBattery
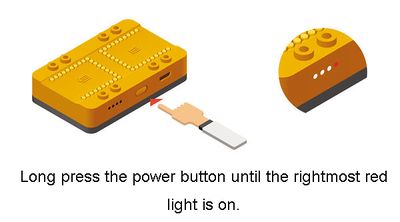
IMPORTANT: Ensure that mBattery is "ON" by pressing and holding the button. A red LED should be on, which indicates that power is being supplied to the modules.
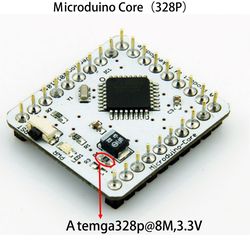
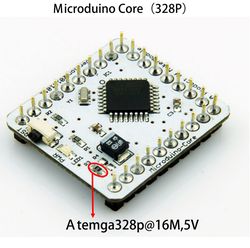
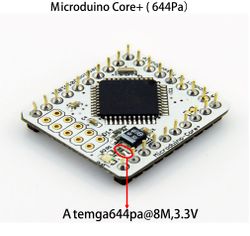
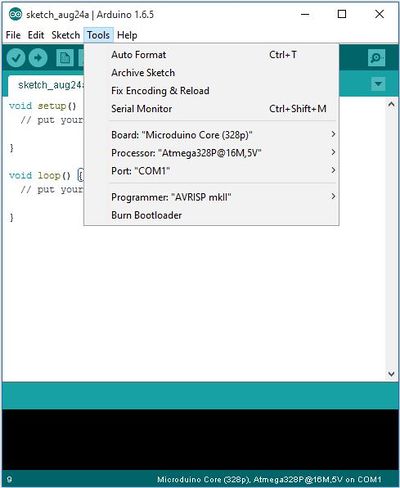
Selecting Board Type and ProcessorSelecting the Board Type and Processor is required to compile the correct code for the core module. Configuring the software is done under Tools > Board and Tools > Processor. Below is the table which lists all the core modules with corresponding Board and Processor. The table also lists kits that contain specific core modules. Example usage would be for the Core module in Itty Bitty City. Board is Microduino/mCookie-Core (328p) and Processor is Atmega328P@16M,5V.
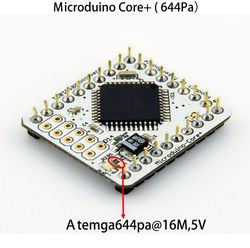
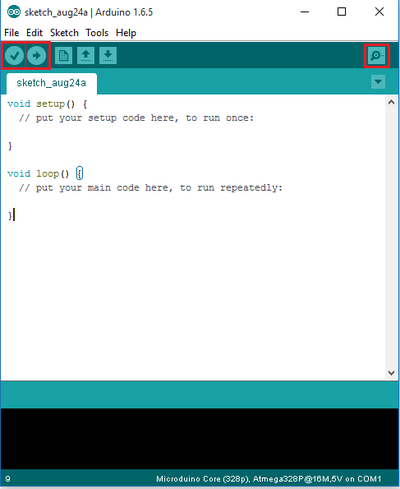
Determining Processor VariantCoreCore+Arduino IDE BasicsInterface
Tools
Uploading Code
|
