Difference between revisions of "Microduino NRF communication-201KIT"
From Microduino Wiki
| Line 37: | Line 37: | ||
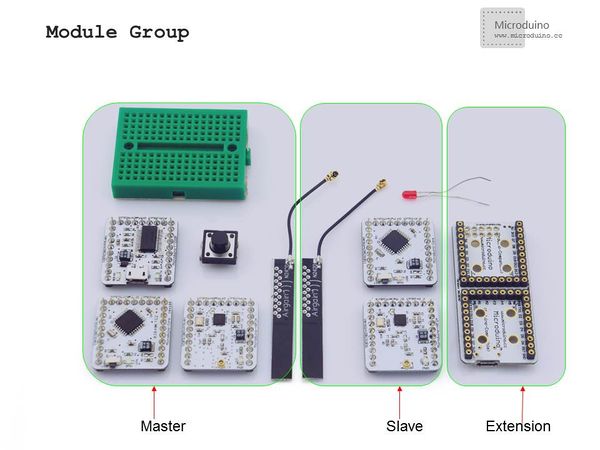
In order to facilitate debugging, reduce the height of module combination, add the extension board Microduino Duo-V. | In order to facilitate debugging, reduce the height of module combination, add the extension board Microduino Duo-V. | ||
| − | [[File: | + | [[File:module.jpg|600px|center|thumb|201KIT]] |
==Document== | ==Document== | ||
| Line 58: | Line 58: | ||
Button connection:use internal pull up, set it in program by yourself. | Button connection:use internal pull up, set it in program by yourself. | ||
| − | [[File:201KIT-button.jpg|600px|center|thumb|201KIT- | + | [[File:201KIT-button.jpg|600px|center|thumb|201KIT-button]] |
|- | |- | ||
| | | | ||
The whole systme picture: | The whole systme picture: | ||
| − | [[File:201KIT- | + | [[File:201KIT-system.jpg|600px|center|thumb|201KIT]] |
|- | |- | ||
| | | | ||
Revision as of 05:54, 24 February 2014
Outline
Bill of Materials
In order to facilitate debugging, reduce the height of module combination, add the extension board Microduino Duo-V. DocumentDebugging | |||||||||||||||||||||||||||
| |||||||||||||||||||||||||||
|
Prepare master module: Microduino-Core+, Microduino-FT232R, Microduino-nRF24, button, bread board | |||||||||||||||||||||||||||
|
Prepare slave module: Microduino-Core, Microduino-NRF24,Microduino Duo-V, LED | |||||||||||||||||||||||||||
Button connection:use internal pull up, set it in program by yourself. | |||||||||||||||||||||||||||
|
The whole systme picture: | |||||||||||||||||||||||||||
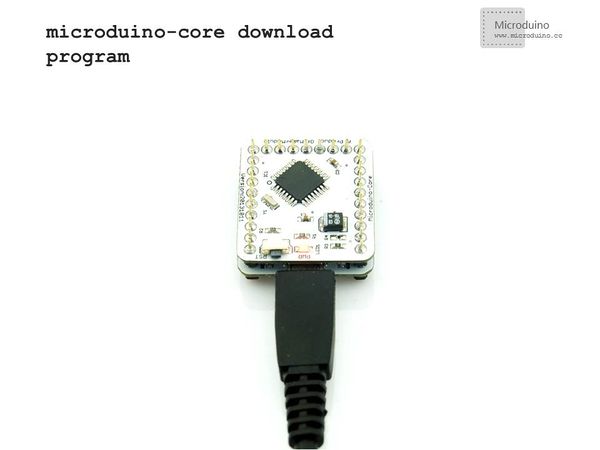
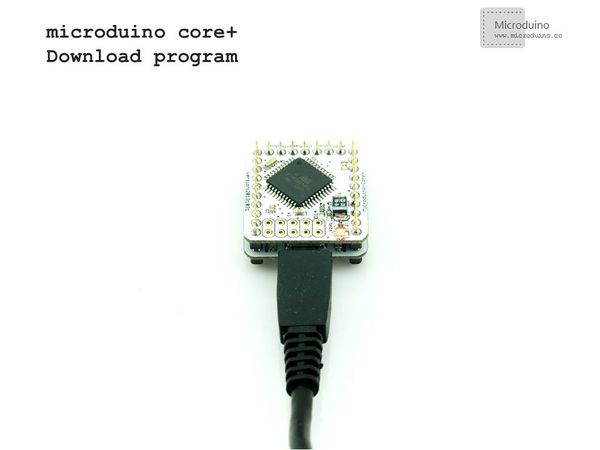
download the program: | |||||||||||||||||||||||||||
|
Choose "Microduino Core +(Atmega644P@16M,5V)" on master, and choose "Microduino Core (Atmega328P@16M,5V)" on slave, download directly. ResultDownload the program to core board, press the button on master to contorl the LED on slave, light and off in turn.
Note
|


