Difference between revisions of "Microduino NRF communication-201KIT"
From Microduino Wiki
| Line 1: | Line 1: | ||
| + | {{Language|Microduino_nrf通讯-201KIT}} | ||
{| style="width: 800px;" | {| style="width: 800px;" | ||
|- | |- | ||
Revision as of 15:22, 2 March 2014
| Language: | English • 中文 |
|---|
Outline
Bill of Materials
In order to facilitate debugging, reduce the height of module combination, add the extension board Microduino Duo-V. DocumentDebugging | |||||||||||||||||||||||||||
| |||||||||||||||||||||||||||
|
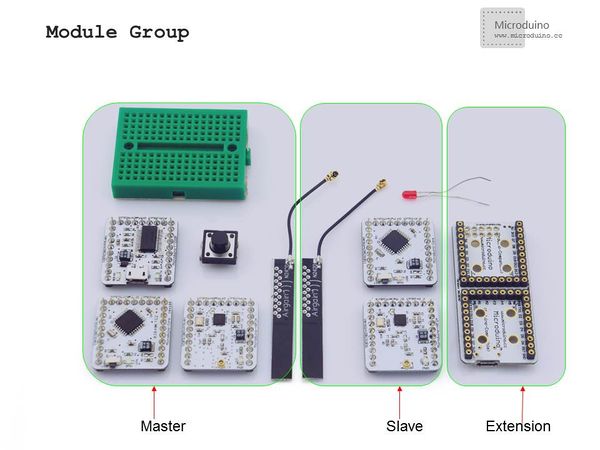
Prepare master module: Microduino-Core+, Microduino-FT232R, Microduino-nRF24, button, bread board | |||||||||||||||||||||||||||
|
Prepare slave module: Microduino-Core, Microduino-NRF24,Microduino Duo-V, LED | |||||||||||||||||||||||||||
Button connection:use internal pull up, set it in program by yourself. | |||||||||||||||||||||||||||
|
The whole systme picture: | |||||||||||||||||||||||||||
download the program: | |||||||||||||||||||||||||||
|
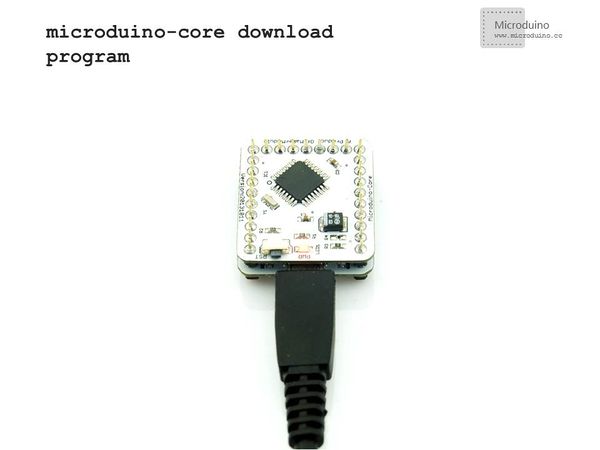
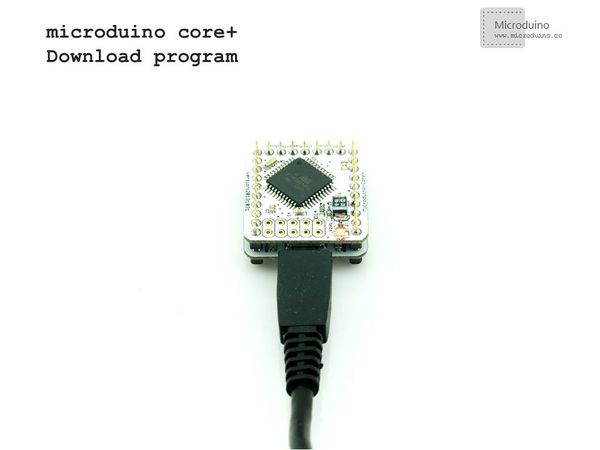
Choose "Microduino Core +(Atmega644P@16M,5V)" on master, and choose "Microduino Core (Atmega328P@16M,5V)" on slave, download directly. ResultDownload the program to core board, press the button on master to contorl the LED on slave, light and off in turn.
Note
|


