Difference between revisions of "Sensor-Crash"
From Microduino Wiki
| Line 106: | Line 106: | ||
|- | |- | ||
|width="50%" valign="top" align="left"| | |width="50%" valign="top" align="left"| | ||
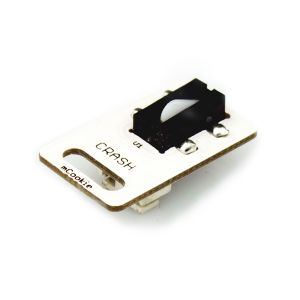
| − | [[file: MicroduinoCrash-F. | + | [[file: MicroduinoCrash-F.jpg|250px|center]] |
|width="50%" valign="top" align="left"| | |width="50%" valign="top" align="left"| | ||
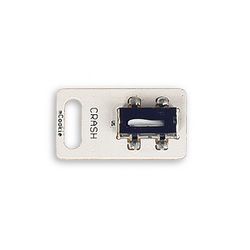
| − | [[file: Microduino-Crash-b. | + | [[file: Microduino-Crash-b.jpg|250px|center]] |
|} | |} | ||
|} | |} | ||
<br> | <br> | ||
<p style="font-size:125%">[[MCookie Sensor Modules|Return to Sensor Page]]</p> | <p style="font-size:125%">[[MCookie Sensor Modules|Return to Sensor Page]]</p> | ||
Revision as of 01:56, 20 September 2017
| |
|
|
Technical Specifications
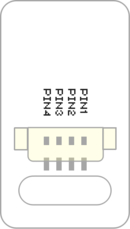
Pins
Programming Manual You can learn about Arduino IDE programming to control modules, referring to Getting Started. Common usage The signal of Crash can be read directly with digitalRead(): high (1, true) or low (0, false). #define PIN_KEY 4 //The key is connected to pin 4.
void setup() {
Serial.begin(9600); //Set the baud rate of serial communication.
pinMode(PIN_KEY, INPUT);//Set the input state of the key.
}
void loop() {
if (digitalRead(PIN_KEY)) //Detect the state of the key
{
Serial.println("KEY RELEASED");//Print “KEY RELEASED” from the serial port
}
else
{
Serial.println("KEY PRESSED");// Print “KEY PRESSED” from the serial port.
}
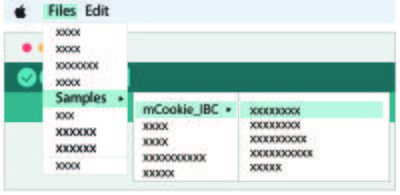
}Advanced Usage [_07_m_Sensor_Key] libraries reference page provides the completed details and samples of how to use Crash sensor.
Documentation
Relative Tutorials
Q&A
History
Gallery |
