Difference between revisions of "Getting Started with 101 Basic Kit (Windows)"
(→Printed Manual) |
|||
| Line 1: | Line 1: | ||
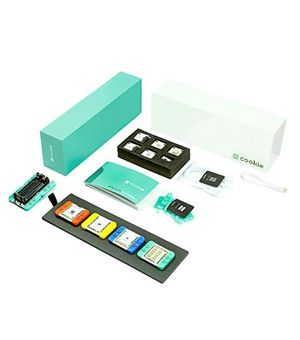
| − | [[File: | + | [[File:MCookie-Basic-Kit.jpg|right|thumb|link=mCookie Basic Kit|<center>[[mCookie Basic Kit]]</center>]] |
=Download and Install Software= | =Download and Install Software= | ||
{{IDE Setup Legacy (Windows)}} | {{IDE Setup Legacy (Windows)}} | ||
Revision as of 15:28, 23 May 2018
Download and Install Software
NOTE: This product is discontinued and no longer supported in the latest software package.
Please download the legacy software package here: http://microduinoinc.com/downloads/Arduino+IDE+1.6.9+for+Microduino.exe
IMPORTANT: If you have downloaded and installed the latest software package from the download page. Please uninstall it first before proceeding!
*Go to Control Panel > Uninstall a Program, then select "Arduino IDE for Microduino"
*Then delete the "C:\Program Files (x86)\Arduino IDE for Microduino" as some remaining files may cause issues.
1. Download the legacy Windows IDE: http://microduinoinc.com/downloads/Arduino+IDE+1.6.9+for+Microduino.exe
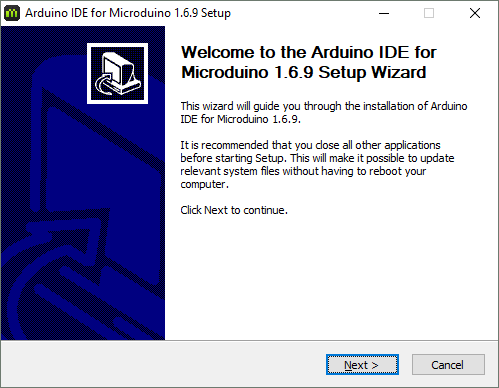
2. Double click on the setup file to start the installation process. Click Next.
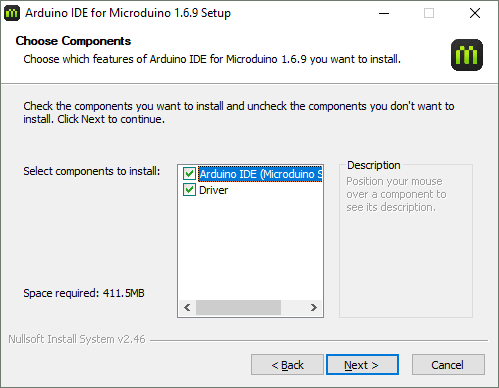
3. The next window will allow you to select which options to install. Leave all checked and click Next.
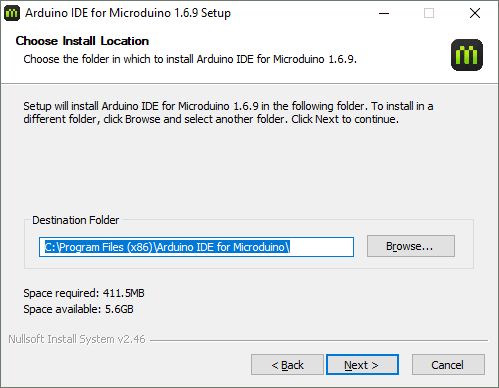
4. Select the location to install the software, or leave the default install location. Click Next.
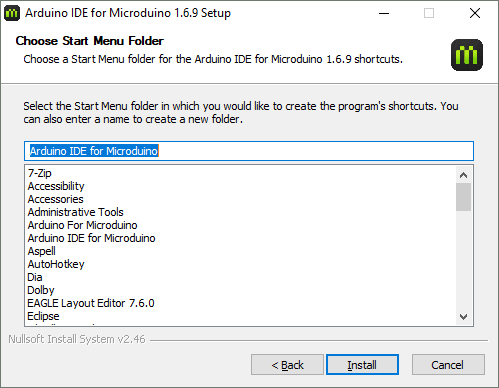
5. Select the name for the shortcut in the Start Menu, or leave the default shortcut name. Click Install.
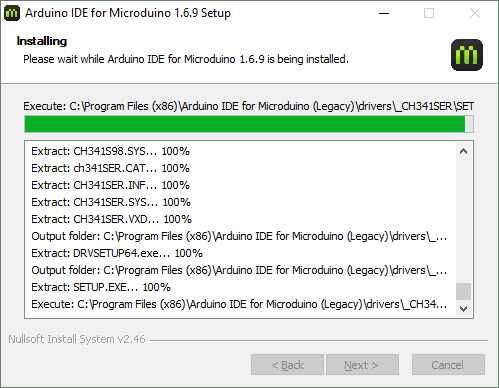
6. The installation process will begin for the Arduino IDE. Wait until it completes.
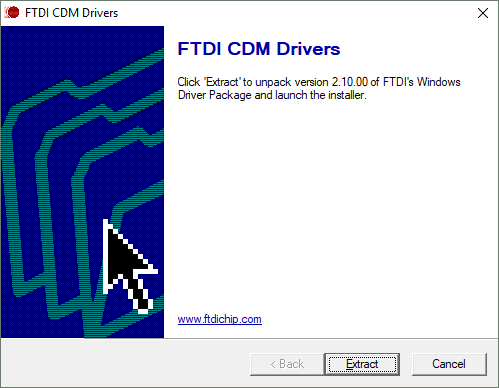
7. After the Arduino IDE has been installed, a window for driver installation will appear. Click Extract.
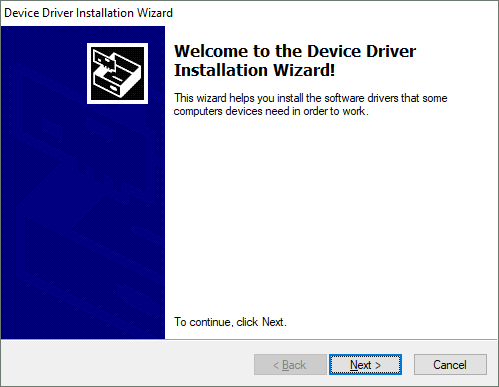
8. Device Driver Installation Wizard will appear. Click Next.
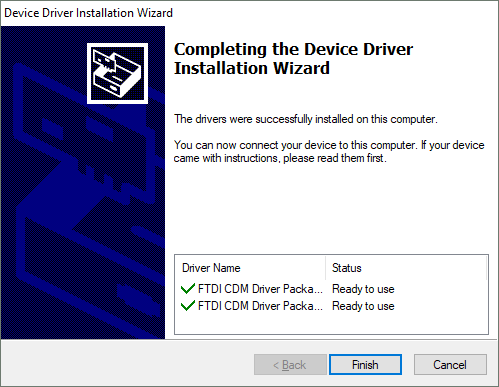
9. Device Driver Installation Wizard will complete. Click Finish.
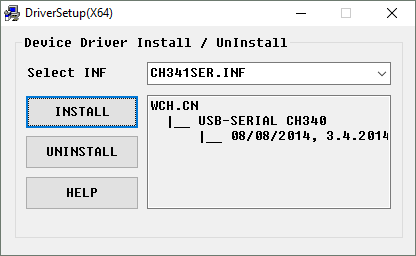
10. Another driver setup window should've appeared. Check your taskbar for the following window. Click INSTALL to install this driver.
A message will appear once the driver has been installed. Close this window after the driver has successfully installed.
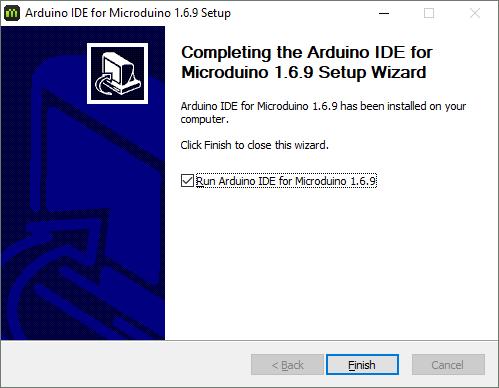
11. Another window which displays the software has completed should've appeared. Check your taskbar for the following window. Click Finish to finish the installation process and launch the software.
12. The software is now ready to be used!
Configuring and Testing the Software/Hardware
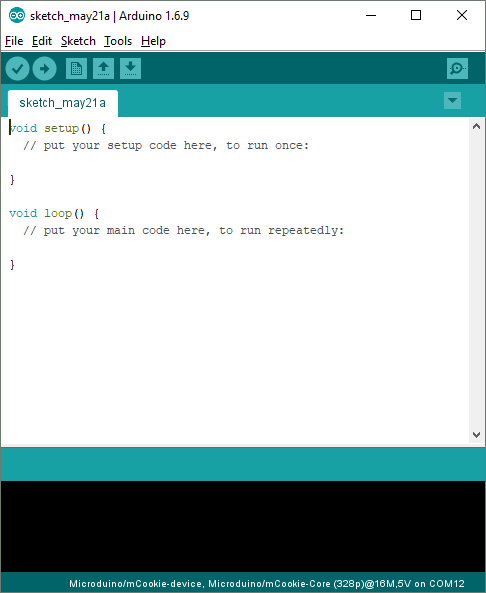
- Open the Microduino software.
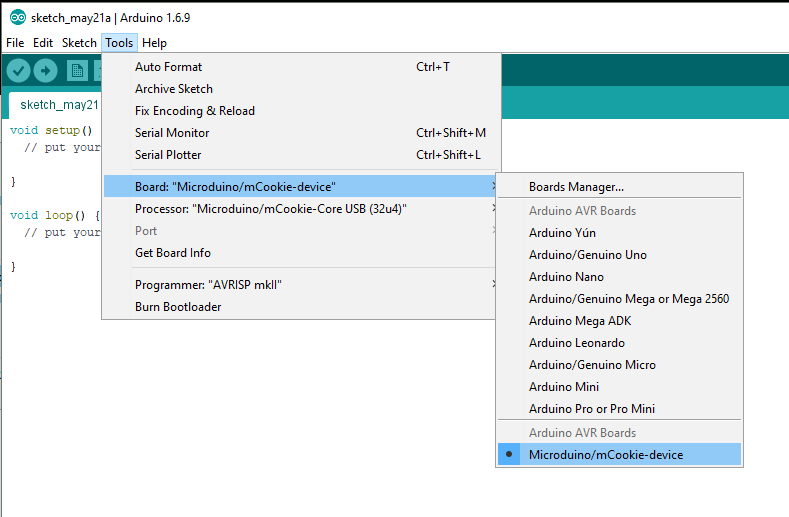
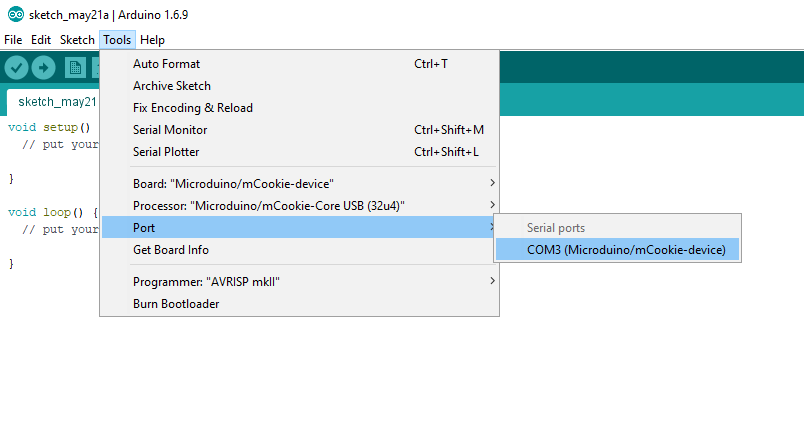
- Go to “Tools > Board” and select “Microduino/mCookie-device”
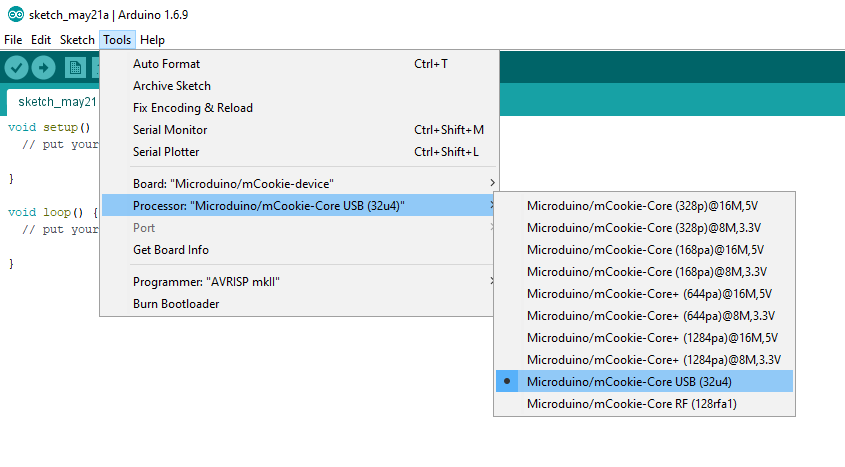
- Go to “Tools > Processor” and select “Microduino/mCookie-Core USB (32u4)”
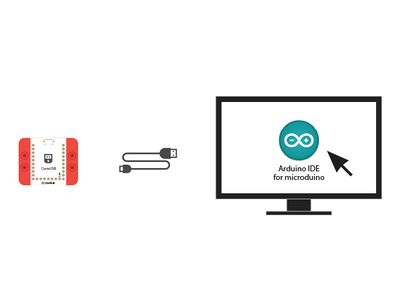
- Connect the CoreUSB to your computer using a MicroUSB cable. DO NOT have any other modules stacked or connected.
- Go to “Tools > Port” and select the port. It is usually the one that is select-able.
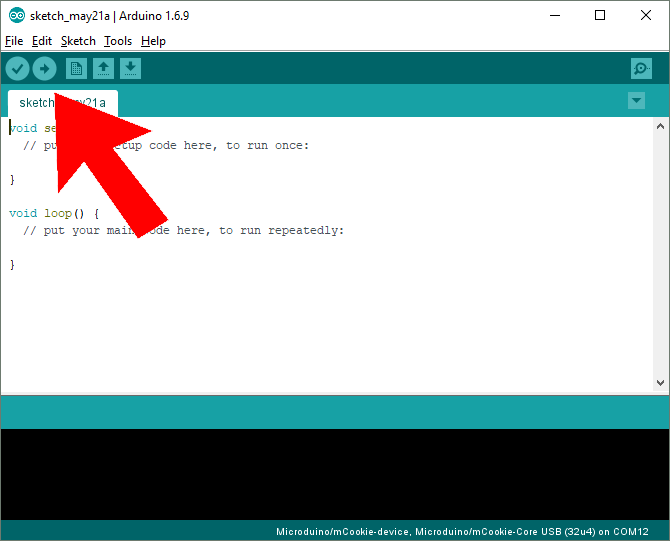
- With the default sample code. Hit upload (right arrow icon on the top left of the software).
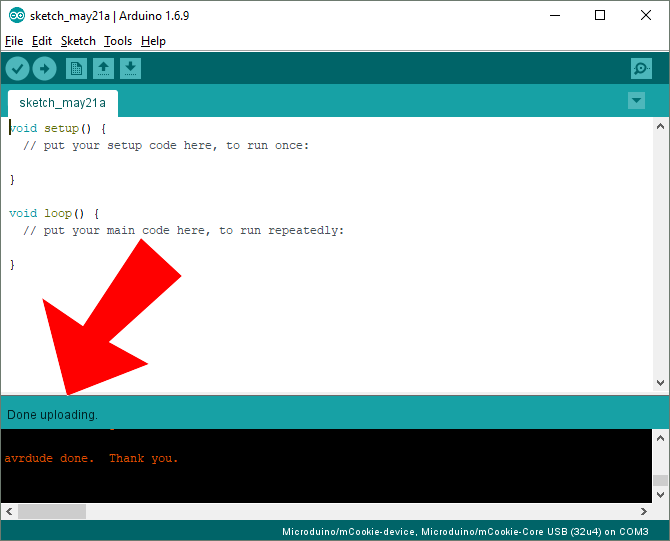
- The code will compile and will say upload complete if successful. Congratulations the software setup is complete!
Projects
Follow the printed manual to build and program Itty Bitty City's projects.
