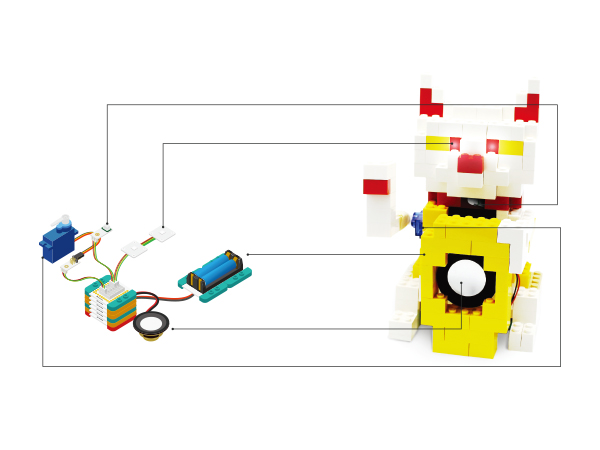
Fortune Cat

From Microduino Wiki
Revision as of 03:51, 15 October 2015 by Radiumray9@gmail.com (talk) (Hardware Buildup)
Jump to: navigation, search
Language: English  • 中文

Overview

When someone passed by, Fortune cats eyes shine waving

to you, will wow oh.

MicroduinoFortuneCat-stater.jpg

Schematic

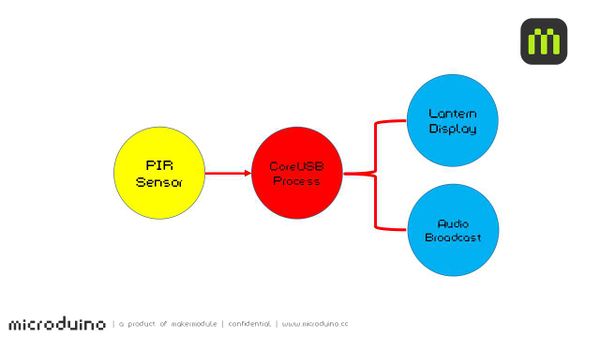
The body will send pyroelectric infrared, sensor can

detects it, when the sensor detects, will control lights

change color, and the Audio module to play audio.

MicroduinoFortuneCat-sch-E.jpg

Equipment

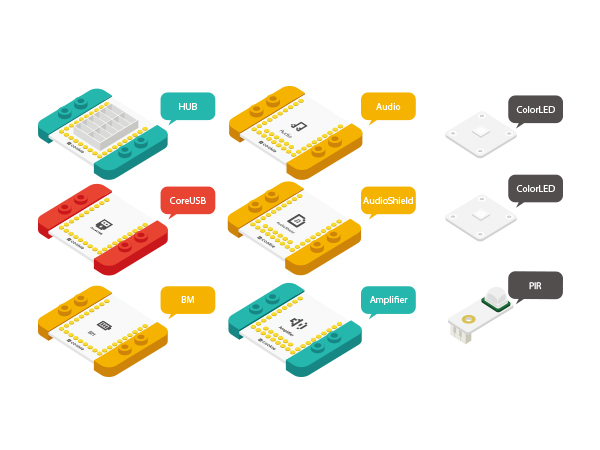
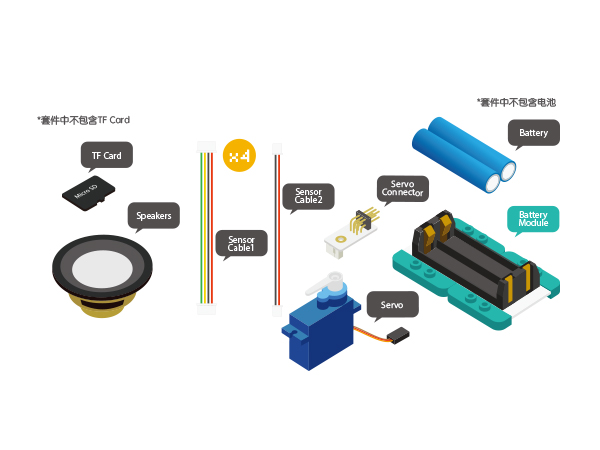
Module Number Function
mCookie-CoreUSB/zh 1 Core board
mCookie-Hub/zh 1 sensor hub board
Microduino-TOUCH/zh 1 touch sensor
Microduino-PIR/zh 1 PIR sensor
mCookie-Audio/zh 1 Audio module
mCookie-Amplifier/zh 1 Power Amplifier module
Microduino-Color led/zh 2 led light
mCookie-BM/zh 1 Battery Management
Servo 1 Servo
MicroduinoFortuneCat-module.jpg
MicroduinoFortuneCat-module1.jpg

Preparation

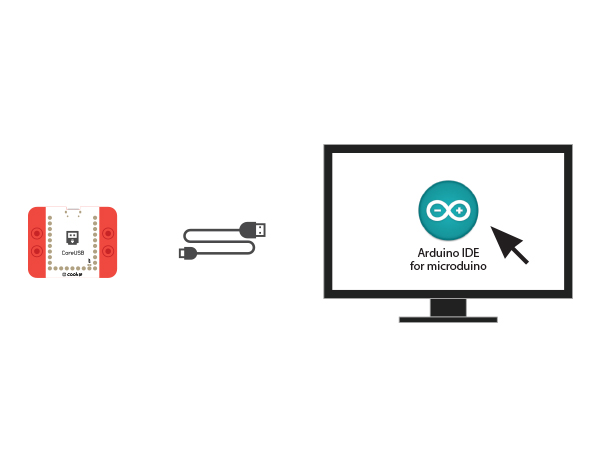
  • Setup 1:Connect the CoreUSB module to your computer

and then start the Arduino IDE.

CoreUSB Ble pc.jpg
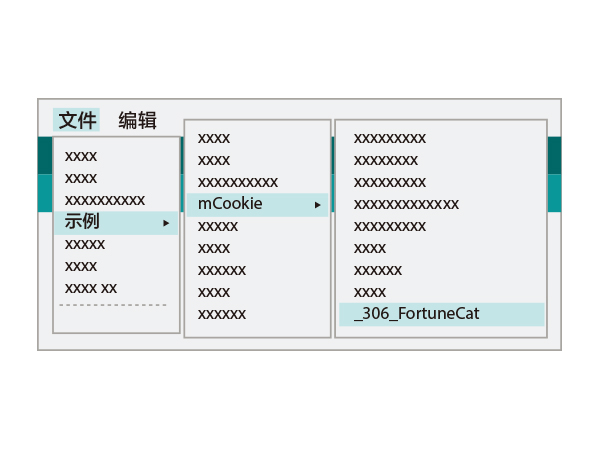
  • Setup 2:点击Files > Examples > mCookie >

_303_FortuneCat.

L 303 FortuneCat -ino.jpg
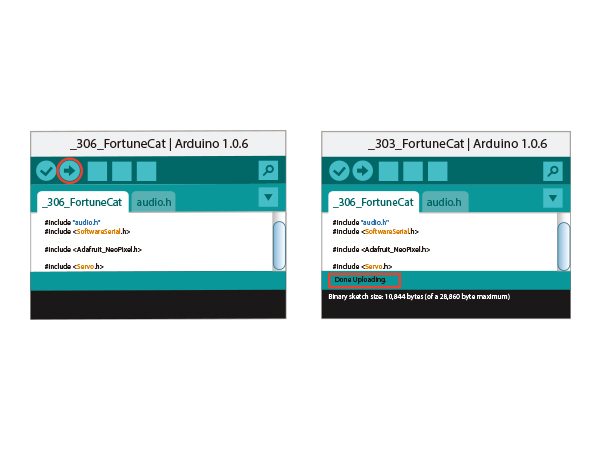
  • Setup 3:Click upload to upload the program. When

"Done Uploading" appears, the program should have

successfully been uploaded into the CoreUSB.

303 FortuneCat -com.jpg

Program description

  • Control pin definitions
#define humanHotSensor 4//PIR sensor pin number
#define PIN 6//color light pin number
#define SERVOPIN SDA//servo pin

Adafruit_NeoPixel strip = Adafruit_NeoPixel(1, PIN, 

NEO_GRB + NEO_KHZ800);
  • Detection of human IR and play audio, control servos
if (humanHotState) {
    colorWipe(strip.Color(125, 125, 125));
    updateServo();

    if (!playing) {
      Serial.println("play sound.....");
     // audio_play();
     audio_choose(1);
      playing = true;
    }
  }

Hardware Buildup

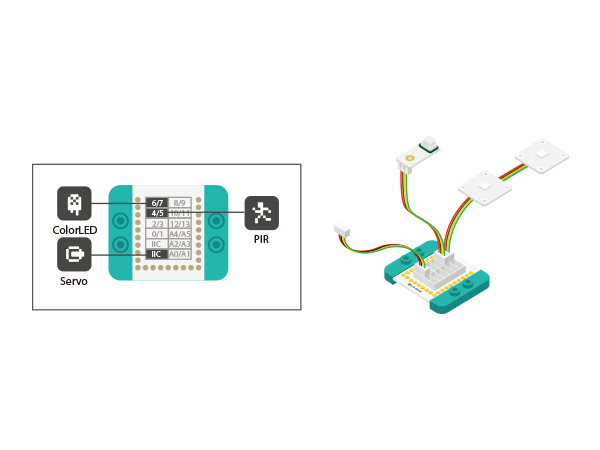
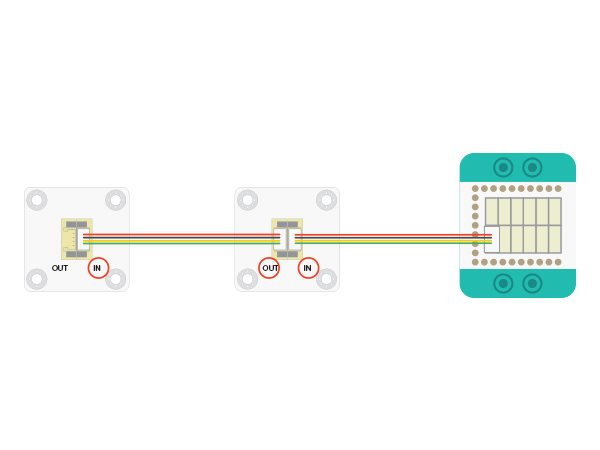
  • Setup 1:Using the below diagram as reference, connect

the sensors into the corresponding ports on the Hub

module.

MicroduinoFortuneCat2-hub.JPG

To connect muliple LEDs in a series, follow the above

diagram. Notice that the sensor cable connects to the IN

ports of the LEDs. You can support up to six LEDs!

CoreUSB Ble steup11.jpg
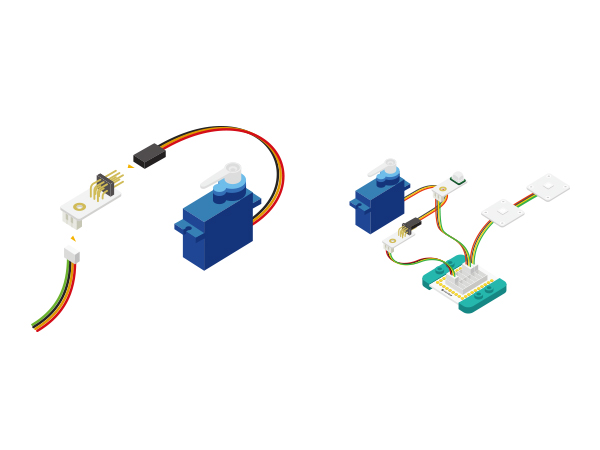
  • Setup2:Connect the servo to the Servo Connector. Then

connect that to the IIC port in the Hub module.

MicroduinoFortuneCat2-hub-servo.JPG
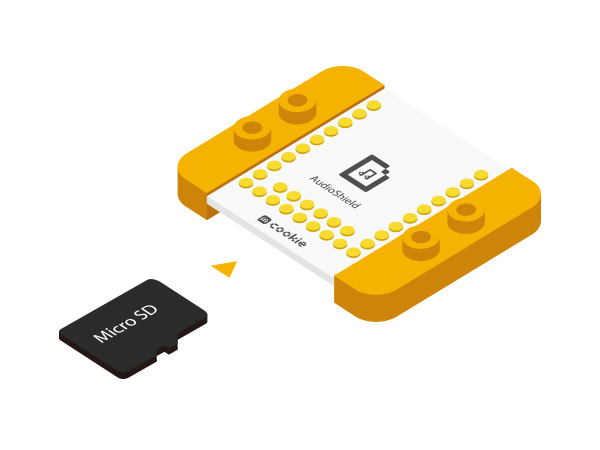
  • Setup 3:Insert a micro SD Card into the Audio Shield.
MusicBox Joystick TF.jpg
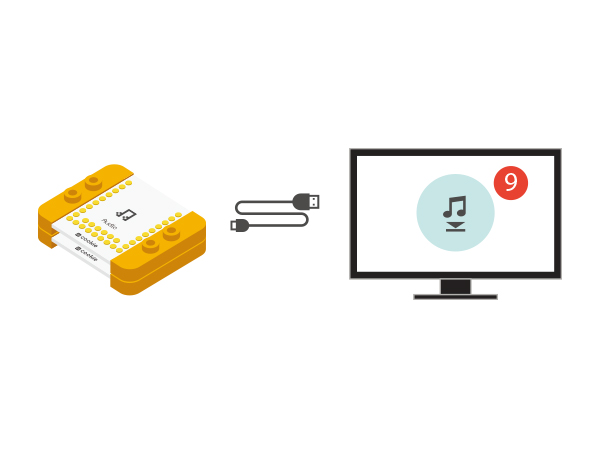
  • Setup 4:Stack the Audio Shield and Audio modules.

Then, copy a single greeting sound onto the micro SD card.

MusicBox Joystick song.jpg
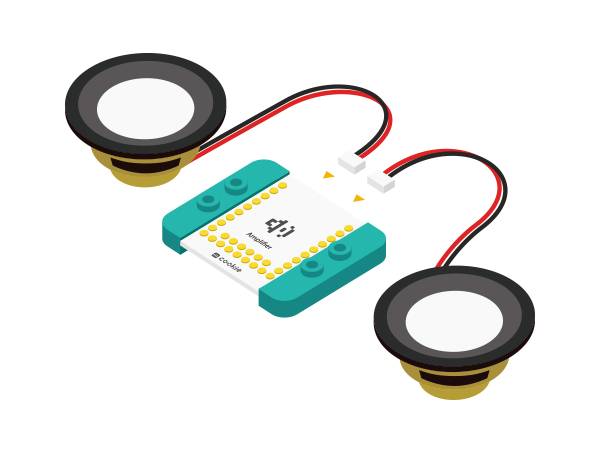
  • Setup 5:Connect two speakers to Amplifier module.
MusicBox Joystick song speak.JPG
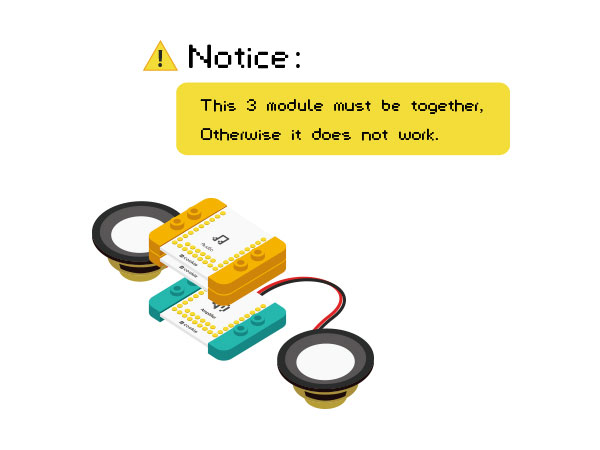
  • Setup 6:Stack the Amplifier, Audio, and Audio Shield

modules.

MusicBox Joystick 3 speak E.JPG
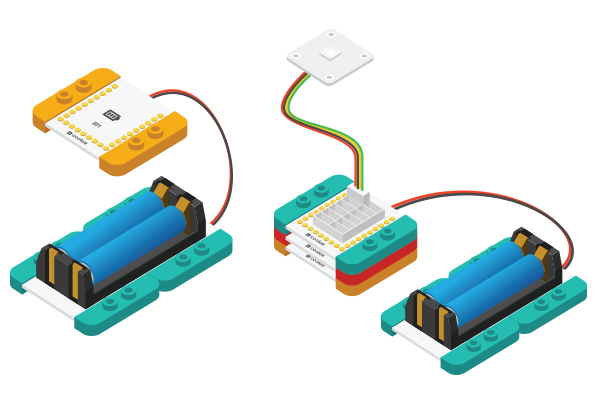
  • Setup 7:Connect the activated Battery module to your

battery Management module.

CoreUSB Ble steup2.jpg
  • Setup 8:All modules are stacked together, in any order

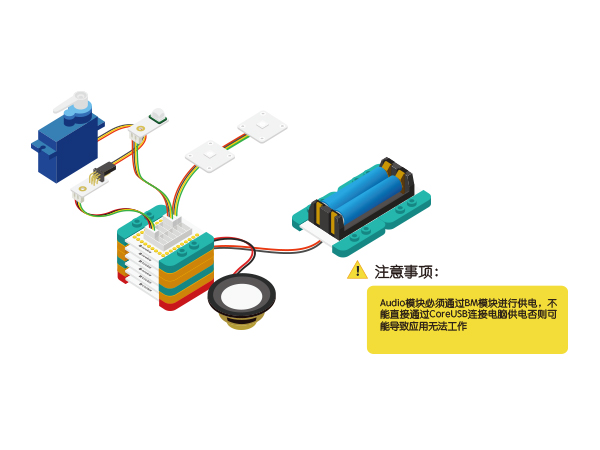
(except Audio, AudioShield and Amplifier three together),

Congratulation, the circuit part to build complete!

MicroduinoFortuneCat steup-ok.jpg

Result

If someone passby Fortune cat, she will wave to you, eyes will light up and beep.

MicroduinoFortuneCat steup-legao.jpg

Video