Outline
Project:Microduino LM4863 music player
Objective:Use Microduino LM4863 play the music, use the button to achive the "start","stop" function.
Difficulty:Elementary
Time-consuming:Half an hour
Maker:Microduino Studio-YLB
|
Bill of Materials
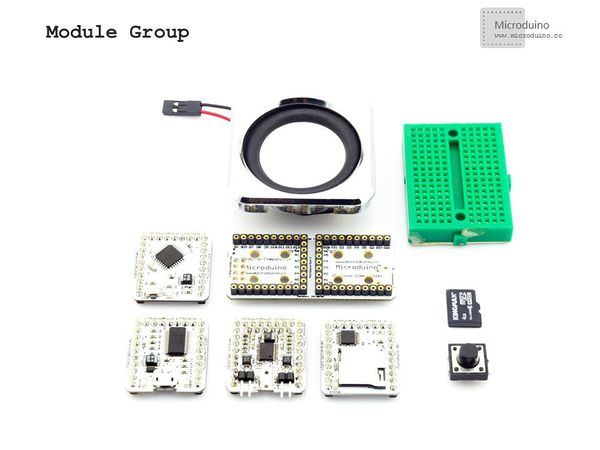
| Module |
Number |
Function
|
| Microduino-Core |
1 |
Core module
|
| Microduino-FT232R |
1 |
Download program
|
| Microduino-SD |
1 |
Store music file
|
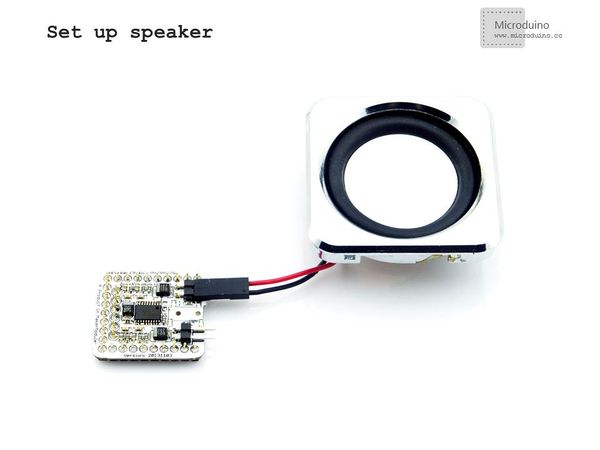
| Microduino-LM4863 |
1 |
Audio play
|
| Microduino Duo-V |
1 |
Easy to debug
|
|
| Horn |
one
|
| Bread board |
one
|
| Breadboard Jumper |
one box
|
| Button |
one
|
| memory card |
one
|
| micro usb data calbe |
one
|
|
|
|
Document
|
Debugging
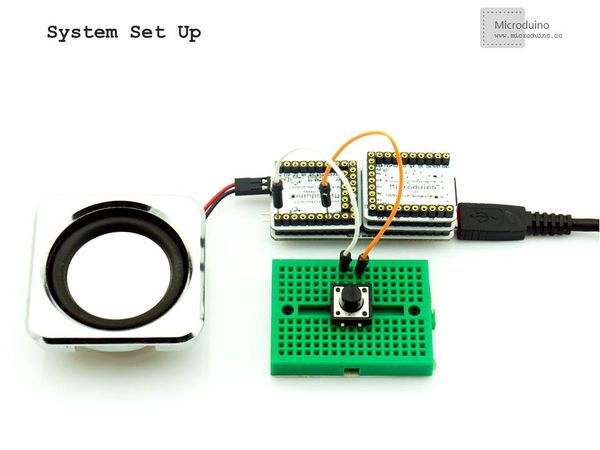
Step 1:Set up circuit
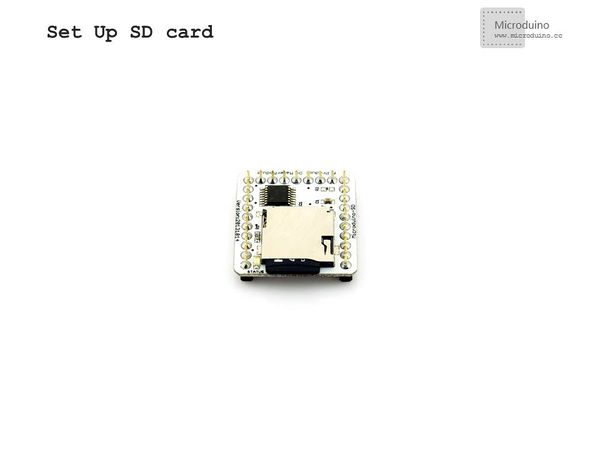
- Insert the memory card into Microduino SD card slot.
|
|
|
|
|
|
|
|
|
|
|
|
|
|
|
|
Step 2:Make the audio file.
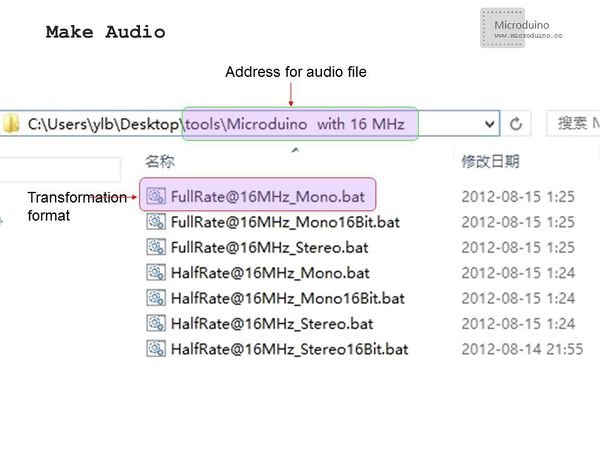
- Need a tool based the SoX. Choose the convert program according the working frequence of Microduino.
- Decompres the file, enter into "Microduino with 16 MHz" folder, put the audio file into this folder, and drag to the "FullRate@16MHz_Mono.bat" for batch.
|
|
|
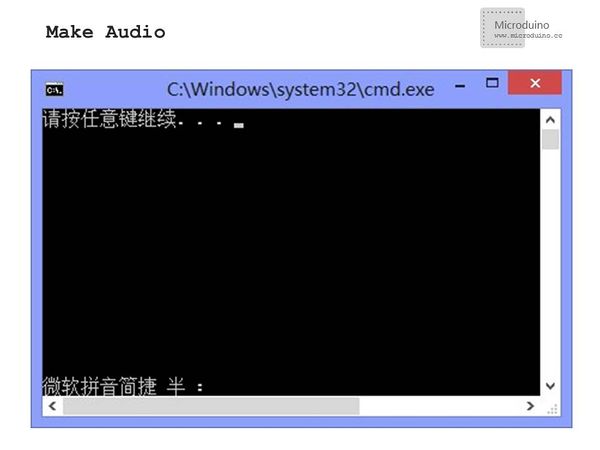
- After drag, will start the conversion program, it will pop up a dialog box that appears "press any key to continue...".
|
|
|
- After finished, you can find a new folder where store the new file. If this failed, please convert the original audio file into .wav format, then try again.
|
|
|
- Copy the audio file to memory card, then Insert the memory card into Microduino SD card slot.
- Use the IED to open Microduino example program, board type choose "Microduino Core (Atmega328P@16M,5V)",before download, need to do following update:
- Some library has different pin defination, so please download the latest library.
- Need change the existing audino name in program to generated audio file name.
Result
After download, press the button to play the music, and press again, stop the music.
|
Video
http://v.youku.com/v_show/id_XNjY1Njg5ODQw.html
|
