Getting Started with 201 Advanced Kit (Mac)
From Microduino Wiki
Revision as of 16:34, 23 May 2018 by Sonny (talk | contribs) (Created page with "right|thumb|link=mCookie Advanced Kit|<center>[[mCookie Advanced Kit</center>]] =Download and Install Software= {{IDE Setup Legacy (Mac)...")
Download and Install Software
Note: This product is discontinued and no longer supported in the latest software package.
Please download the legacy software package here: http://microduinoinc.com/downloads/Arduino+IDE+1.6.9+for+Microduino.dmg
- Download the legacy Mac IDE: http://microduinoinc.com/downloads/Arduino+IDE+1.6.9+for+Microduino.dmg
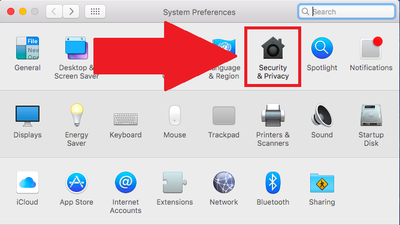
- Change your settings to allow identified developers by going to: (Apple Logo) >>> System Preferences...
- Then go to Security & Privacy.
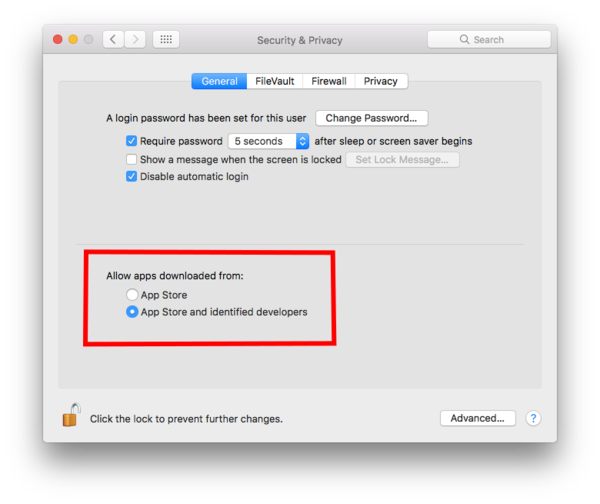
- Click on then Lock icon and enter your credentials to be able to change settings.
- Under Allow apps download from: select App Store and identified developers
- Click the Lock icon again to lock and save changes.
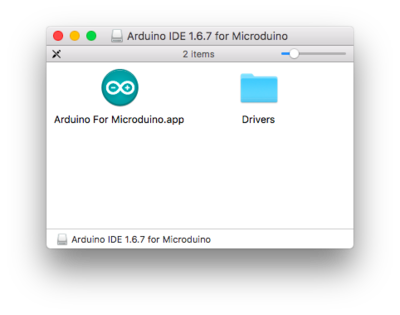
- Open the downloaded file. A folder will open containing the Microduino IDE and drivers for the hardware.
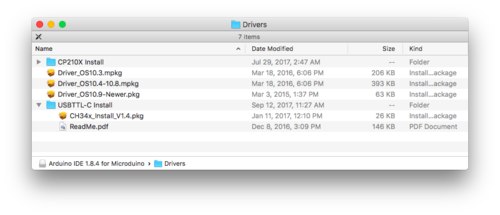
- Open the Drivers folder. Drivers are needed to communicate with the Microduino hardware.
- Install ONE of the driver packages:
- Driver_OS10.3.mpkg if you have Mac OS 10.3 or below.
- Driver_OS10.4-10.8.mpkg if you have Mac OS 10.4 to Mac OS 10.8.
- Driver_OS10.9-Newer.mpkg if you have Mac OS 10.9 or newer.
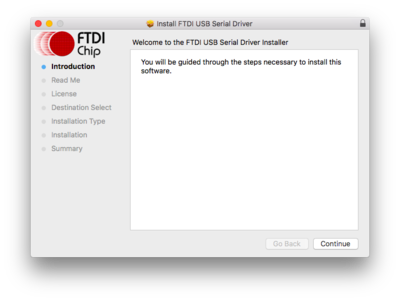
- Follow the on-screen instructions to install the driver.
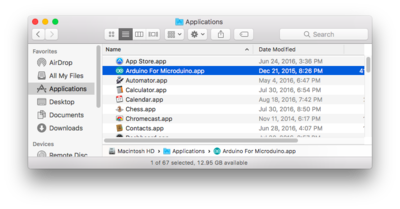
- Once completed. Drag the Arduino for Microduino.app application to your Applications folder to install the IDE.
- The software is now installed and ready to use. Double-click the application to launch it!
Configuring and Testing the Software/Hardware
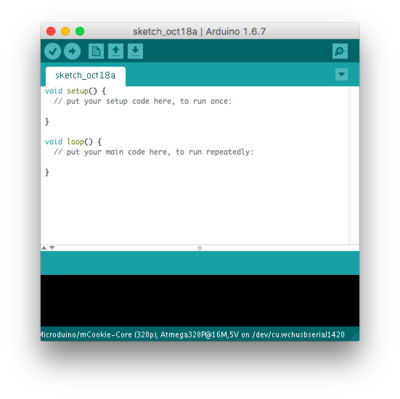
- Open the Microduino software.
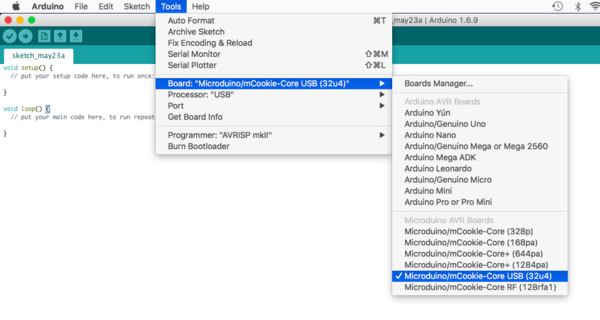
- Go to “Tools > Board” and select “Microduino/mCookie-Core USB (32u4)”
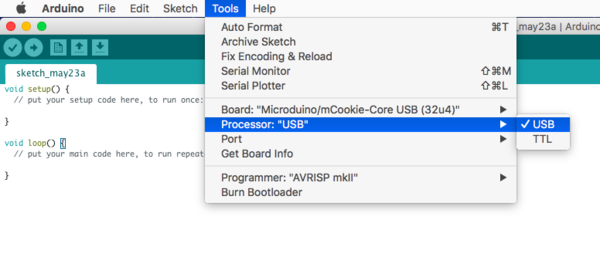
- Go to “Tools > Processor” and select “USB”
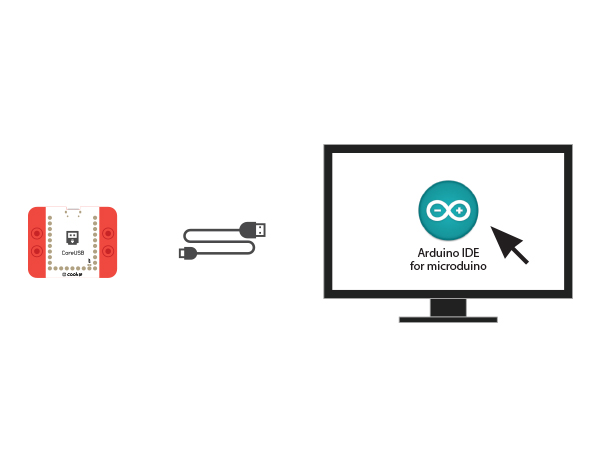
- Connect the CoreUSB to your computer using a MicroUSB cable. DO NOT have any other modules stacked or connected.
- Go to “Tools > Port” and select the port. It is usually the one that is select-able. It should be labeled /dev/cu.usbmodem____ (Arduino Leonardo)
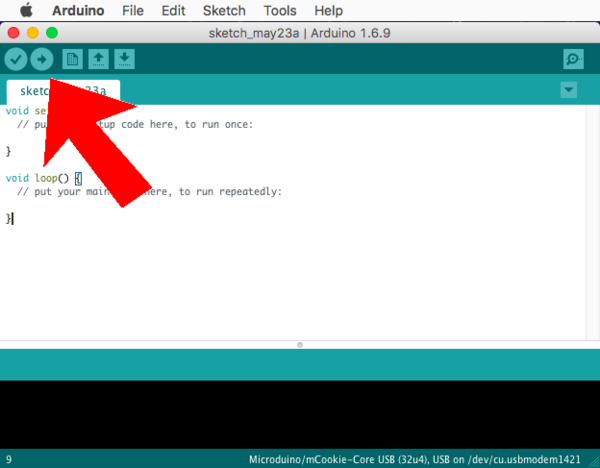
- With the default sample code. Hit upload (right arrow icon on the top left of the software).
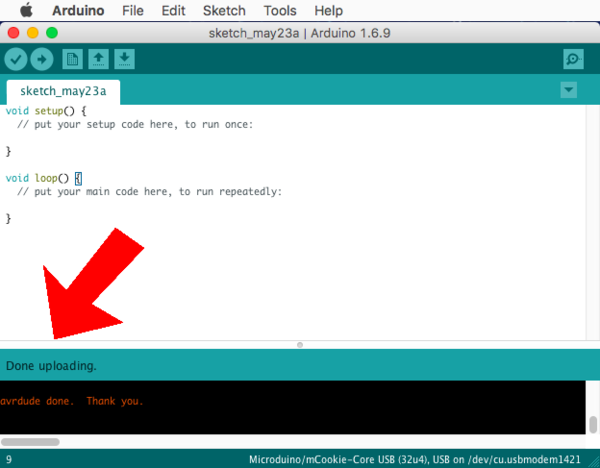
- The code will compile and will say upload complete if successful. Congratulations the software setup is complete!
Projects
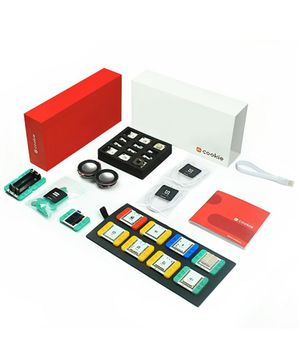
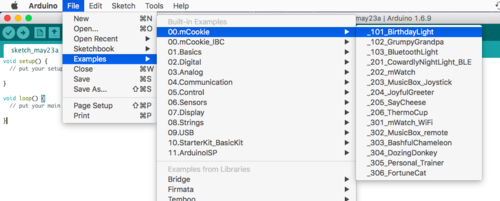
Follow the printed manual to build and program 201 Advanced Kit's projects.
