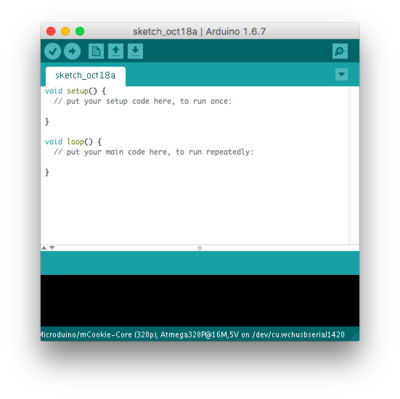
Template:IDE Setup (Mac)
From Microduino Wiki
Download the latest MacOS IDE: HERE (Version 5.0, 2019-03-25)
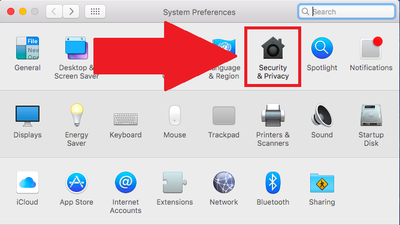
- Change your settings to allow identified developers by going to: (Apple Logo) >>> System Preferences...
- Then go to Security & Privacy.
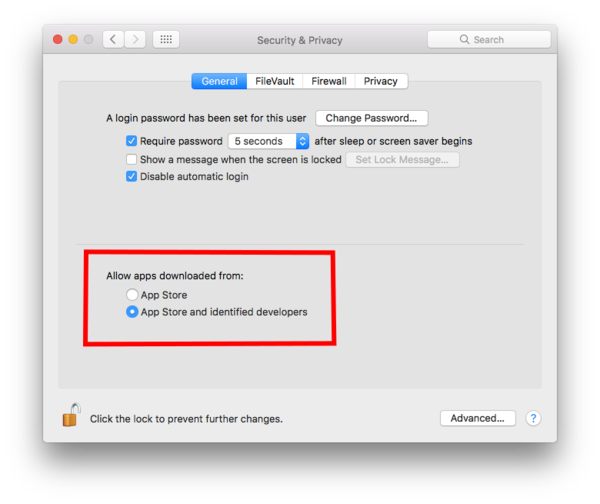
- Click on then Lock icon and enter your credentials to be able to change settings.
- Under Allow apps download from: select App Store and identified developers
- Click the Lock icon again to lock and save changes.
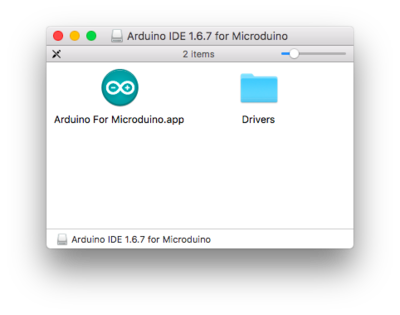
- Open the downloaded file. A folder will open containing the Microduino IDE and drivers for the hardware.
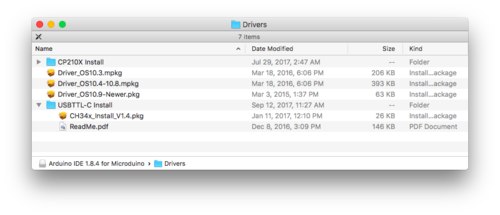
- Open the Drivers folder. Drivers are needed to communicate with the Microduino hardware.
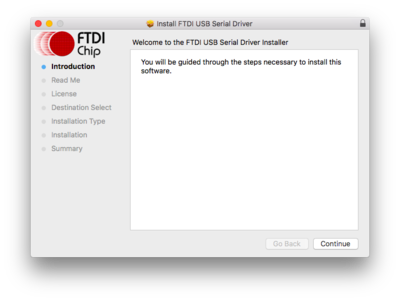
- Install ONE of the driver packages:
- Driver_OS10.3.mpkg if you have Mac OS 10.3 or below.
- Driver_OS10.4-10.8.mpkg if you have Mac OS 10.4 to Mac OS 10.8.
- Driver_OS10.9-Newer.mpkg if you have Mac OS 10.9 or newer.
- Follow the on-screen instructions to install the driver.
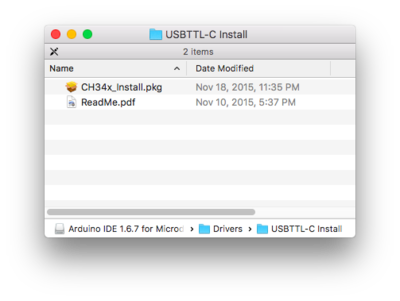
- Once completed. Open the USBTTL-C Install folder. This is another driver that needs to be installed.
- Important Note: This driver requires you to restart your computer. Save all work before installing this driver!!!
- (Note: The Mac OS X 10.6 or older package does not contain this. Therefore, you can skip this step.)
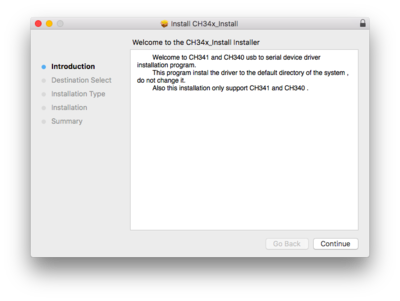
- Open CH34x_Install.pkg. Follow the on-screen instructions to install the driver.
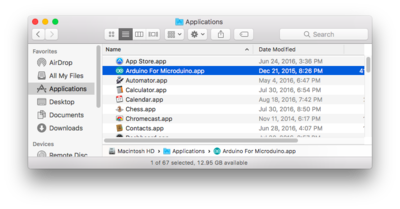
- Drag the Arduino for Microduino.app application to your Applications folder to install the IDE.
- The software is now installed and ready to use. Double-click the application to launch it!

