Getting started: mDesigner for Windows
The guide below is a software setup guide for mDesigner (v1.6) under the Windows platform.
Download
64-Bit Windows
mDesigner (v2.1.0) (for Windows (64-bit)) (Version 2.1.0, 2020-02-27): HERE
mDesigner (v1.6.4) (for Windows (64-bit)) (Version 1.6.4, 2019-03-25): HERE
32-Bit Windows
mDesigner (v2.1.0) (for Windows (32-bit)) (Version 2.1.0, 2020-02-27): HERE
mDesigner (v1.6.4) (for Windows(32-bit)) (Version 1.6.4, 2019-03-25): HERE
Installation
| Step 1:
Open the downloaded file from the link above. You'll be asked administrator privileges. |
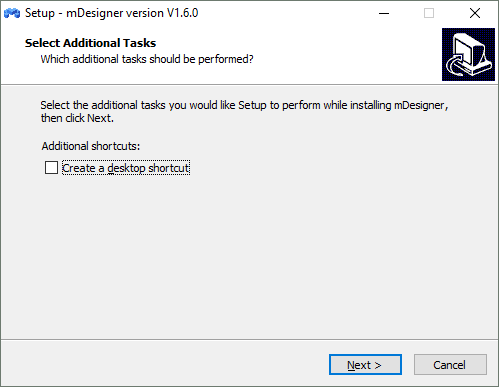
Step 2:
|
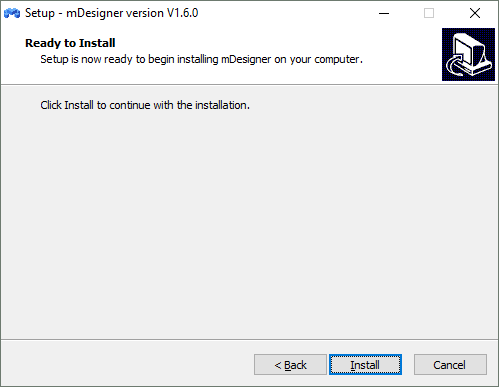
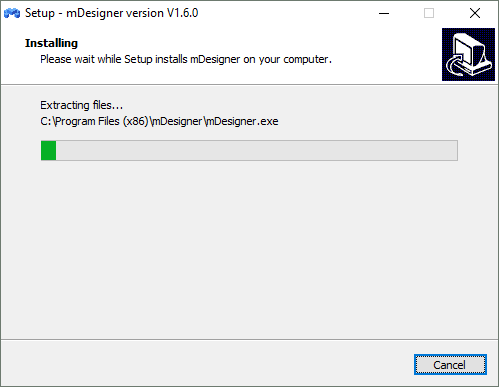
| Step 3:
The installer will begin installing files into C:\Program Files (x86)\mDesigner. |
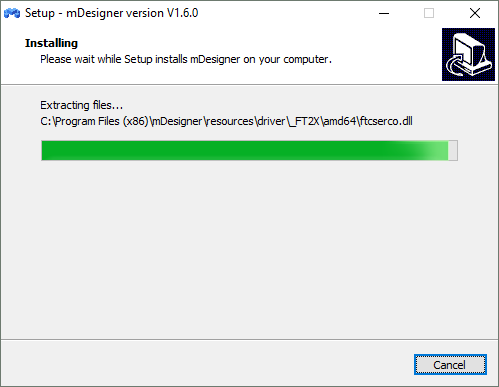
| Step 4:
Wait for the file coping progress to complete. |
| Step 5:
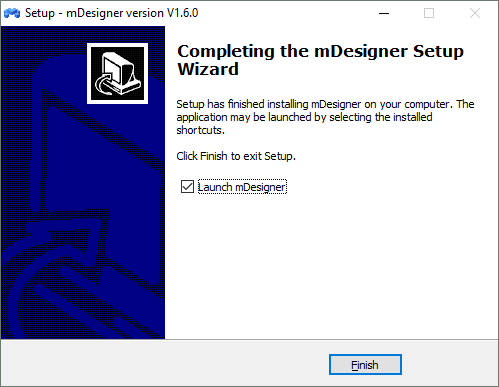
A new window will pop up to inform that mDesigner has completed installing. Click Finish to launch mDesigner. |
| Step 6:
mDesigner will start loading. |
| Step 7:
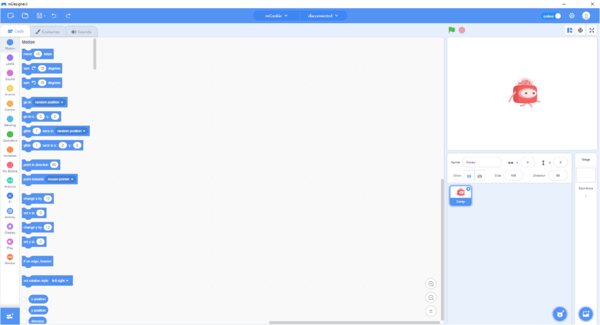
mDesigner will complete loading and will be ready to use. |

