Outline
- Project:Microduino GPRS_GSM Encoder chooses the number and sends text message
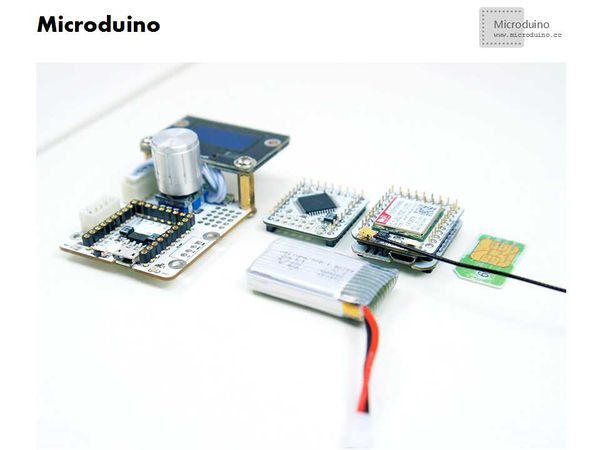
- Objective:Microduino GPRS/GSM module plug in the SIM card and follow some simple instructions to make Microduino core board connected to the internet, the send and receive messages. Today we will use the encoder to simulate the mobile and then choose the time to enter the number, then sends the specified message.
- Difficulty:High
- Time-consuming:3 hours
- Maker:Microduino Studio-PKJ
Bill of Materials
| Module |
Number |
Function
|
| Microduino-Core |
1 |
Core module
|
| Microduino-FT232R |
1 |
Download program
|
| Microduino-GPRS/GSM |
1 |
Send text message
|
| Rotary encoder control board |
1 |
Select the number and send the message
|
| Lithium battery |
1 |
Power the Microduino GPRS/GSM module
|
| SIM card |
1 |
Send message
|
| USB cable |
1 |
Power the core module
|
Document
Download OLED library:https://codeload.github.com/stanleyhuangyc/MultiLCD/zip/master
Download test program:
https://github.com/Microduino/Microduino_Tutorials/tree/master/Microduino_Advanced_Tutorial/Microduino_GSM_SMG
Debug
- Prepare work:
- Download OLED library, copy the file under MultiLCD\MultiLCD directory to MultiLCD folder, then delete other no used files. Uncompress the librarty to libraries folder of IDE.
- Step 1:
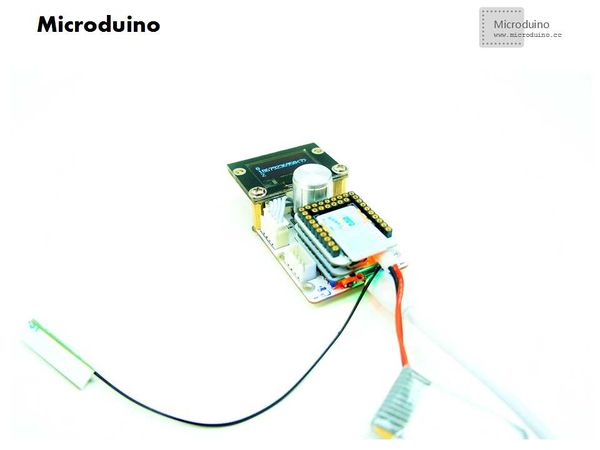
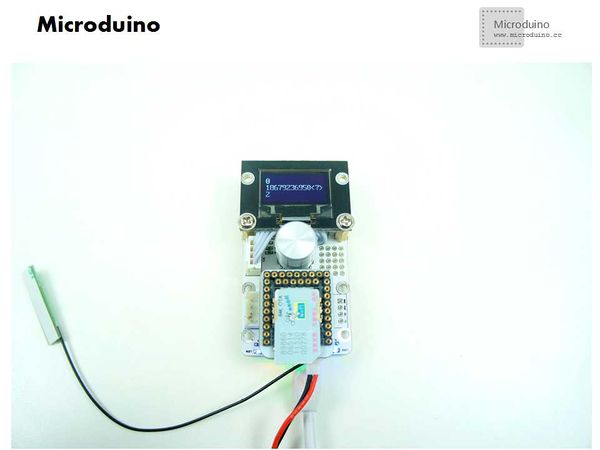
Set up system, as follows:
Open the test program, compile it and then download.
After download, use the encoder to choose the mobile phone number.
- Confirmed the mobile phone number, then choose Y to send message "Hello! Microduino". You can change the sentence "#define text "Hello! Microduino" to redefine the message that you want to send.
Program description
1.Read the I/O port voltage to judge if the encoder was pressed, which used to choose the number;
2.Use the interrupt 0 and 1 to judge the direction of encoder, which used to choose the value;
3.oled_draw() is the interface select function;
4.SMS_sms() function uses the AT command to send message.
Result
Use the encoder to choose number and send message, avoid the use of matrix keyboard.
Pay attention issue
Copy the files under MultiLCD\MultiLCD directory in OLED library, then compile the test program.
Video
http://v.youku.com/v_show/id_XNjk5NzkyNjYw.html
| 

