Resistance meter
From Microduino Wiki
// Open whatever port is the one you're using.
myPort = new Serial(this, Serial.list()[0], 9600);
myPort.bufferUntil('\n'); // Trigger a SerialEvent on new line
//On the screeen, displaying the data received from Microduino in the form of graph and marking scale.
 String val = myPort.readStringUntil('\n');
 if (val != null) {
   if ("Infinity!!".equals(val)) {
     unit="resistancetoo big";
   }
   else {
     if ("K ohm".equals(val)) {
       unit="K ohm";
     }
     else if (" ohm".equals(val)) {
       unit=" ohm";
     }
     else {
       val = trim(val);
       println(val);
       resistance=Float.parseFloat(val);
     }
   }
 }
 vals[vals.length-1] = 200-resistance;
 //Display scale
 text ( "200-", 370, 10);
 text ( "--", 370, 50);
 text ( "100-", 370, 100);
 text ( "--", 370, 150);
 text ( "0-", 370, 200);
 //show current num
 text ( resistance+unit, 0, 10);
Step 3:Uploading the code and compiling it successfully.
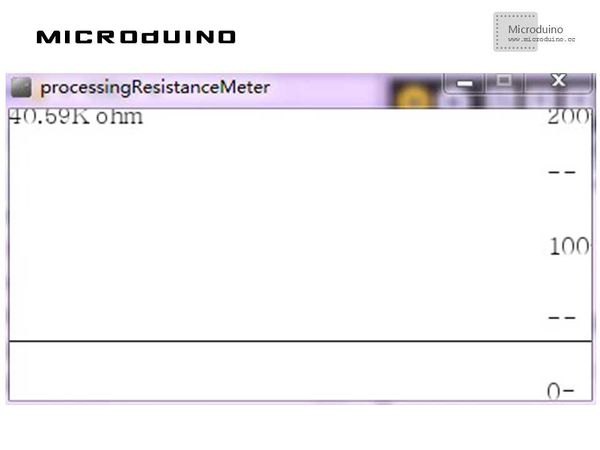
Step 4: Putting the resistor ready to measure between the yellow and the black lines on the graph, watching resistance on Processing.
Result
The graph will display the current resistance.
