Microduino Enc Wired network experiment -302KIT
| Language: | English • 中文 |
|---|
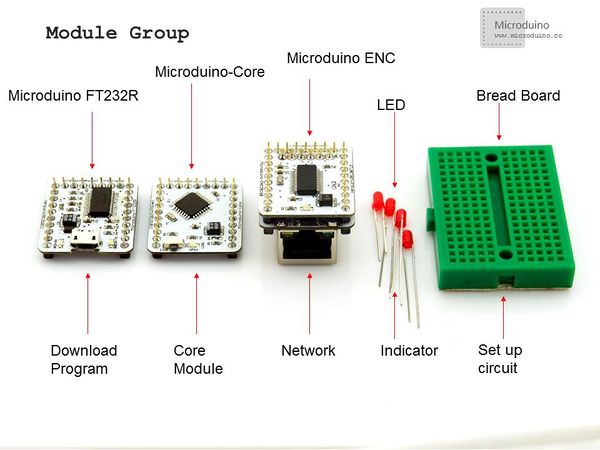
OutlineProject: Microduino-Enc Wired Networking Experiment Objective:Enable Microduihno-Core to connect with the network via Microduino-Enc and Microduino-RJ45, control four LED lights inside the LAN and achieve network control. Difficulty:Elementary Time-consuming:One hour Maker:Microduino Studio-YLB | ||||||||||||||||||||||||
Bill of Materials
| ||||||||||||||||||||||||
Document | ||||||||||||||||||||||||
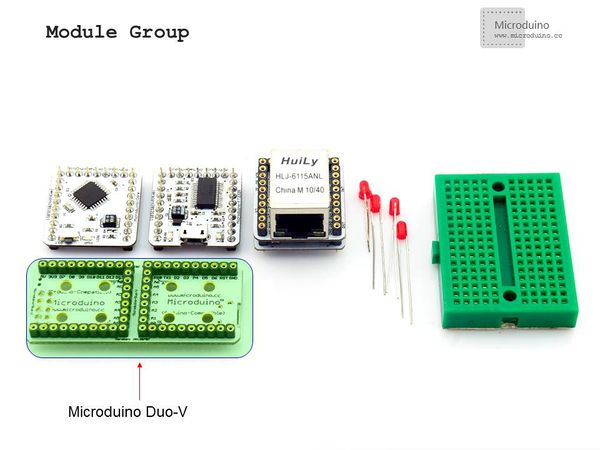
DebuggingStep 1:Set up router network Power on router, and connect the PC to network. Step 2:Set up hardware Install all Microduino module, use the extension board Microduino Duo-V for easy debugging. | ||||||||||||||||||||||||
|
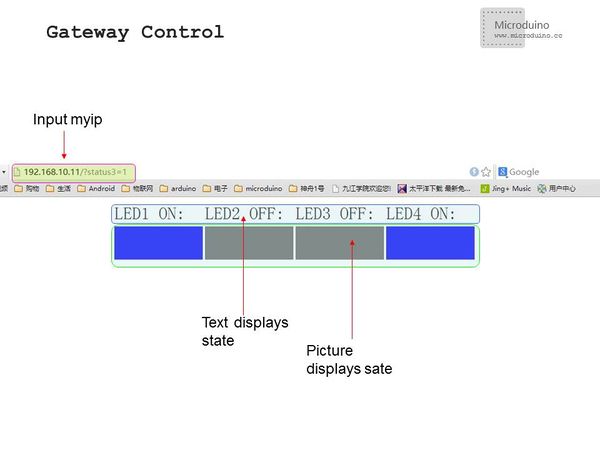
Step 3:Downlaod program Start Arduino IED, open the Microduino example program, board type choose "Microduino Core (Atmega328P@16M,5V)", download directly. Step 4:Connect the network cable Connect the microduino RJ45 to LAN port of router. Step 5:Control the LED in loacal network Open a new web page, enter into the address "myip". Microduiono networking success can enter the control interface, or can not be opened. | ||||||||||||||||||||||||
ResultConnect the Microduino core to network, control the LED by the button on web page. Press button, LED light, then press again, LED off. | ||||||||||||||||||||||||
Note
Video |


