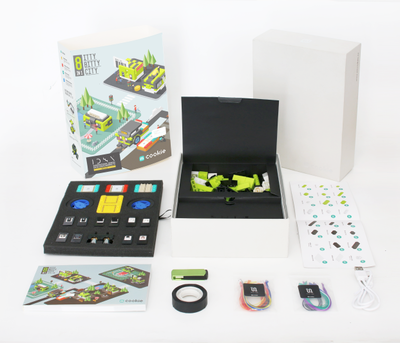
Getting Started with Itty Bitty City (Windows)
Download and Install Software
Note: If you have a previous version installed already, you must uninstall that version prior to installing a newer version.
Then proceed to the next steps. |
1. Download the latest Windows IDE (Version 5.0, 2019-03-25): HERE

2. Double click on the setup file to start the installation process. Click Next.

3. The next window will allow you to select which options to install. Leave all checked and click Install.

4. The installation process will begin for the Arduino IDE.

5. Wait until it is complete.

6. After the Arduino IDE has been installed, a window for driver installation will appear. Click Next.

7. Click on "I accept this agreement" and click Next to start the drivers installation.

8. After the drivers are installed, click Finish.

9.Installation is now complete! Click on Finish.

10.If you left the run option checked, the software will start to launch. Otherwise locate the program shortcut on your desktop or start menu and launch it.

11. The software is now ready to be used!

Configuring and Testing the Software/Hardware
- Open the Microduino software.
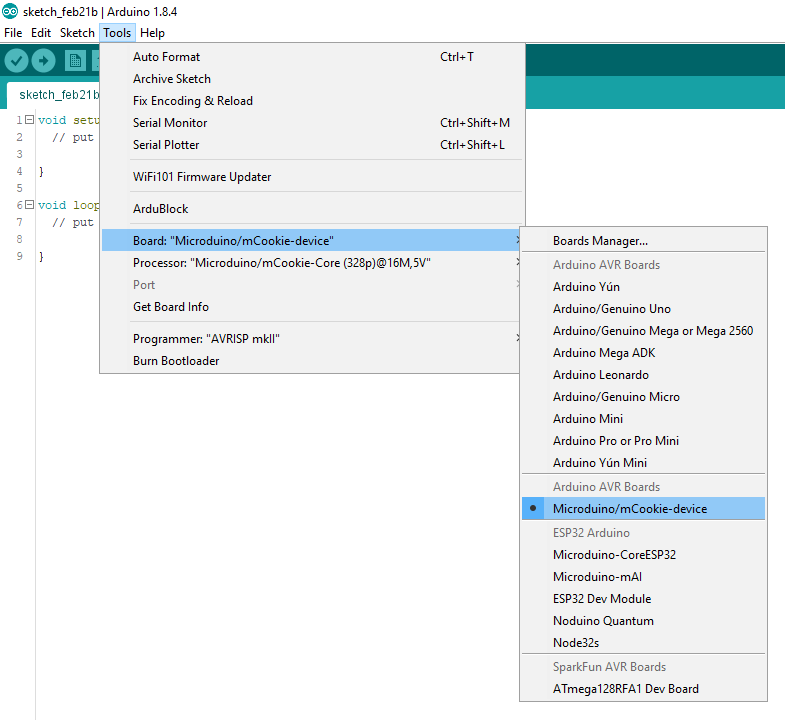
- Go to “Tools > Board” and select “Microduino/mCookie-device”
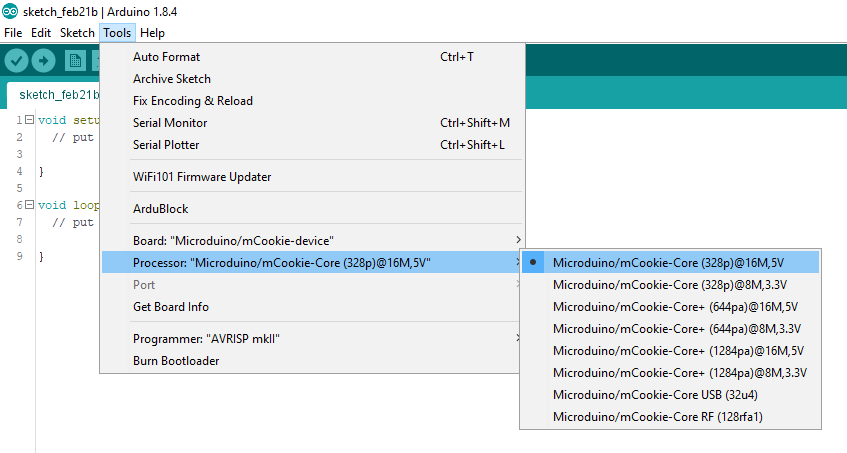
- Go to “Tools > Processor” and select “Microduino/mCookie-Core (328p)@16M,5V”
- Only have the red Core module and yellow battery stacked. Then connect the MicroUSB to the yellow battery and the other end to your computer's USB port.
- Check if the red LED is lit on the yellow battery. This indicates the battery is ON and SUPPLYING power to the modules.
If there is no red LED lit, then press and hold the button on the yellow battery for a few seconds to turn it on.
Note: Blinking blue LEDs indicates the battery is CHARGING ONLY.IMPORTANT: The red LED must be on when programming or using your project.
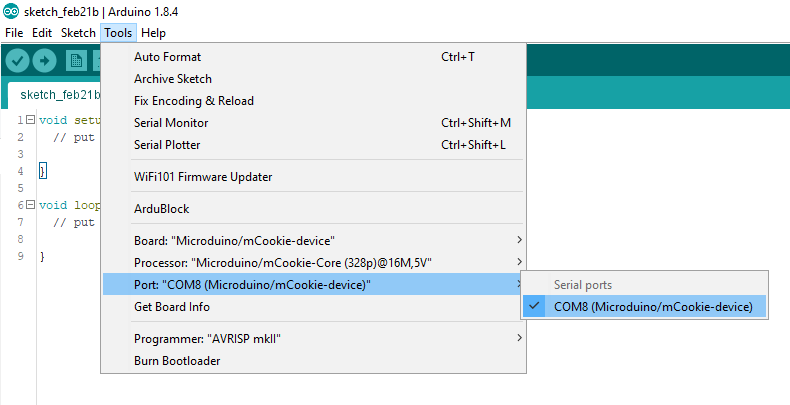
- Go to “Tools > Port” and select the port. It is usually the one that is select-able.
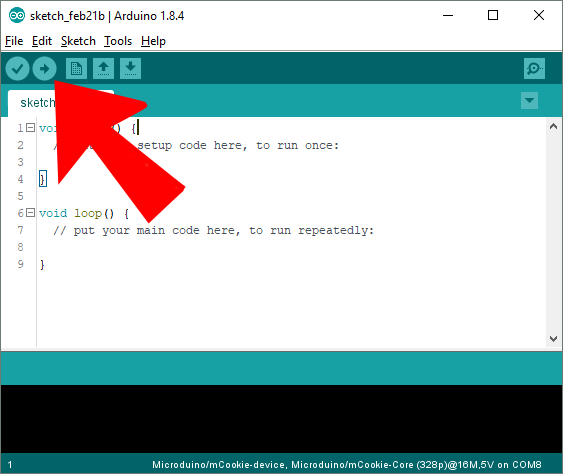
- With the default sample code. Hit upload (right arrow icon on the top left of the software).
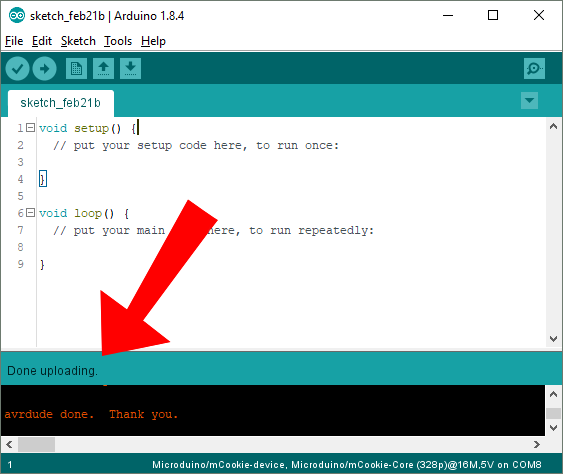
- The code will compile and will say upload complete if successful. Congratulations the software setup is complete!


Projects
Follow the printed manual to build and program Itty Bitty City's projects.
Download the digital version of the printed manual: