Outline
- Project: Microduino Electronic Welcome Device
- Objective: Use Microduino core and two pyroelectric infrared sensor to identify the human body in and out, then use the Microduino LM4863 to play different audio.
- Difficulty: High
- Time-consuming: 5 hours
- Maker: Microduino Studio-YLB
Bill of Materials
| Module |
Number |
Function
|
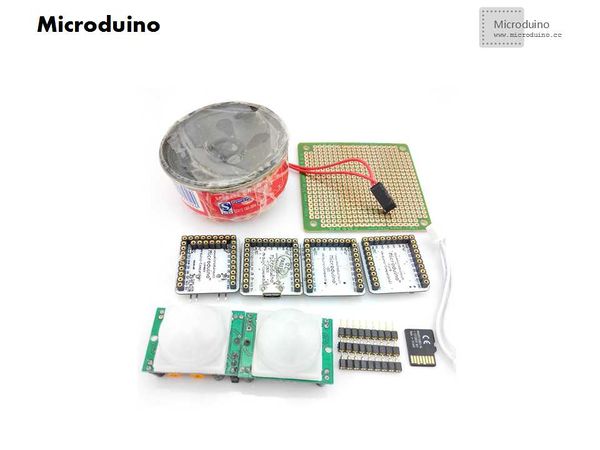
| Microduino-Core |
1 |
Core board
|
| Microduino-FT232R |
1 |
Download program
|
| Microduino-LM4863 |
1 |
Play audio
|
| Microduino-SD |
1 |
Read memory card
|
| Memory card |
1 |
Store audio file
|
| pyroelectric infrared sensor |
2 |
Identify body
|
| pegboard |
1 |
Set up circut
|
| 9_Pin Row needles |
3 |
Fix Microduino core
|
| Horn |
1 |
play audio
|
| Soldering iron |
1 |
welding tool
|
| Mobile power supply |
1 |
power supply
|
| Solder |
1 |
welding tool
|
| Wire |
1 |
welding tool
|
| tweezers |
1 |
welding tool
|
Document
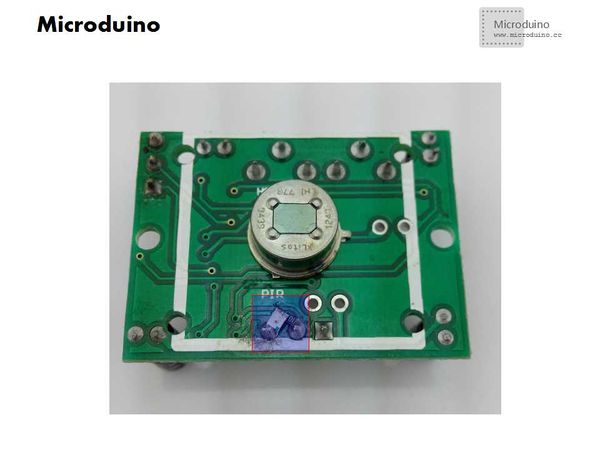
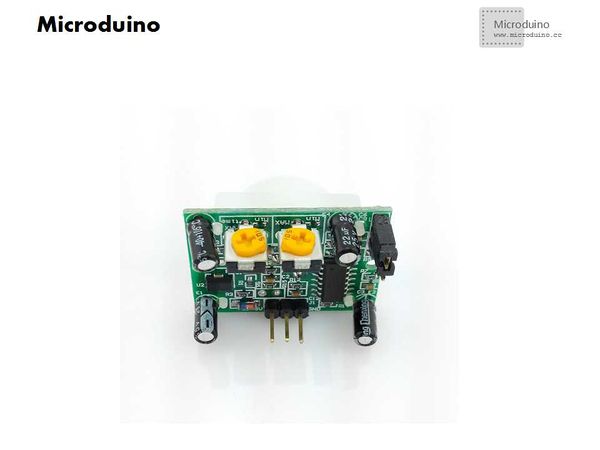
Download pyroelectric infrared sensor HC-sr501 material:
Debug
- Step 1: Prepare the experiment equipment
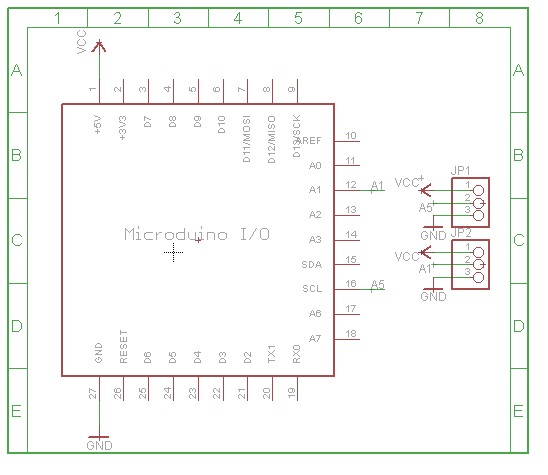
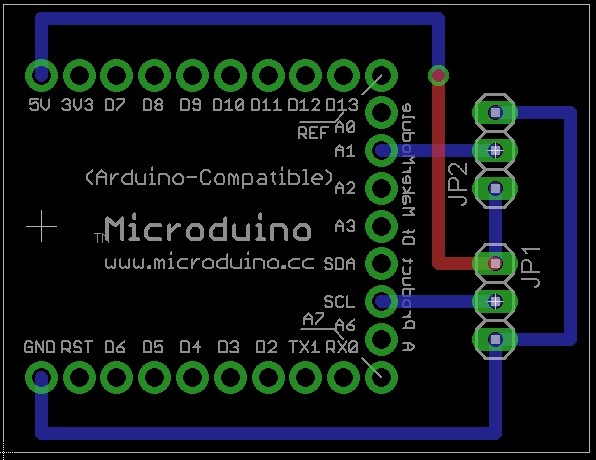
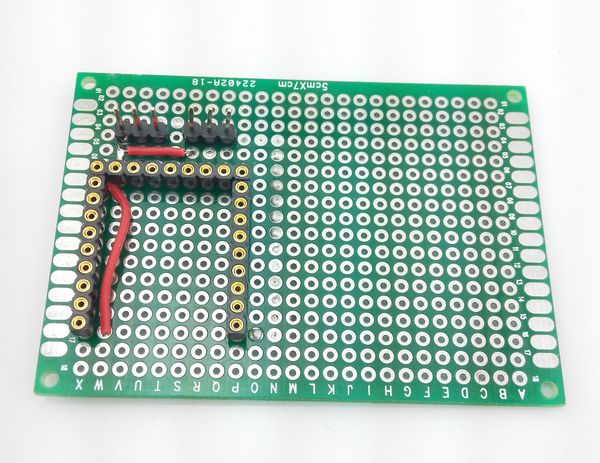
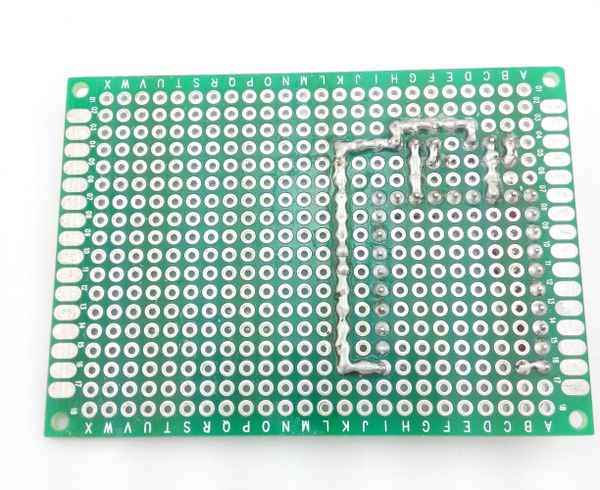
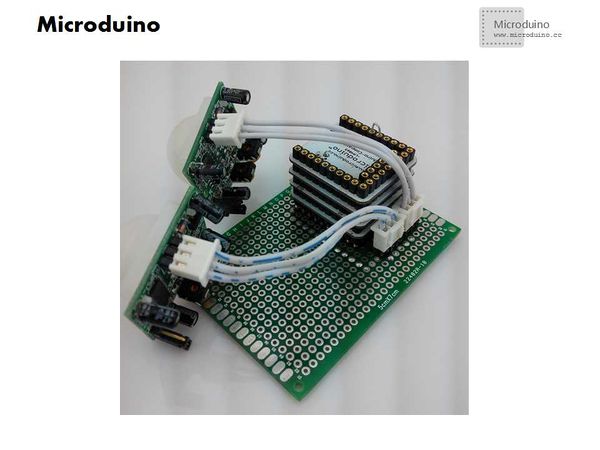
Welding the circuit according to the schematic.
The front after welding:
The back:
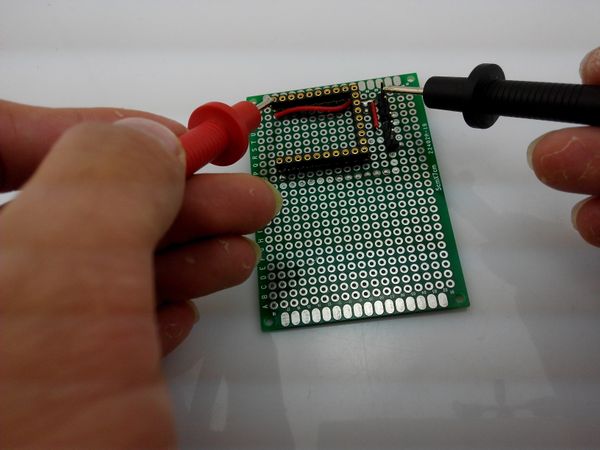
Use the multimeter to measured if the welding is correct.
Measuring principle: use wire connect two nodes, the resistance is almost zero.
Measurement method: use the multimeter ohm, if the display value close to 0, that means welding success, otherwise there is a problem. Then need to measure the power and GND whether short circuit.
- Step 3: Change the pyroelectric infrared sensor, welding a resistor(330Ω) and a LED between 5V and OUT node;
Reason: When the sensor detects the body, OUT pin will output high level, using the LED to display, so easy to debug.
- Step 4: Set up circuit
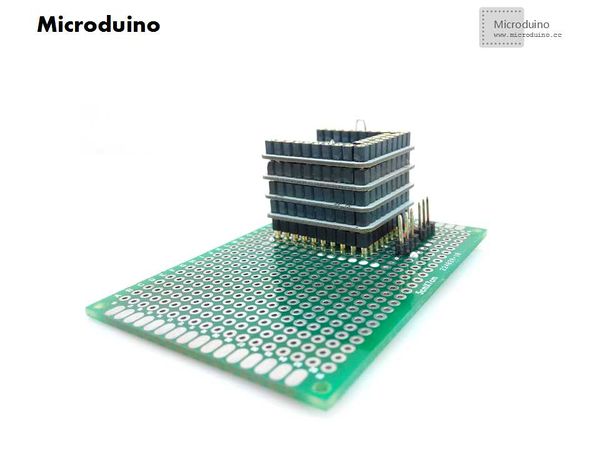
- Stack all module and plug in to control board.
- Connect the sensor and power on, check if the sensor can work.
- Step 5: Get the audio file
- Install software
- Open the software and generate the audio file
- Step 6: Convert the generated file
- Step 7: Start to debug the program
- Adjust the delay time and induction distance to a minimum, easy to debug
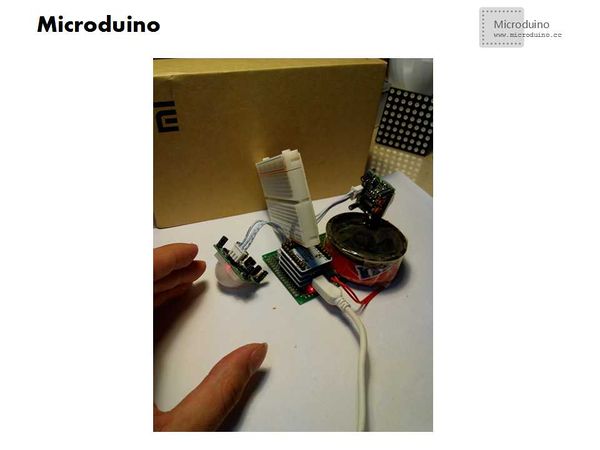
- Integrated all module together, and insert a bread board between the two sensors in order to separate, preventing signal interference.
- Download and open the test program, select the board "Microduino Core (Atmega328P@16M,5V)", download directly.
- Put the hand to the sensor, test it.
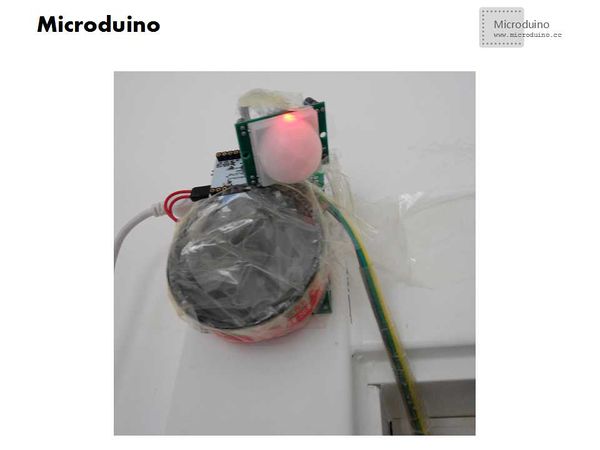
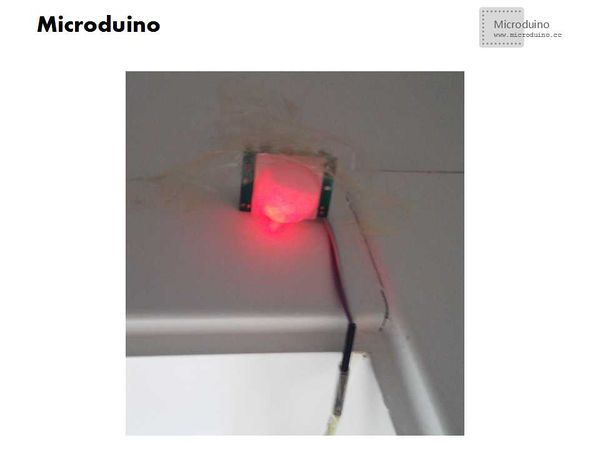
- Step 8: After finished debug, install it on door.
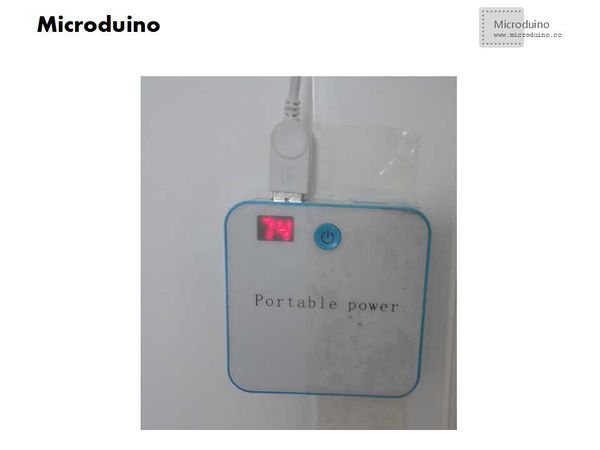
- Using mobile power supply, and convenient.
- One Sensor installed inside the door, another installed outside the door, used to identify the body in and out, need to adjust the sensor installation position and angle, and adjust the delay time and induction distance, in order to achieve the best effect of detection.
Result
Enter the room, it automatically broadcast: "master: hello! Welcome back", and go out automatically broadcast: "master remember to lock the doors and Windows", similar to the electronic welcome device.
The issue need pay attention
- The welding circuit can't go wrong;
- Sensor position should be correct.
Video
|
