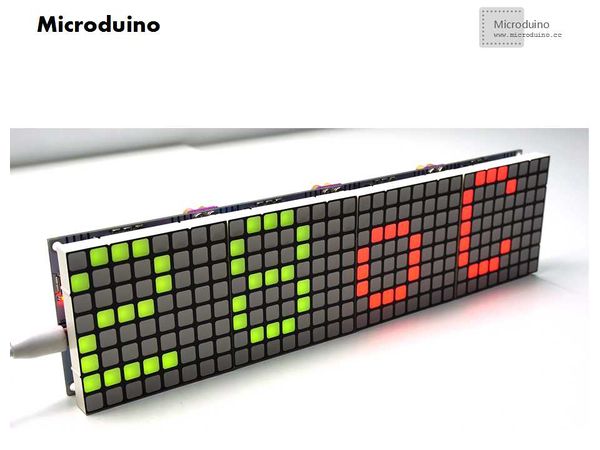
Microduino Lattice clock
Outline
Bill of Materials
DocumentsIIC Drive Library: Adafruit-LED-Backpack-Library:https://github.com/adafruit/Adafruit-LED-Backpack-Library Graphic Library: Adafruit-GFX-Library:https://github.com/adafruit/Adafruit-GFX-Library
DHT11 Library: RTC Library: Program Test: DebuggingBuilding Hardware:
Microduino Double Color Matrix adopts IIC drive. Since each device on an I2C data bus must have a unique address, its important to avoid collisions or you'll get a lot of strange responses from your electronic devices. Luckily, the HT16K33 has 3 address adjust pins (A0, A1, A2), so that the address can be changed. And the HT16K33 driver chip on these LED backpacks has a default I2C address of 0x70. Changing Addresses: Look on the back to find three A0, A1 and A2 solder jumpers. Each one of these is used to hard code in the address. If a jumper is shorted with solder, that sets the address. A0 sets the lowest bit with a value of 1, A1 sets the middle bit with a value of 2 and A2 sets the high bit with a value of 4. The final address is 0x70 + A2 + A1 + A0. So for example if A2 is shorted and A0 is shorted, the address is 0x70 + 4 + 1 = 0x75. If only A1 is shorted, the address is 0x70 + 2 = 0x72. Therefore, the addresses you can set are 0x70, 0X71, 0x72, 0x73, 0x74, 0X75, 0x76, 0x77. The IIC addresses of our example program are 0x70, 0X71, 0x72, 0x73 respectively. How to realize the program: We need to set four special I2C addresses in begin() function, such as ”begin(0x70), begin(0x71), begin(0x72), begin(0x73)”. And we also need to acclaim different objects. eg: “Adafruit_BicolorMatrix matrix1= Adafruit_BicolorMatrix();”.
Notice:Each control panel can only have two Microduino modules folded at most. We need to cascade 9,10 adopting soft serial port 9 and 10.
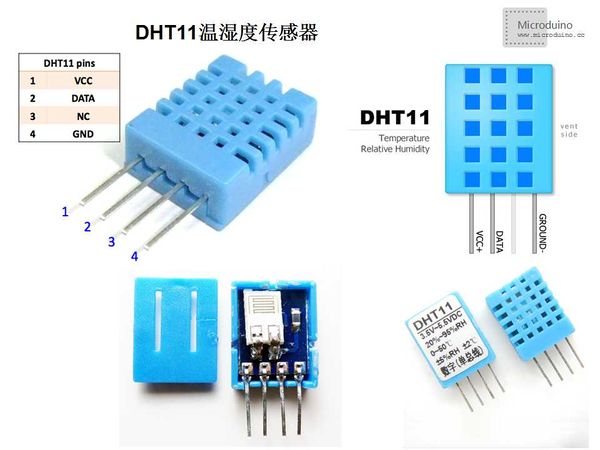
Here, we will connect DATA to the D3 pin of Microduino and define it as “#define DHT11PIN 3 //DHT11 PIN 3”. Besides, you can also change pins if necessary.
Software Debugging:
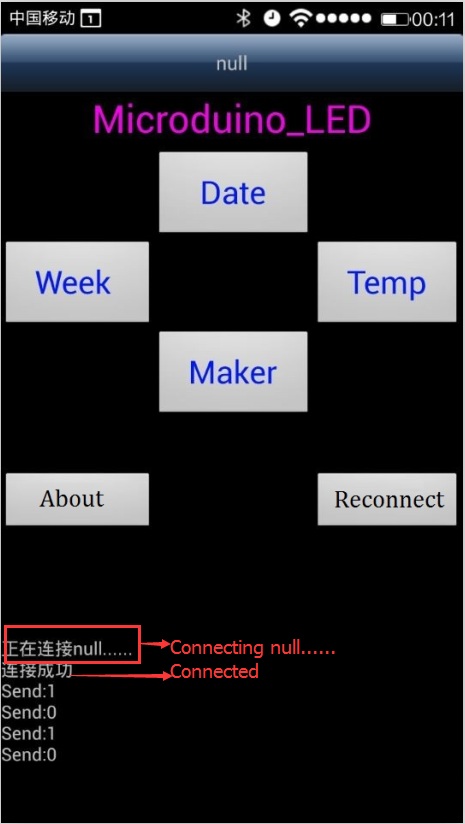
By serial port transmitting data, the button of the phone only can send fixed characters when it is pressed. If you loose the button, it will send “0”. If you don’t press the button, the time will be always displayed.
By reading RTC time, the time will be displayed in the form of coordinate. The blinking of the second clock can be decided to display or not by judging whether it can be divided exactly by “2” .
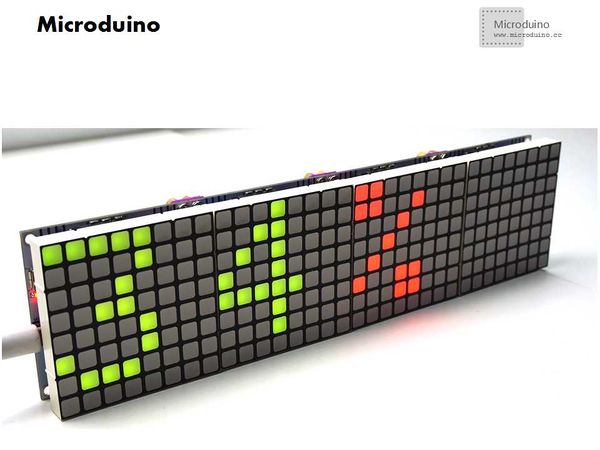
We can see the effect of rollover by changing values of the displayed coordinate or through the function of vosetlcd(“char”, long, color, time). “char”:character string to be displayed long: string length*8 color:text color(LED_RED, LED_GREEN, LED_YEELOW) Time:movement speed
Temp:Temperature color1:Color of the displayed temperature value Color2:Color of temperature symbol
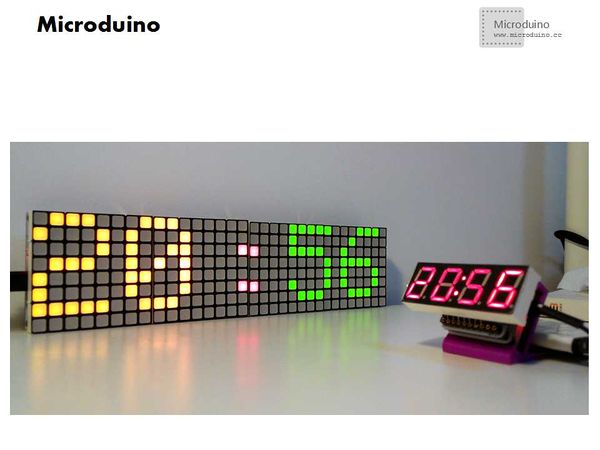
Hum:Humidity color1:Color of the displayed humidity value Color2:Color of humidity symbol ResultThrough the experiment, we realize the presentation of electronic calendar as well as the detection and display of temperature and humidity. Besides, we can switch the display via Android phone.
Notice
Video |
