|
|
(One intermediate revision by the same user not shown) |
Line 18: |
Line 18: |
| === If you ar using Windows 7 64bit or Windows 8 === | | === If you ar using Windows 7 64bit or Windows 8 === |
| | | |
− | Try this http://wiki.leaflabs.com/Maple_IDE_Windows_8_Installation
| + | |
| | | |
| = Programming Microduino-CoreSTM32 = | | = Programming Microduino-CoreSTM32 = |
Line 52: |
Line 52: |
| * Download and install STM32 Flash loader demonstrator from http://www.st.com/web/en/catalog/tools/PF257525 | | * Download and install STM32 Flash loader demonstrator from http://www.st.com/web/en/catalog/tools/PF257525 |
| | | |
− | * Download bootloader file from Maple website: http://static.leaflabs.com/pub/leaflabs/maple-bootloader/maple_mini_boot.bin
| |
| * Plug CoreARM on USB2TTL module, connect the USB2TTL module(NOT CoreARM) to your computer. | | * Plug CoreARM on USB2TTL module, connect the USB2TTL module(NOT CoreARM) to your computer. |
| | | |
Setup Microduino-CoreSTM32 with Maple IDE (Windows)
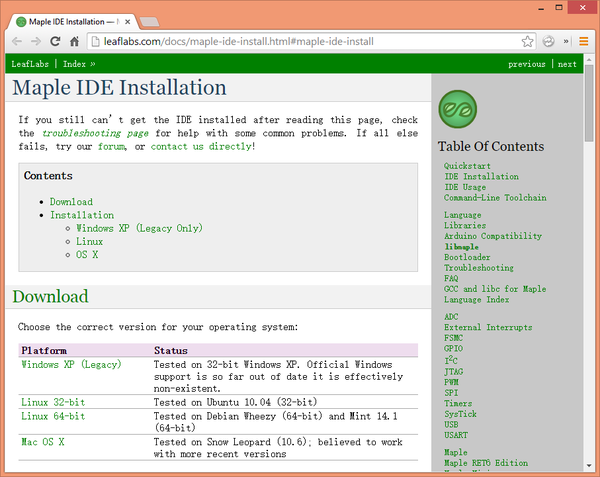
- Download Maple IDE on
- Although the document says Maple only supports WinXP 32-bit, but you can also run it on Windows 7 or Windows 8 with some workaroud.
- UnZip the Maple IDE into a folder, like C:\maple\
- If you are using Windows XP, just plug Microduino-CoreSTM32 into your USB port, Open your Device Manager, you will see a Device named "Maple", with a yellow exclamation.
- Right click on the Maple, Select "Update Driver". Click on "Not this time", then Next.
- Select the following option: Install from a list or specific location (Advanced), and then click Next.
- Select "Search for the best drivers in these locations", Click on "Include this location in the search, and then Browse into folder like "C:\maple\drivers", Click Next.
- You should now have the CoreSTM32 driver installed.
If you ar using Windows 7 64bit or Windows 8
Programming Microduino-CoreSTM32
- Make sure you have already installed driver of CoreSTM32.If you use the upper software, you should installed all the packate for STM32 module.
- Run Maple IDE, click menu Tools -> Board, select Microduino-CoreSTM32 to RAM if you just want to test the program, or Microduino-CoreSTM32 to Flash if you want to run the program after resetting the board.
Setup Microduino-CoreSTM32 with ST-Link debugger
If you have a ST-Link debugger or a STMicroelectronics' Discovery board, you can debug and download programs using ST-Link.
ST-Link Debugger connection
SWD Pin |
JTAG Pin |
Pin Name |
CoreSTM32 Pin |
MCU Pin |
Description
|
1 |
1 |
VDD_TARGET |
3V3 |
VDD |
VDD from the CoreSTM32
|
2 |
9 |
SW_CLK |
D6 |
PA14 |
SWD Clock
|
3 |
8 |
GND |
GND |
GND |
Ground
|
4 |
7 |
SWDIO |
D5 |
PA13 |
SWD Data input/output
|
5 |
15 |
NRST |
RST |
NRST |
Reset
|
6 |
13 |
SWO |
D8 |
PB3 |
TRACESWO if async trace enabled, not necessary
|
Download bootloader(firmware) using Microduino-USB2TTL
- Plug CoreARM on USB2TTL module, connect the USB2TTL module(NOT CoreARM) to your computer.
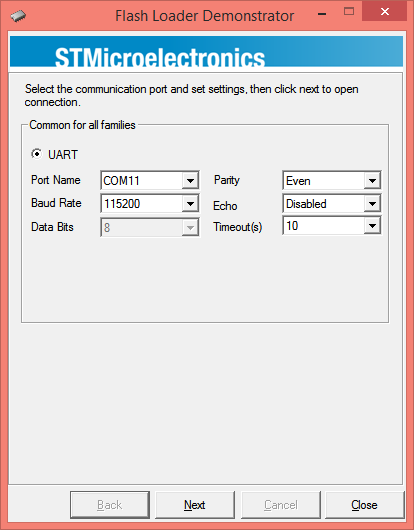
- Open Flash loader demonstrator, when you see the following dialog, press and hold the BUT button, then click the RESET button, and then release the BUT button. Then click "Next"
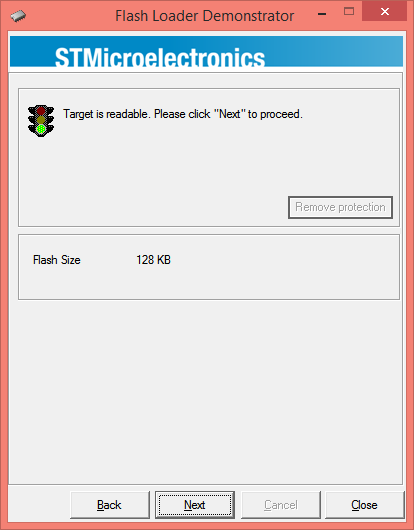
- Click Next again on this page
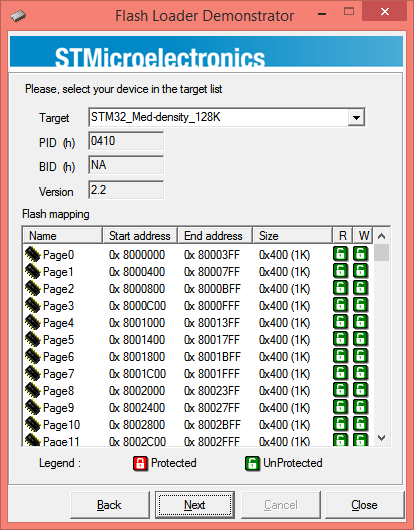
- Check if the Target is 128K, and all pages are UnProtected, click Next
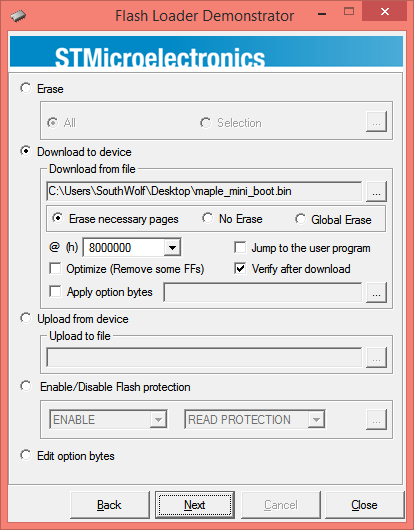
- Select "Download to Device", browse to the "maple_mini_boot.bin", click Next
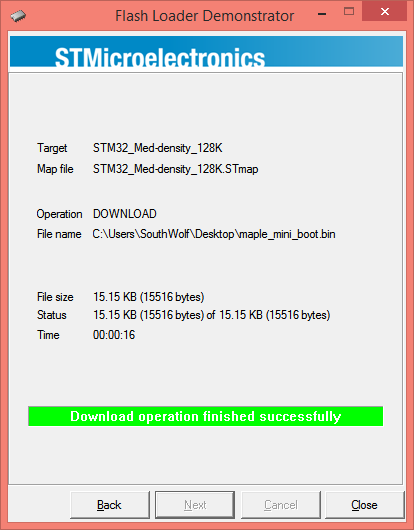
- Wait for the progress finish. When the Flash loader promts "Download operation finished successfully", your Microduino-CoreSTM32 is OK to use!
|