Difference between revisions of "Joystick Sensor Application"
From Microduino Wiki
(Created page with " {| style="width: 800px;" |- | ==Purpose== This tutorial will show you how to use Microduino Joystick. ==Equipment== *'''Microduino-CoreUSB''' *'''Microduino-Joystic...") |
(→Result) |
||
| Line 49: | Line 49: | ||
==Result== | ==Result== | ||
| − | You can control buzzer | + | You can control the tone of a buzzer through Joystick. |
==Video== | ==Video== | ||
|} | |} | ||
Latest revision as of 08:30, 31 July 2015
Contents[hide]PurposeThis tutorial will show you how to use Microduino Joystick. Equipment
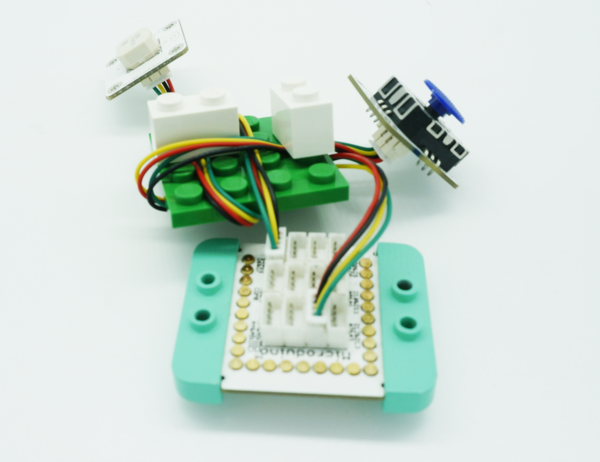
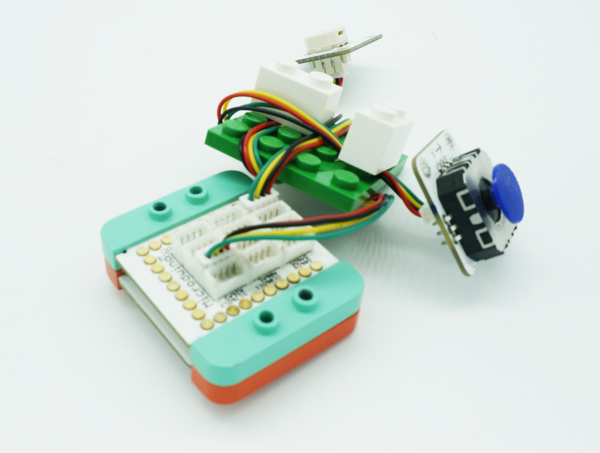
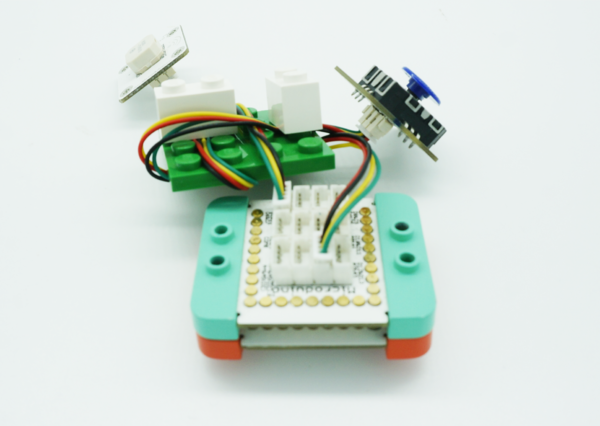
PrincipleThe X-axis and Y-axis of the Joystick correspond two analog values. The move of X- and Y-axis changes the analog values. ProgramDebuggingStep 1: Plug Microduino buzzer to the D6 pin of Microduino-Sensorhub and Microduino Joystick to A2 , A3.
ResultYou can control the tone of a buzzer through Joystick. Video |


