Difference between revisions of "MCookie-BT"
(→Communicate with Android Device) |
|||
| (4 intermediate revisions by the same user not shown) | |||
| Line 5: | Line 5: | ||
[[file:mCookie-bt-rect.jpg|400px|thumb|right|mCookie-BT]] | [[file:mCookie-bt-rect.jpg|400px|thumb|right|mCookie-BT]] | ||
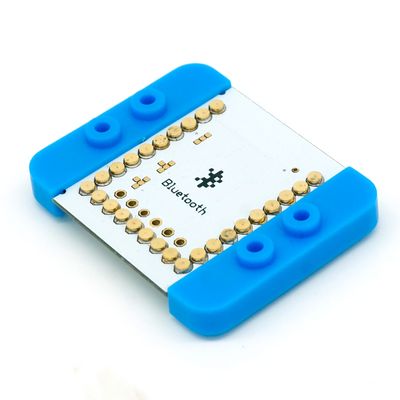
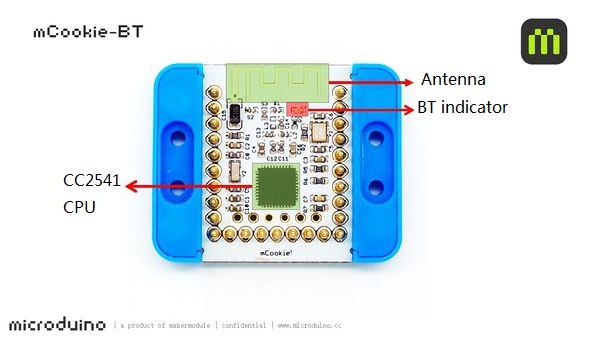
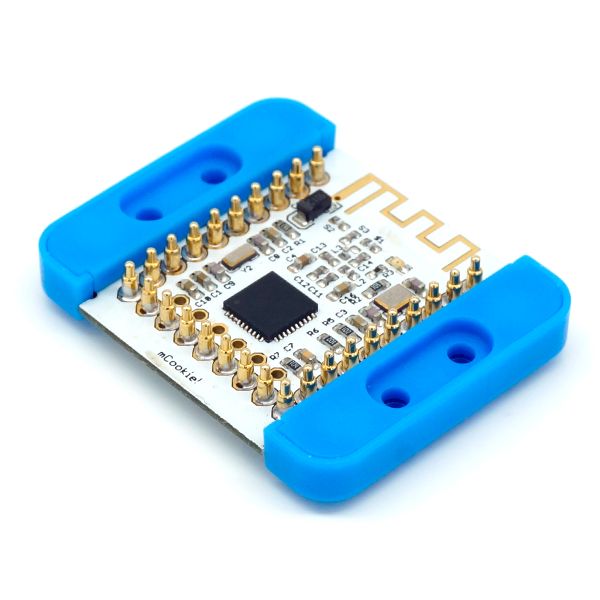
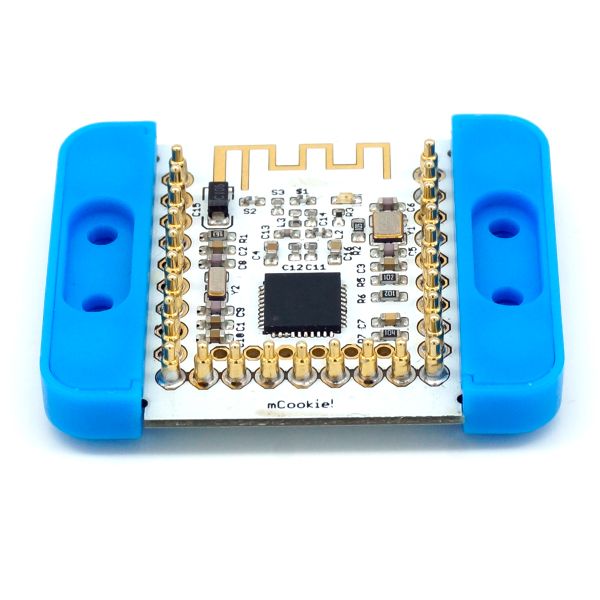
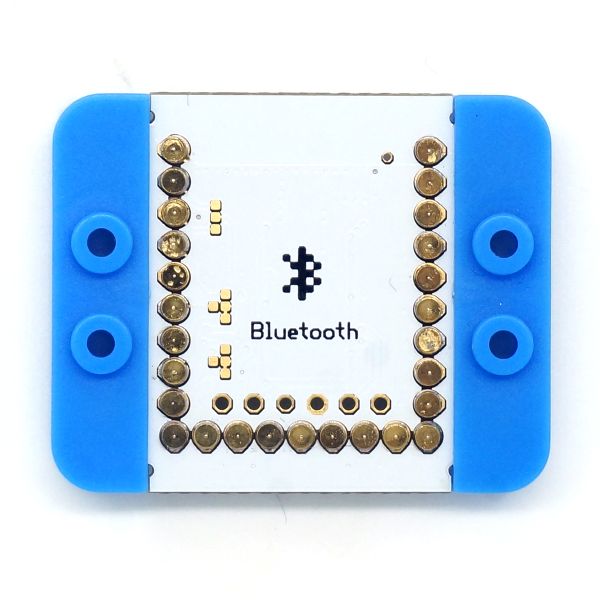
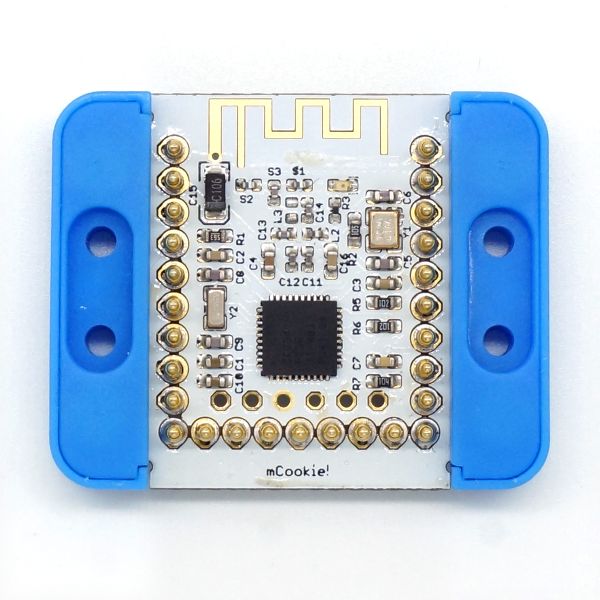
mCookie-BT is a Bluetooth low-consumption(BLE) serial transmission module, which can communicate with other Bluetooth devices after connection, such as phone, and iPad with the help of the relative APP. | mCookie-BT is a Bluetooth low-consumption(BLE) serial transmission module, which can communicate with other Bluetooth devices after connection, such as phone, and iPad with the help of the relative APP. | ||
| − | |||
| − | |||
| − | |||
| − | |||
| − | |||
| − | |||
| − | |||
| − | |||
| Line 33: | Line 25: | ||
* iBeacon has been integrated. Set by AT instruction "AT+MODE2\r\n" can be achieved only under slave machine. | * iBeacon has been integrated. Set by AT instruction "AT+MODE2\r\n" can be achieved only under slave machine. | ||
** Work mode: 0(transmission), 1(Direct drive) and 2(iBeacon); | ** Work mode: 0(transmission), 1(Direct drive) and 2(iBeacon); | ||
| − | ** iBeacon can be tested by Local iBeacons offered on App Store freely, and it | + | ** iBeacon can be tested by Local iBeacons offered on App Store freely, and it currently displays the distance. For the usage method, please refer to: |
| − | + | ||
[[File:ble-11rule.jpg|600px|center|thumb]] | [[File:ble-11rule.jpg|600px|center|thumb]] | ||
| Line 96: | Line 88: | ||
Step 3: Click SCAN button on the top right of the App, which is for searching Bluetooth devices nearby. | Step 3: Click SCAN button on the top right of the App, which is for searching Bluetooth devices nearby. | ||
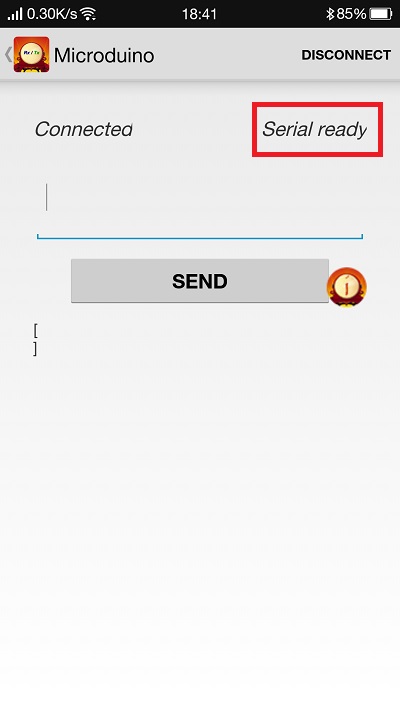
Click the corresponding Microduino Bluetooth device to enter the interface, wait for 2-3 seconds until you see "Serial Ready" on the top right of the screen, meaning the phone has been connected with the Bluetooth. | Click the corresponding Microduino Bluetooth device to enter the interface, wait for 2-3 seconds until you see "Serial Ready" on the top right of the screen, meaning the phone has been connected with the Bluetooth. | ||
| − | [[File:202KIT-android-ready.jpg|600px|center|thumb| | + | [[File:202KIT-android-ready.jpg|600px|center|thumb|App—App]] |
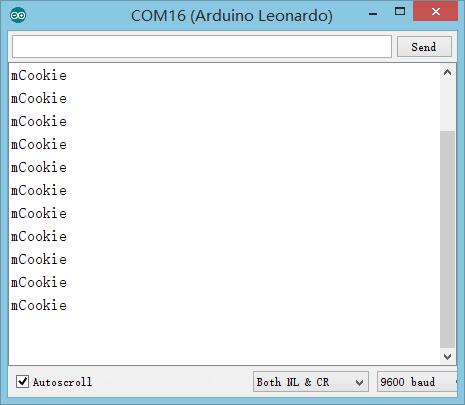
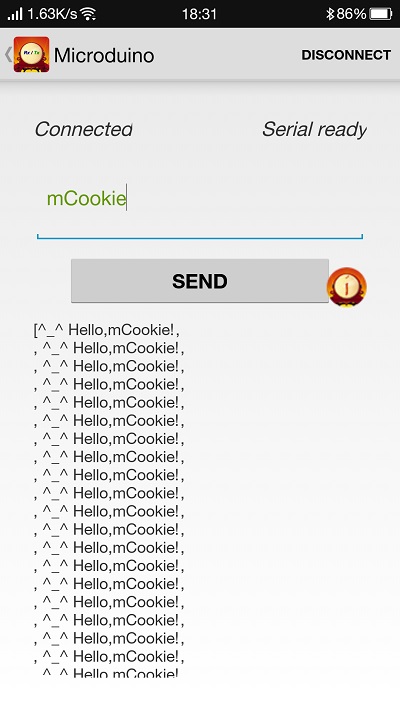
The phone sends characters to mCookie, which will be displayed on the serial monitor while at the same time, the phone will also receive "^_^ Hello,mCookie!" from mCookie, which can verify the bidirectional communication function of Bluetooth. | The phone sends characters to mCookie, which will be displayed on the serial monitor while at the same time, the phone will also receive "^_^ Hello,mCookie!" from mCookie, which can verify the bidirectional communication function of Bluetooth. | ||
| − | [[File:202KIT-android-system50.jpg|600px|center|thumb| | + | [[File:202KIT-android-system50.jpg|600px|center|thumb|App—Serial monitor1]] |
| − | [[File:202KIT-android-system60.jpg|600px|center|thumb| | + | [[File:202KIT-android-system60.jpg|600px|center|thumb|App—App1]] |
===Communicate with IOS Device === | ===Communicate with IOS Device === | ||
| Line 127: | Line 119: | ||
[[File:ble-Connection4.jpg|400px|center|thumb]] | [[File:ble-Connection4.jpg|400px|center|thumb]] | ||
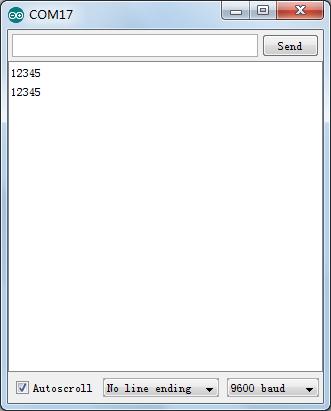
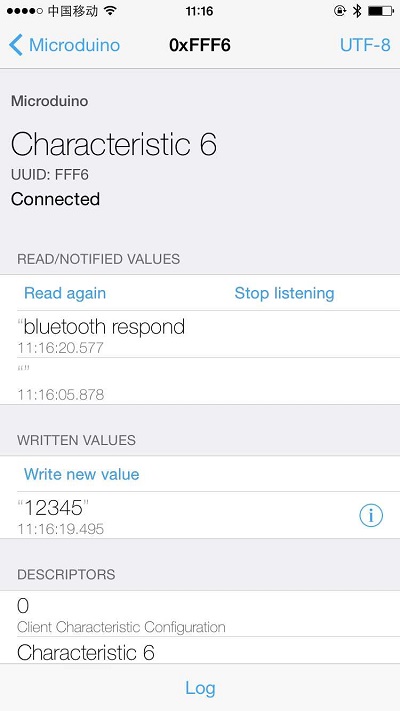
You can see from the picture that the serial port receives phone data "12345" and the phone side also gets return data " bluetooth respond " from Bluetooth, meaning the bidirectional Bluetooth communication is smooth. | You can see from the picture that the serial port receives phone data "12345" and the phone side also gets return data " bluetooth respond " from Bluetooth, meaning the bidirectional Bluetooth communication is smooth. | ||
| + | |||
| + | ===Communication with MAC=== | ||
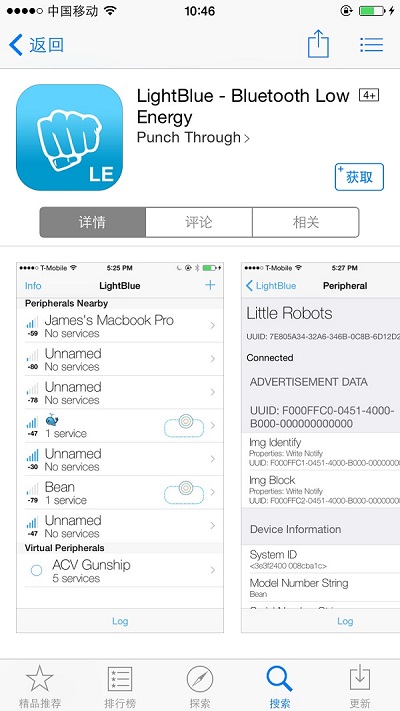
| + | The Bluetooth of MAC cannot be connected with the research of the BT directly, and Light Blue is needed to develop, download. | ||
| + | *Connect the mCookie-CoreUSB and module BT to the computer, and download the same code. | ||
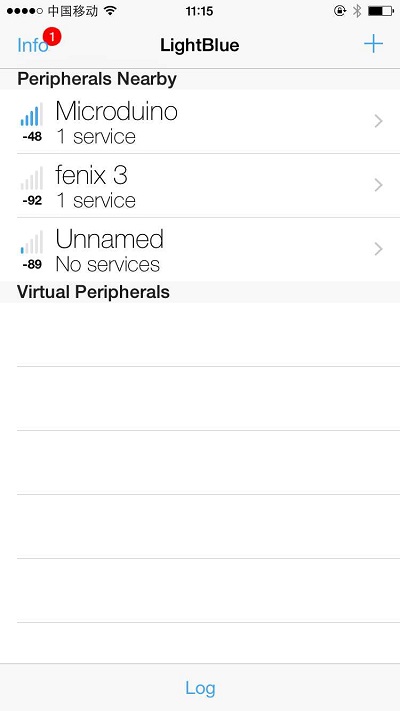
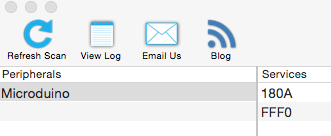
| + | *Open Arduino serial monitor, and then open software Light Blue, you can find it has identified Microduino device. | ||
| + | [[File:ble-Connection5.png|400px|center]] | ||
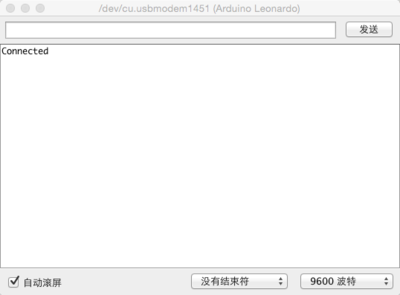
| + | *Click Microduino to connect it with the Bluetooth. After connection, you can see the serial monitor prints Connected. ANd at the same time, the Bluetooth indicator lamp twinkles slightly(the frequency grows quick, and the brightness becomes low). | ||
| + | [[File:ble-Connection6.png|400px|center]] | ||
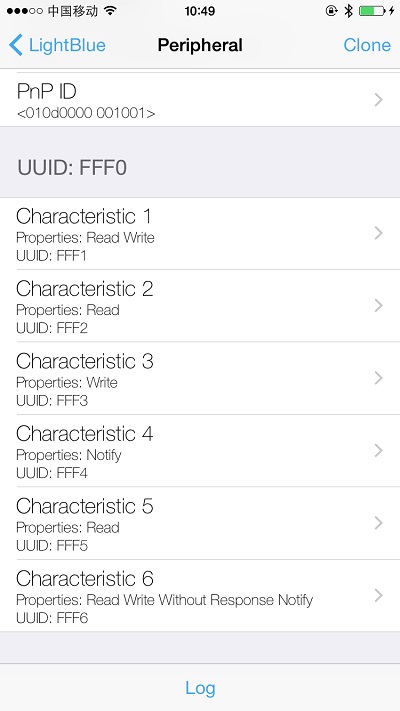
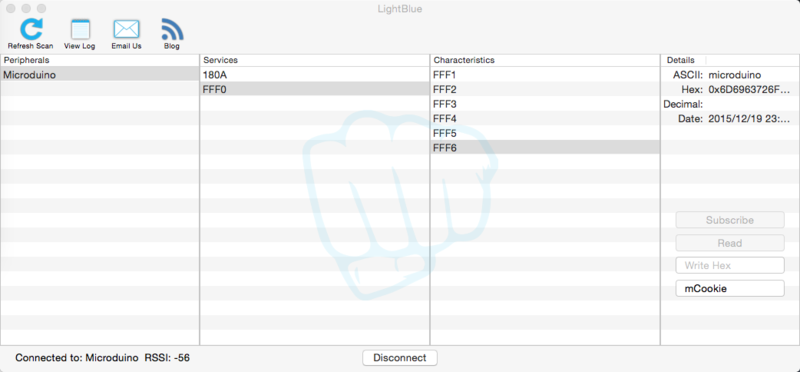
| + | *Choose accoding to the following picture, and then send message to the BT module, for example: mCookie. | ||
| + | [[File:ble-Connection7.png|800px|center]] | ||
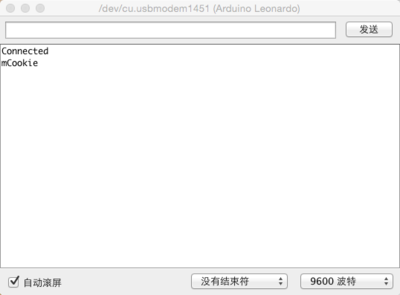
| + | *You can see the serial monitor prints out mCookie. | ||
| + | [[File:ble-Connection8.png|400px|center]] | ||
| + | ===Communication with windows=== | ||
| + | No password is needed when connecting to the Bluetooth by default, however, if it automatically popup that pairing is needed, the default password is: 000000. If it can't be connected, you need to set the connection needing password in AT command. | ||
| + | *Refer to the following document"Use AT to check or change the parameters of BT". | ||
| + | [[File:ble-Connection9.jpg|600px|center]] | ||
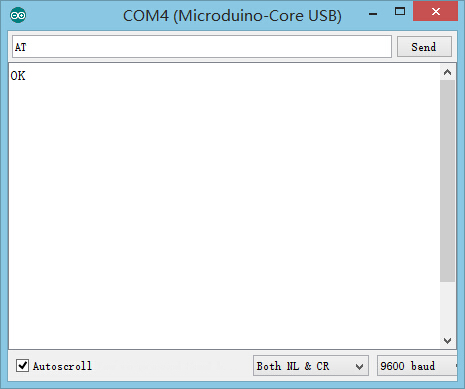
| + | *Open the serial monitor and input "AT+TYPE1" to set the connection needing password. Note to set:"\r\n", "9600baud". If the setting is successful, it will return:"OK+Set:1","Hello World Peripheral". | ||
| + | [[File:ble-Connection10.jpg|300px|center]] | ||
| + | *Then use the computer to connect, and it automatically popup pairing, input: 000000. | ||
| + | [[File:ble-Connection11.jpg|200px|center]] | ||
==Extension== | ==Extension== | ||
| Line 158: | Line 170: | ||
**Stack mCookie-BT and mCookie-CoreUSB, plug USB cable to mCookie-CoreUSB on one side and connect to your computer on the other side; | **Stack mCookie-BT and mCookie-CoreUSB, plug USB cable to mCookie-CoreUSB on one side and connect to your computer on the other side; | ||
**Start Arduino IDE, copy program to IDE; | **Start Arduino IDE, copy program to IDE; | ||
| − | **Choose Microduino CoreUSB from ( | + | **Choose Microduino CoreUSB from (tools)-> (Board) and select the right serial number from (tools)-> (Serial; |
**Click compile button (√) on the top left of IDE and start compiling. After that, click download (->) and burn the program to board; | **Click compile button (√) on the top left of IDE and start compiling. After that, click download (->) and burn the program to board; | ||
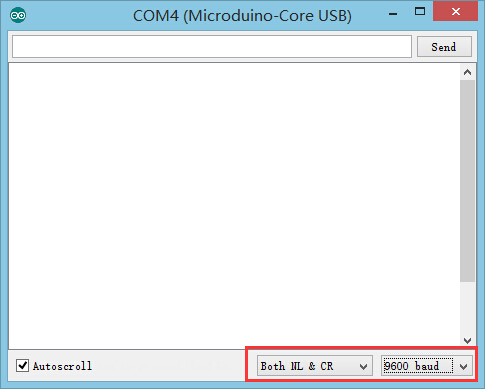
*Open serial monitor and set it to: "\r\n " "9600baud " | *Open serial monitor and set it to: "\r\n " "9600baud " | ||
Latest revision as of 03:29, 4 August 2017
| Language: | English • 中文 |
|---|
|
mCookie-BT is a Bluetooth low-consumption(BLE) serial transmission module, which can communicate with other Bluetooth devices after connection, such as phone, and iPad with the help of the relative APP.
Features
Specification
DocumentSupport AT instruction configuration/control: File:Microduino-BLE.pdf DevelopmentSerial Communication Requirements
Communicate with other BT devices via CoreUSB
//Use soft SoftwareSerial
//#include <SoftwareSerial.h>
//SoftwareSerial mySerial(4, 5);

//#define my_Serial mySerial
#define my_Serial Serial1 //Define serial communication as Serial1
String msg = ""; //Define a string of characters

void setup()
{
  // Initialize Bluetooth communication baud rate
  my_Serial.begin(9600);
  // Initialize serial monitor communication baud rate
  Serial.begin(9600);
}
void loop()
{
  //Receives signal once and give feedback once to the other communication side.
  if (my_Serial.available() > 0)  //If there is data input in serial port
  {
    msg = my_Serial.readStringUntil('\n'); //All content before acquiring line break
    Serial.println(msg);                   //Display character string of msg in the serial monitor
    my_Serial.println("bluetooth respond");  //Send data to the other side of Bluetooth communication
  }
}
Communicate with Android Device
|
|
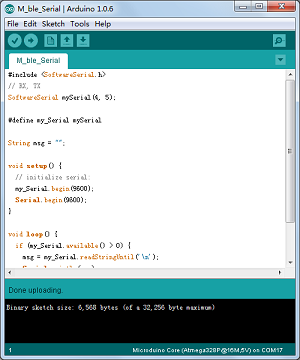
Step 1: Download program to mCoookie; |
|
Step 2: Start to set Android device, open the Bluetooth function, the App and the serial monitor on the computer IDE. Step 3: Click SCAN button on the top right of the App, which is for searching Bluetooth devices nearby. Click the corresponding Microduino Bluetooth device to enter the interface, wait for 2-3 seconds until you see "Serial Ready" on the top right of the screen, meaning the phone has been connected with the Bluetooth. The phone sends characters to mCookie, which will be displayed on the serial monitor while at the same time, the phone will also receive "^_^ Hello,mCookie!" from mCookie, which can verify the bidirectional communication function of Bluetooth. Communicate with IOS Device
Step 1: Download program to mCookie; Step 2: Install "LightBlue", open the software and start to set IOS device. And then open IOS device's Bluetooth function and open serial monitor on the computer's IDE side. Step 3: Open LightBlue: Enter Bluetooth device searching interface, find Microduino Bluetooth device from "Peripherals Nearby", Click this item and make its connection your phone. |
|
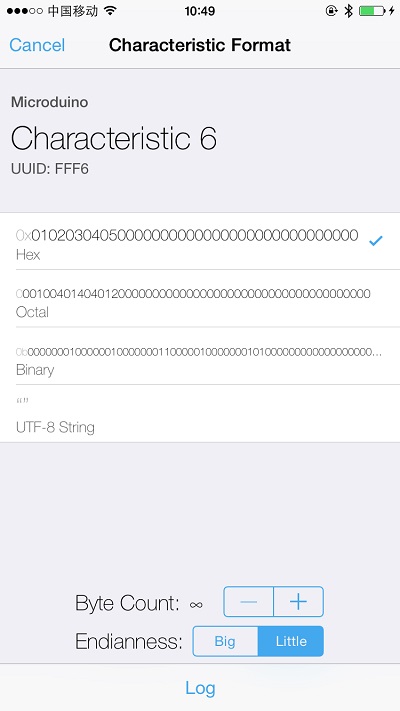
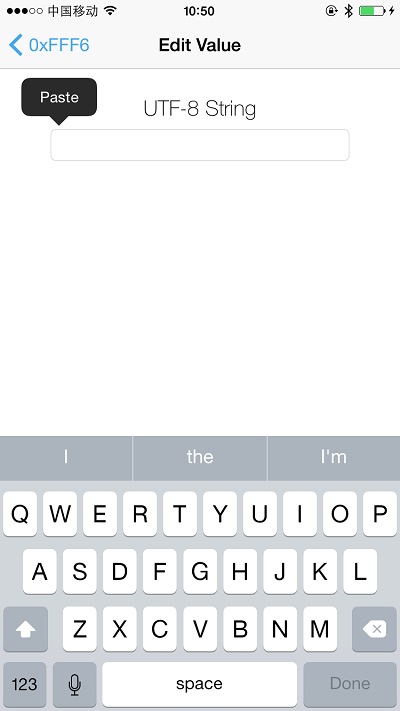
Enter the following interface after connection: Step 4: Select and click "Characteristic6" and see encoding format on the top right of the screen. (The default is Hex 16 band encoding.) Click Hex button if you need to display character strings and choose UTF-8 encoding format, click "Listen for notifications" and let your phone enter monitoring state. Step 5: Click " Write new value " and pop up text editing interface Enter a character string combined by English characters and numbers and check result from the phone and the serial port. You can see from the picture that the serial port receives phone data "12345" and the phone side also gets return data " bluetooth respond " from Bluetooth, meaning the bidirectional Bluetooth communication is smooth. Communication with MACThe Bluetooth of MAC cannot be connected with the research of the BT directly, and Light Blue is needed to develop, download.
Communication with windowsNo password is needed when connecting to the Bluetooth by default, however, if it automatically popup that pairing is needed, the default password is: 000000. If it can't be connected, you need to set the connection needing password in AT command.
ExtensionUse AT to Check or Change BT Parameters
//Use other soft serial port " SoftwareSerial"
//#include <SoftwareSerial.h>
//SoftwareSerial mySerial(4, 5); // RX, TX

//#define my_Serial mySerial
#define my_Serial Serial1 //Define serial ports of CoreUSB and BT

void setup()
{
  Serial.begin(9600);//Serial monitor communication & Baud rate
  my_Serial.begin(9600);//BT communication baud rate
}

void loop()
{
  if (Serial.available())//Monitor data from serial monitor
    my_Serial.write(Serial.read());//Wrote data into BT
  if (my_Serial.available())//Monitor serial data of BT
    Serial.write(my_Serial.read());//Print data in the serial monitor
}
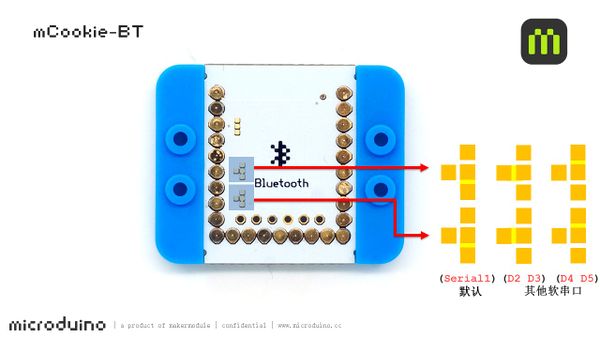
Change Serial Communication PinThe default serial is D0(RX), D1(TX). Users can change serial port according to personal needs, which can refer to: Use soft communication program: //Use other soft serial "SoftwareSerial"
#include <SoftwareSerial.h>
SoftwareSerial mySerial(4, 5);//Select the corresponding port numbers--(2,3) or (4,5) according to the serial ports.
#define my_Serial mySerial
String msg = "";
void setup()
{
// Initialize Bluetooth communication baud rate
my_Serial.begin(9600);
// Initialize serial monitor communication baud rate
Serial.begin(9600);
}
void loop()
{
//Receive signal once and then give feedback to the other side of the communication.
if (my_Serial.available() > 0) //If serial port has data input
{
msg = my_Serial.readStringUntil('\n'); //Acquire all content before line break
Serial.println(msg); //Receive character strings of msg in the serial monitor
my_Serial.println("bluetooth respond"); //Sending data to the other side of the Bluetooth communication
}
}ProjectRelated Projects: Bluetooth Light Bluetooth Night Light FAQ
Pictures |
