Difference between revisions of "Microduino MPU6050 calculate angle(Microduino 10dof)"
(Created page with "{{Language | Microduino MPU6050计算角度(Microduino 10dof)}} {| style="width: 800px;" |- | ==Objective== This tutorial will teach you how to use Microduino-10 dof module wh...") |
|||
| (One intermediate revision by one other user not shown) | |||
| Line 25: | Line 25: | ||
==Program== | ==Program== | ||
| − | Refer to MPU6050AngleOLED | + | Refer to MPU6050AngleOLED https://github.com/Microduino/Microduino_Tutorials/tree/master/Microduino_Sensor/MPU6050AngleOLED |
There are many ways to calculate the angle by MPU6050. The corresponding algorithm is different, two types complex and simple, the result is different too, accurate and inaccurate. You can find several methods to calculate in internet, such as: | There are many ways to calculate the angle by MPU6050. The corresponding algorithm is different, two types complex and simple, the result is different too, accurate and inaccurate. You can find several methods to calculate in internet, such as: | ||
| − | * | + | *1: Kalman filter to calculate the angle, this algorithm is very complex, but the result is very accurate. |
| − | * | + | *2: DMP(Digital Motion Processing) to calculate the angle, using the quaternion and the algorithm is simple, but the result isn't better than kalman filter. |
| − | * | + | *3: Using acceleration integral arithmetic to calculate the angle, algorithm is the most simple, the result is coarser. |
This program will use the third method to calculate the angle. You also can try the DMP and kalman by yourself. | This program will use the third method to calculate the angle. You also can try the DMP and kalman by yourself. | ||
| Line 37: | Line 37: | ||
==Debug== | ==Debug== | ||
| − | Step | + | Step 1: Stack all the module, as follows: |
[[File:MicroduinoMPU6050计算角度连接图.jpg|600px|center|thumb]] | [[File:MicroduinoMPU6050计算角度连接图.jpg|600px|center|thumb]] | ||
| − | Step | + | Step 2: Compile the program and download. |
| − | Step | + | Step 3: Swing module and watching the number on OLED |
==Result== | ==Result== | ||
Latest revision as of 10:21, 28 September 2016
| Language: | English • 中文 |
|---|
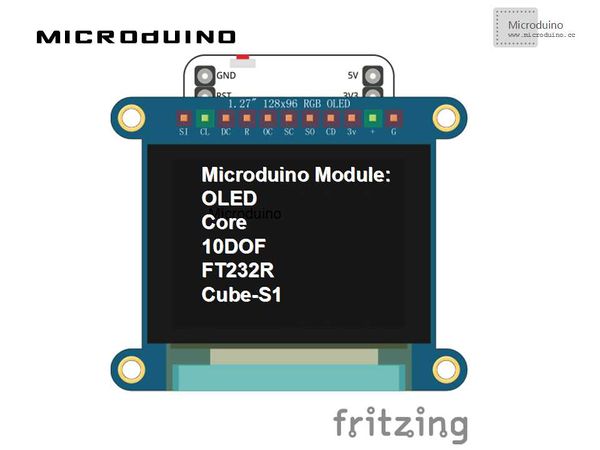
ObjectiveThis tutorial will teach you how to use Microduino-10 dof module which has the MPU6050 sensors and can be used to calculate the x, y, and z axis angle, and display the value via OLED. Equipment
Schematic
ProgramRefer to MPU6050AngleOLED https://github.com/Microduino/Microduino_Tutorials/tree/master/Microduino_Sensor/MPU6050AngleOLED There are many ways to calculate the angle by MPU6050. The corresponding algorithm is different, two types complex and simple, the result is different too, accurate and inaccurate. You can find several methods to calculate in internet, such as:
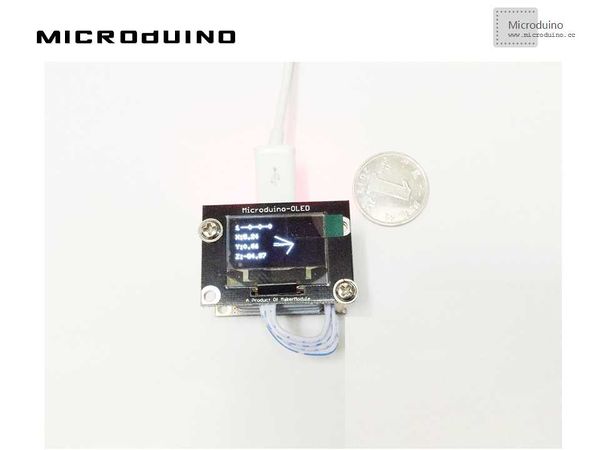
This program will use the third method to calculate the angle. You also can try the DMP and kalman by yourself. DebugStep 1: Stack all the module, as follows: Step 2: Compile the program and download. Step 3: Swing module and watching the number on OLED ResultModule rotates on three axis, and OLED displays the x, y, z axis angle change. Videohttp://v.youku.com/v_show/id_XNjk4NDIzMjQ0.html
|

