Difference between revisions of "Colored LED"
From Microduino Wiki
m |
m |
||
| Line 97: | Line 97: | ||
===Program Debugging=== | ===Program Debugging=== | ||
| − | *“#define PIN 6”: | + | *“#define PIN 6”: Defines D6 as the control pin the LED is connected to. |
| − | *“#define PIN_NUM 2”: | + | *“#define PIN_NUM 2”: Defines the max number of LEDs allowed in sequence. |
| − | *“colorWipe(uint32_t c, uint8_t wait) | + | *“colorWipe(uint32_t c, uint8_t wait) - Function Description: |
| − | **“uint32_t c”: | + | **“uint32_t c”: Defines the color of the light with the format " strip.Color(R, G, B)" |
***R:(0-255)。 | ***R:(0-255)。 | ||
***G:(0-255)。 | ***G:(0-255)。 | ||
***B:(0-255)。 | ***B:(0-255)。 | ||
| − | **“uint8_t wait”: | + | **“uint8_t wait”: Defines the duration time of each light in ms. |
| − | **Example: colorWipe(strip.Color(255, 0, 0), 500); | + | **Example: colorWipe(strip.Color(255, 0, 0), 500); Displays red light for 500ms. |
| − | **Users can | + | **Users can change the color of the LED by adjusting the RGB values. |
| + | |||
===Experiment Two: Breathing Light === | ===Experiment Two: Breathing Light === | ||
*Open Arduino IDE and copy the following code into IDE. | *Open Arduino IDE and copy the following code into IDE. | ||
Revision as of 19:39, 15 August 2016
| Language: | English • 中文 |
|---|
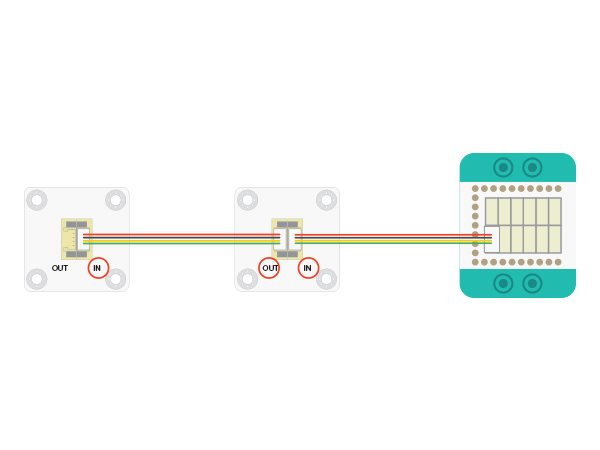
ContentsOutlineMicroduino-Color LED is a colored LED light with an built-in IC control chip, which can be cascaded arbitrarily. With only one I/O port, you can control all the lights. Each light can be controlled separately. Features
Specification
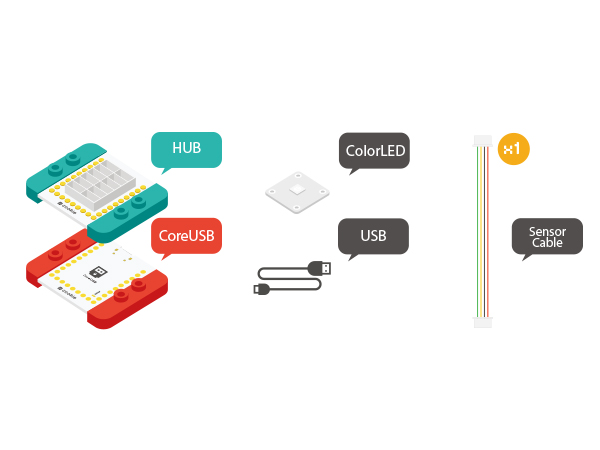
DocumentDevelopmentEquipment
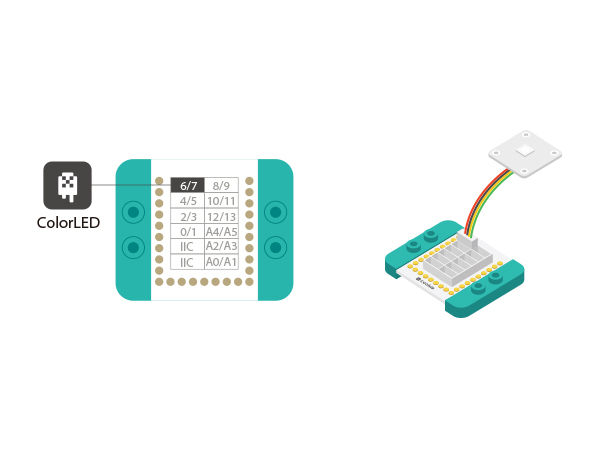
Preparation
Experiment One: Get the Light BrightenThe LED will change color between red, green, and blue every 500ms.
#include <Adafruit_NeoPixel.h>

#define PIN 6   //led control pin
#define PIN_NUM 2 //Light number allowed

Adafruit_NeoPixel strip = Adafruit_NeoPixel(PIN_NUM, PIN, NEO_GRB + NEO_KHZ800);

void setup() {
  strip.begin();
  strip.show();
}

void loop() {
  colorWipe(strip.Color(255, 0, 0), 500); // The first light goes read and after 500ms, the second light will go red.
  colorWipe(strip.Color(0, 255, 0), 500); // The first light goes read and after 500ms, the second light will go green.
  colorWipe(strip.Color(0, 0, 255), 500); // The first light goes read and after 500ms, the second light will go blue.
}

// Fill the dots one after the other with a color
void colorWipe(uint32_t c, uint8_t wait) {
  //Let each light turn to a specific color in loop. "C" indicates color; "wait" represents the time duration of each light .
  for (uint16_t i = 0; i < strip.numPixels(); i++) {
    strip.setPixelColor(i, c);
    strip.show();
    delay(wait);
  }
}
Program Debugging
Experiment Two: Breathing Light
#include <Adafruit_NeoPixel.h>

#define PIN 6   //LED light control pin
#define PIN_NUM 2 //LED light number allowed

#define val_max 255
#define val_min 0

Adafruit_NeoPixel strip = Adafruit_NeoPixel(PIN_NUM, PIN, NEO_GRB + NEO_KHZ800);

void setup() {
  strip.begin();
  strip.show();
}

void loop() {
  rainbowCycle( 255, 0, 0, 10);//Red breathing
  rainbowCycle( 0, 255, 0, 10);//Green breathing
  rainbowCycle( 0, 0, 255, 10);//Blue breathing
}

void colorSet(uint32_t c) {
  for (uint16_t i = 0; i < strip.numPixels(); i++) {
    strip.setPixelColor(i, c);
  }
  strip.show();
}

void rainbowCycle( int r, int g, int b, uint8_t wait) {
  for (int val = 0; val < 255; val++)
  {
    colorSet(strip.Color(map(val, val_min, val_max, 0, r), map(val, val_min, val_max, 0, g), map(val, val_min, val_max, 0, b)));
    delay(wait);
  }
  for (int val = 255; val >= 0; val--)
  {
    colorSet(strip.Color(map(val, val_min, val_max, 0, r), map(val, val_min, val_max, 0, g), map(val, val_min, val_max, 0, b)));
    delay(wait);
  }
}
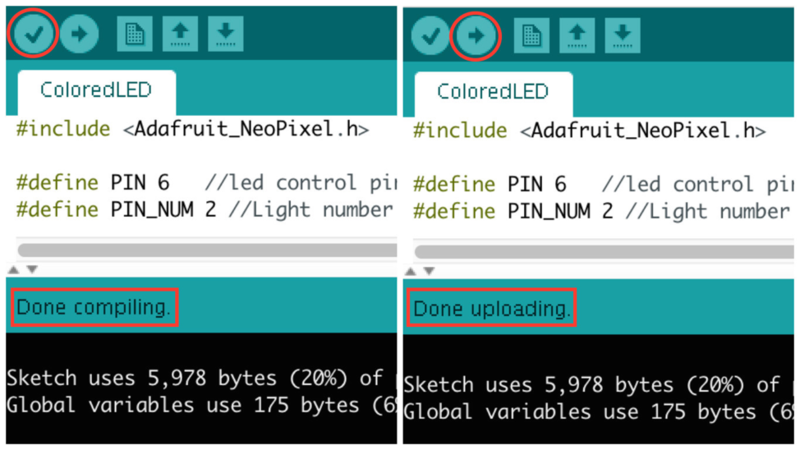
Code Debugging
Application
|
