Difference between revisions of "MCookie-WiFi"
From Microduino Wiki
(→Specification) |
|||
| Line 16: | Line 16: | ||
*Status indicator. | *Status indicator. | ||
| − | + | =Common AT Instruction= | |
*All AT instructions are ended with "\r\n ". | *All AT instructions are ended with "\r\n ". | ||
| Line 50: | Line 50: | ||
**AT+CIPMUX=1 Start multi-connection | **AT+CIPMUX=1 Start multi-connection | ||
| − | + | =Document= | |
Support AT instruction configuration/contro: | Support AT instruction configuration/contro: | ||
'''[[File:ESP8266_WiFi_Module_Quick_Start_Guide_v_1.0.4.pdf]]''' | '''[[File:ESP8266_WiFi_Module_Quick_Start_Guide_v_1.0.4.pdf]]''' | ||
| − | + | =Development= | |
| − | + | ==Program== | |
[[File:ESP8266TestV1.zip]] | [[File:ESP8266TestV1.zip]] | ||
| Line 63: | Line 63: | ||
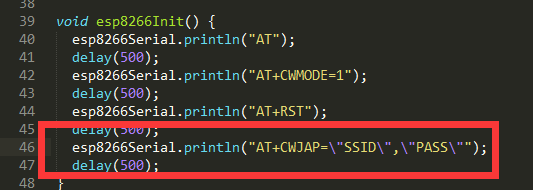
[[File:ESP8266ChangePass.png|thumb|600px|center]] | [[File:ESP8266ChangePass.png|thumb|600px|center]] | ||
| − | + | ==Download Program== | |
**Stacke mCookie-WiFi and mCookie-CoreUSB, plug USB cable into mCookie-CoreUSB on one side and connect computer USB socket on the other side. Then, start Arduino IDE, copy the program above to IDE, select Microduino-CoreUSB in (tools) -> (Board) and choose the right serial number in (tools) -> (Serial). After that, please click button (√) on the top left of IDE and compile the program. Burn the program to the board after compiling by clicking button (->); | **Stacke mCookie-WiFi and mCookie-CoreUSB, plug USB cable into mCookie-CoreUSB on one side and connect computer USB socket on the other side. Then, start Arduino IDE, copy the program above to IDE, select Microduino-CoreUSB in (tools) -> (Board) and choose the right serial number in (tools) -> (Serial). After that, please click button (√) on the top left of IDE and compile the program. Burn the program to the board after compiling by clicking button (->); | ||
*Open serial monitor and set "\r\n " and "115200 baud " | *Open serial monitor and set "\r\n " and "115200 baud " | ||
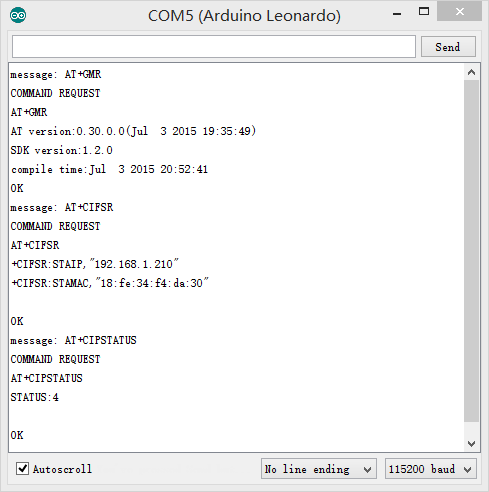
| Line 77: | Line 77: | ||
[[File:ESP8266WiF-AT.png|600px|center|thumb|AT]] | [[File:ESP8266WiF-AT.png|600px|center|thumb|AT]] | ||
| − | + | ==IDE Tests Program == | |
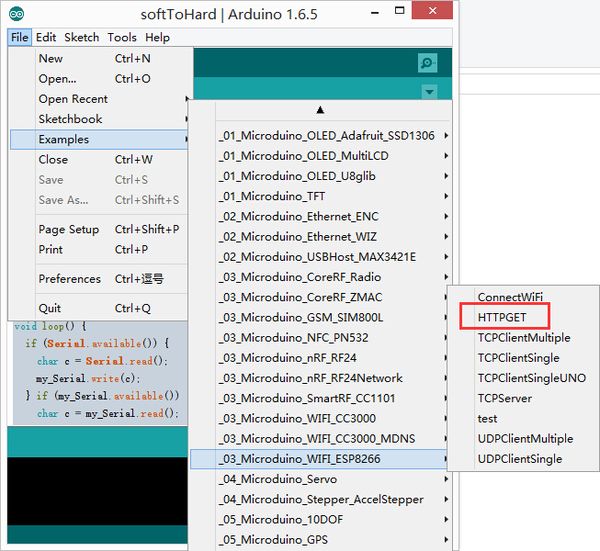
You can adopt HTTPGET program of _03_microduino_WiFi_ESP8266 from Microduino IDE example for testing. [[File:ESP8266-exampleCode.jpg|thumb|600px|center]] | You can adopt HTTPGET program of _03_microduino_WiFi_ESP8266 from Microduino IDE example for testing. [[File:ESP8266-exampleCode.jpg|thumb|600px|center]] | ||
| Line 83: | Line 83: | ||
Change your WIFI password in the code where there are SSID(WIFI name) and password setting. | Change your WIFI password in the code where there are SSID(WIFI name) and password setting. | ||
| − | + | ==Download Program == | |
| − | + | *Stack Microduino-WiFi(ESP) with Microduino-Core+ and Microduino-USBttl, plug USB cable into mCookie-CoreUSB on one side and connect computer USB socket on the other side. Then, start Arduino IDE, copy the program above to IDE, select Microduino-CoreUSB in (tools) -> (Board) and choose the right serial number in (tools) -> (Serial). After that, please click button (√) on the top left of IDE and compile the program. Burn the program to the board after compiliing by clicking button (->) | |
* Open serial monitor and set "\r\n " and "115200 baud " | * Open serial monitor and set "\r\n " and "115200 baud " | ||
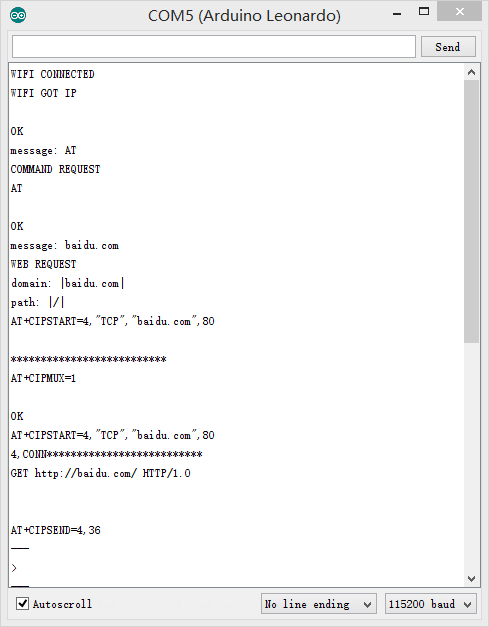
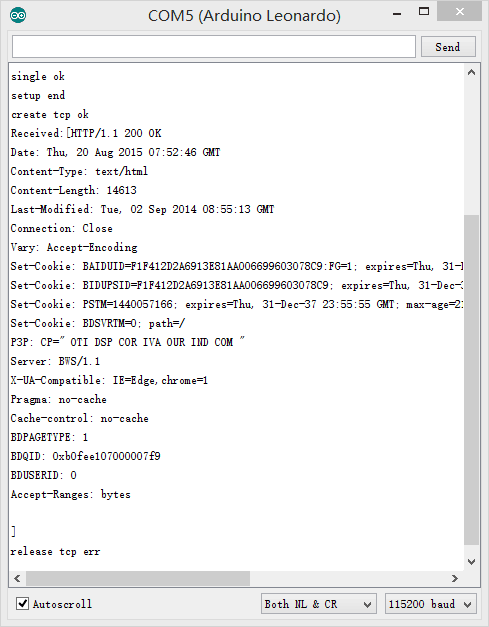
*Firstly, you'll see notice of successful WIFI connection. | *Firstly, you'll see notice of successful WIFI connection. | ||
*If you see content description, it means you have visited "www.baidu.com". [[File:ESP8266WiFi-exampleCode1.png|600px|center|thumb|Serial]] | *If you see content description, it means you have visited "www.baidu.com". [[File:ESP8266WiFi-exampleCode1.png|600px|center|thumb|Serial]] | ||
| − | + | =Pin Description= | |
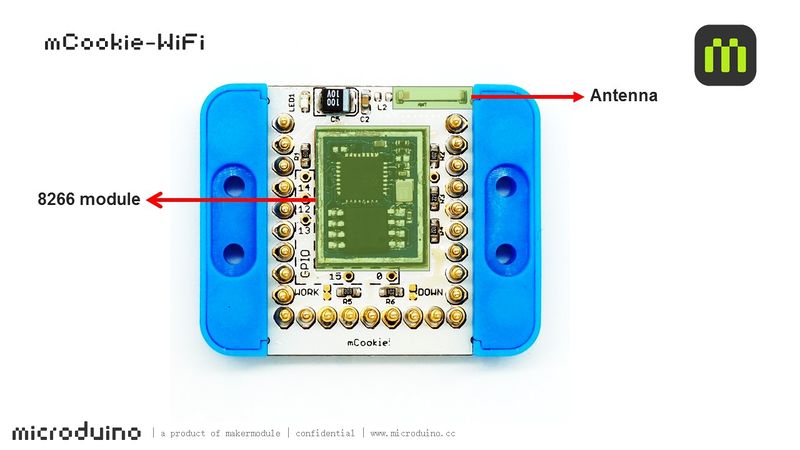
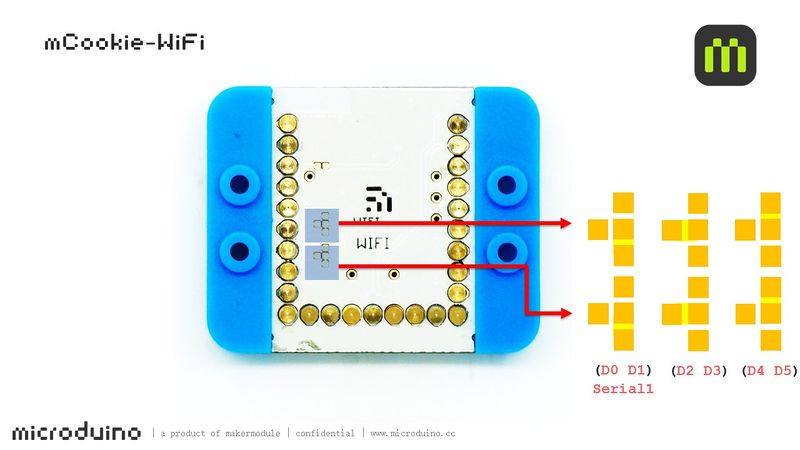
:[[file:mCookie-WiFi-1Big2.jpg|800px|thumb|center|mCookie-WiFi]] | :[[file:mCookie-WiFi-1Big2.jpg|800px|thumb|center|mCookie-WiFi]] | ||
| Line 96: | Line 96: | ||
<br style="clear: left"/> | <br style="clear: left"/> | ||
| − | + | =Project= | |
'''Related Projects: ''' | '''Related Projects: ''' | ||
[[WiFi Weatherstation]] | [[WiFi Weatherstation]] | ||
| − | + | =F&Q = | |
| − | = | + | =Images= |
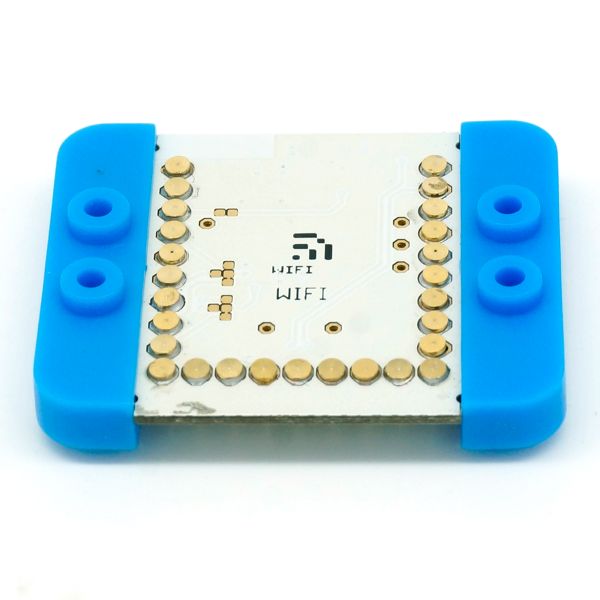
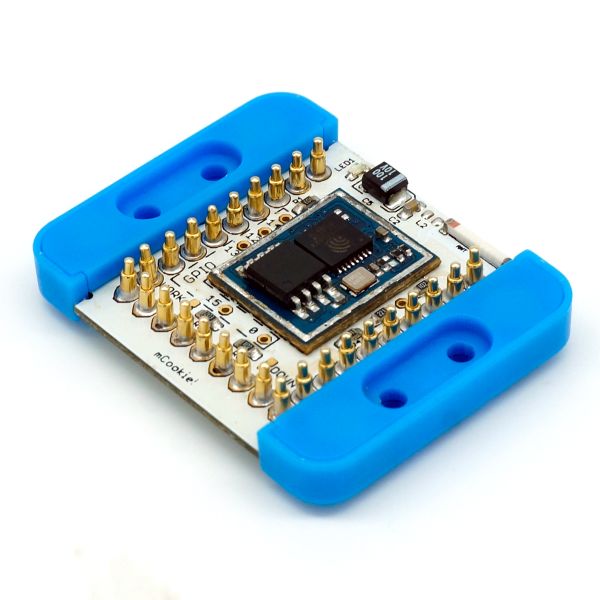
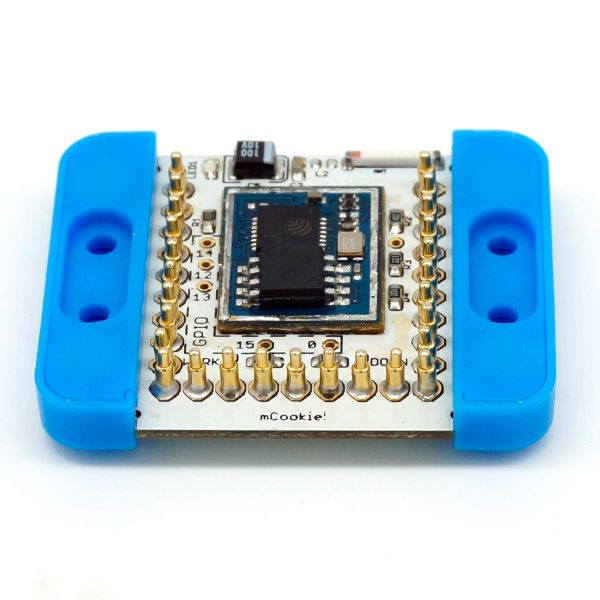
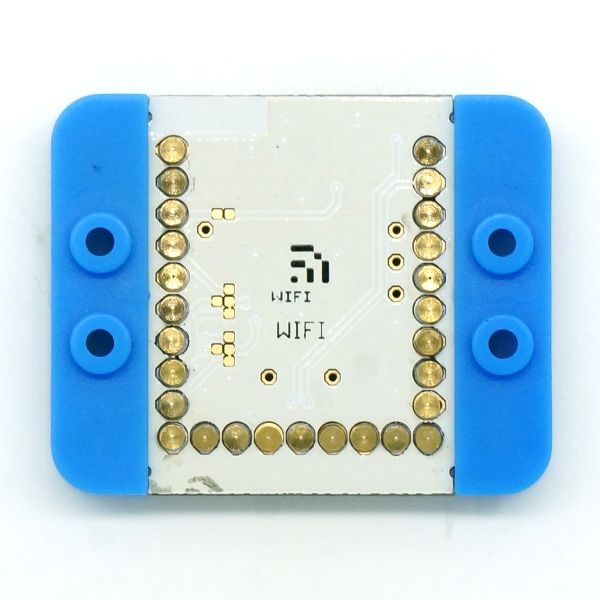
[[file:mCookie-WiFi-t1.jpg|thumb|600px|center]] | [[file:mCookie-WiFi-t1.jpg|thumb|600px|center]] | ||
[[file:mCookie-WiFi-b1.jpg|thumb|600px|center]] | [[file:mCookie-WiFi-b1.jpg|thumb|600px|center]] | ||
Revision as of 22:04, 27 March 2017
| Language: | English • 中文 |
|---|
|
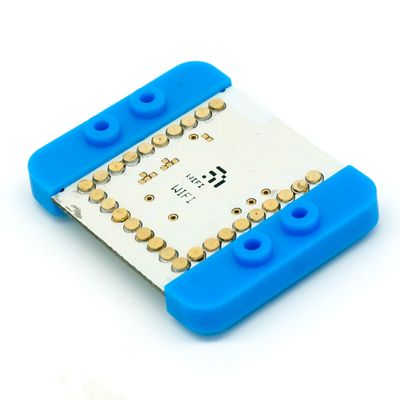
mCookie-WiFi is WIFI communication module, which can connect other WIFI devices and communicate with CoreUSB via serial port. Core can not be used, because its baud rate can't reach at 115200. ContentsFeatures
Specification
Common AT Instruction
DocumentSupport AT instruction configuration/contro: File:ESP8266 WiFi Module Quick Start Guide v 1.0.4.pdf DevelopmentProgramChange your WIFI password in the code where there are SSID(WIFI name) and password setting. Download Program
Such as:
IDE Tests ProgramYou can adopt HTTPGET program of _03_microduino_WiFi_ESP8266 from Microduino IDE example for testing.Change your WIFI password in the code where there are SSID(WIFI name) and password setting. Download Program
Pin Description
ProjectRelated Projects: WiFi Weatherstation F&QImages |
