Difference between revisions of "Microduino-Module WIFI,ESP"
(→Development) |
(→Modules Connection) |
||
| Line 104: | Line 104: | ||
===Modules Connection=== | ===Modules Connection=== | ||
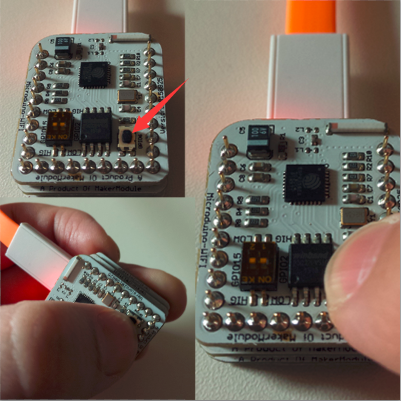
*Before programming, you need to prepare the serial port environment of the WIFI module. | *Before programming, you need to prepare the serial port environment of the WIFI module. | ||
| − | *The serial port the WIFI module uses is serial port 1(D2、D3), so there are two methods of | + | *The serial port the WIFI module uses is serial port 1(D2、D3), so there are two methods of connect: |
| − | *Method | + | *Method A: Use USBTTL to transform through the serial port. |
**For cables are needed to connect the serial ports together. | **For cables are needed to connect the serial ports together. | ||
{| class="wikitable" | {| class="wikitable" | ||
| Line 120: | Line 120: | ||
|} | |} | ||
| − | *Method | + | *Method B: Use core to cooperate to program firmware. |
| − | **Stack USBTTL, Core+ and WIFI together(Core can not be used, because its baud rate | + | **Stack USBTTL, Core+ and WIFI together(Core can not be used, because its baud rate can't reach at 115200.) |
**Download the following program to Core+ | **Download the following program to Core+ | ||
<source lang="cpp"> | <source lang="cpp"> | ||
Revision as of 10:32, 24 August 2016
| Language: | English • 中文 |
|---|
|
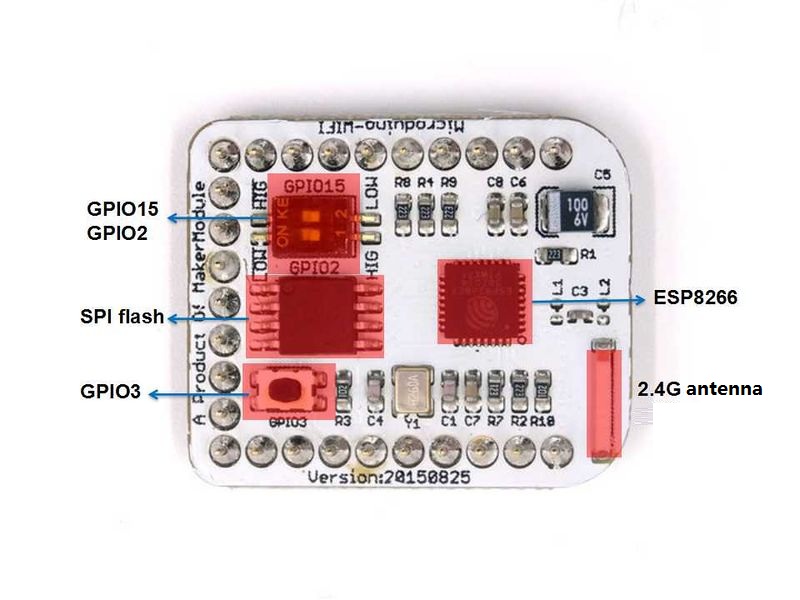
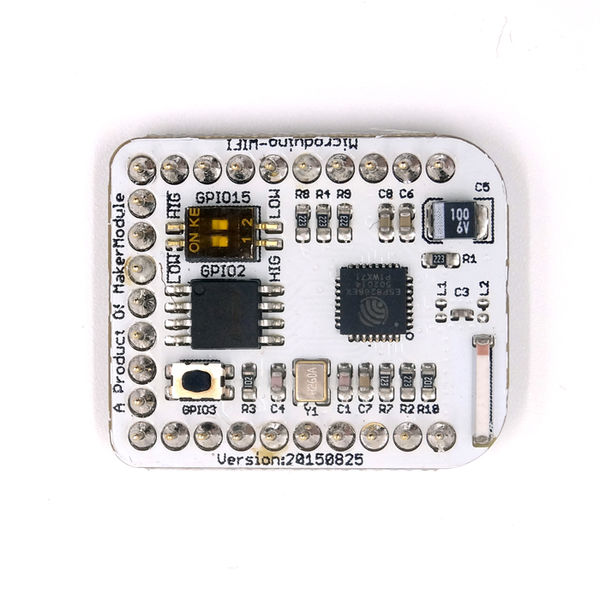
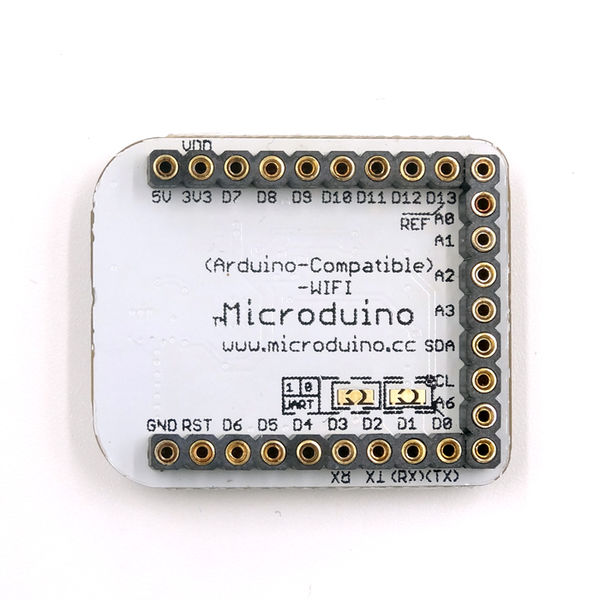
Microduino-WIFI(ESP) is a WIFI communication module, which can communicate with Core/Core+/CoreUSB through the serial port or connect with other WIFI devices and is a complete and system-in-itself wifi network resolution. ContentsFeatures
Specification
Common AT Instruction
Documents
Development
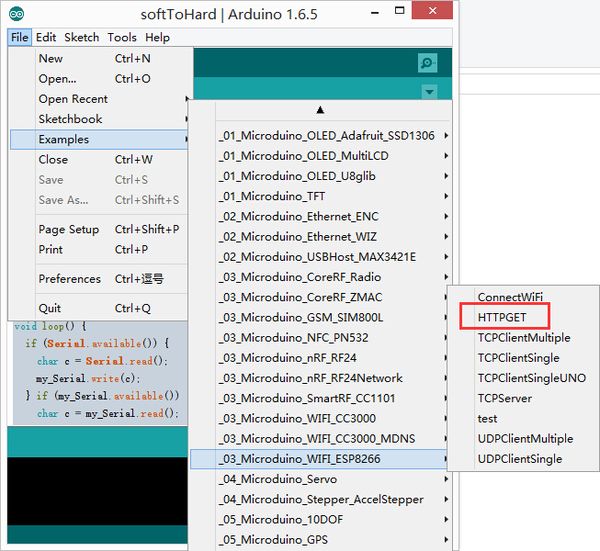
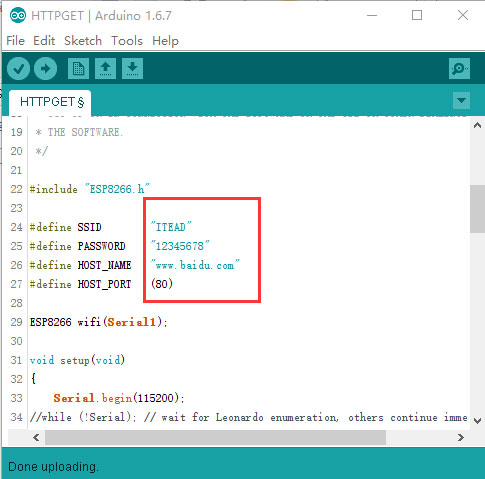
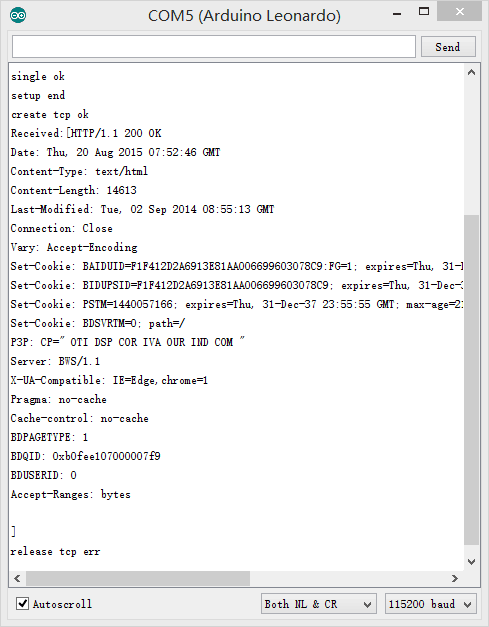
Use Microduino IDE-->example-->_03_microduino_WiFi_ESP8266-->HTTPGET program test is OK. You can change the WIFI password where you set the SSID (WIFI name) and the password in the code.
insert USB line into the Microduino-USBttl, other side of USB line insert into computer, start Arduino IDE, The above program is copied to the IDE, the tool (tools) -> Board (Board) is selected Microduino Core, and the tools (tools) -> Serial Port (Serial) select the corresponding serial number. After clicking the top left corner IDE √ button to compile the program, after the end of the compilation click -> button is programmed to the board;
Application
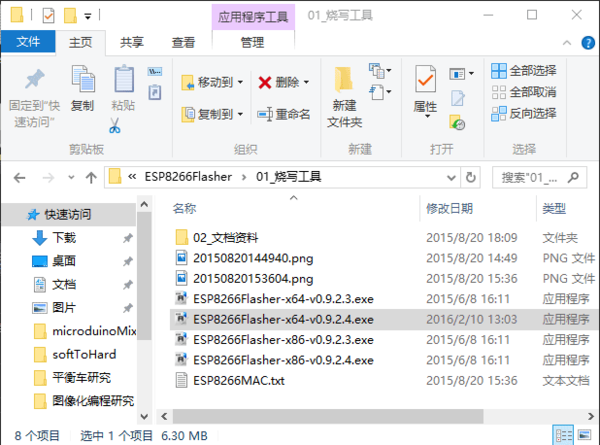
Firmware ProgrammingDownload the Programming Tool
Modules Connection
void setup() {
  Serial.begin(115200);
  Serial1.begin(115200);
}

void loop() {
  if (Serial.available()) {
    char c = Serial.read();
    Serial1.write(c);
  } if (Serial1.available()) {
    char c = Serial1.read();
    Serial.write(c);
  }
}
Configure Programming Tool
Programming
Function Verification
FAQPlayers CommunityAt present, there are many playing methods of ESP8266 , and according to the different kinds of the firmware, they can be roughly divided into:
From:http://www.geek-workshop.com/forum.php?mod=viewthread&tid=25456&page=1&extra=#pid114413 Gallery |

