Difference between revisions of "Getting started: mDesigner for Mac"
Microduino (talk | contribs) m (Microduino moved page Getting started: mDesigner (v1.6) for Mac to Getting started: mDesigner for Mac) |
|
(No difference)
| |
Revision as of 23:53, 27 February 2020
The guide below is a software setup guide for mDesigner (v1.6) under the Mac platform.
Download
mDesigner (for Mac) (Version 1.6.4, 2019-03-25): HERE
Installation
| IMPORANT: Installation requires a restart of the computer. SAVE ALL WORK PRIOR TO PROCEEDING! |
| Step 1:
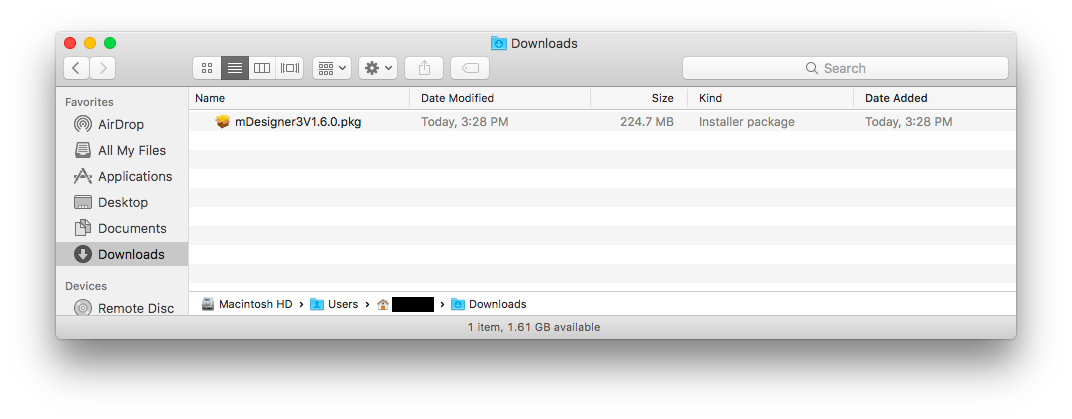
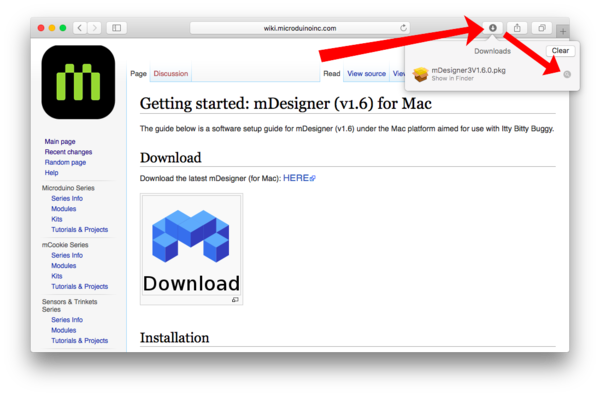
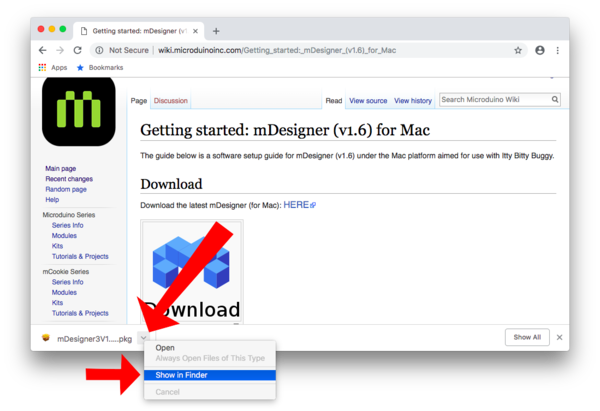
Once the download is complete. Find the downloaded file on your computer. |
| Safari | Chrome |
|---|---|
|
|
| Step 2:
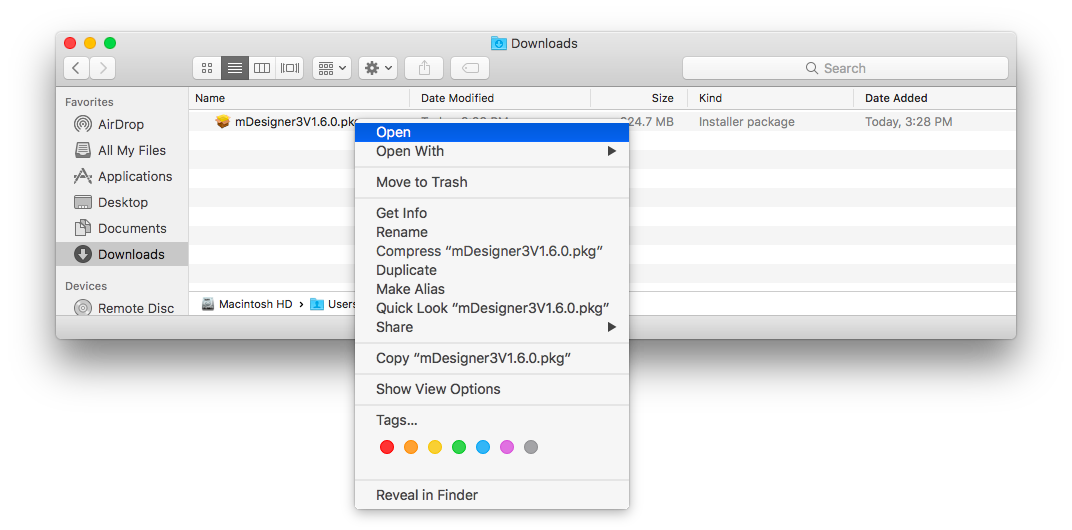
Important: Hold down the CTRL key on your keyboard, then click on the file. This will bring up the options menu for the file. Click on Open. |
| Step 3:
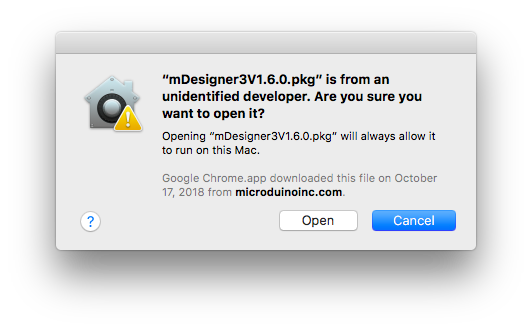
Confirm you wish to Open the file. (If you do not see the Open option. Please refer to the previous step.) |
| Step 4:
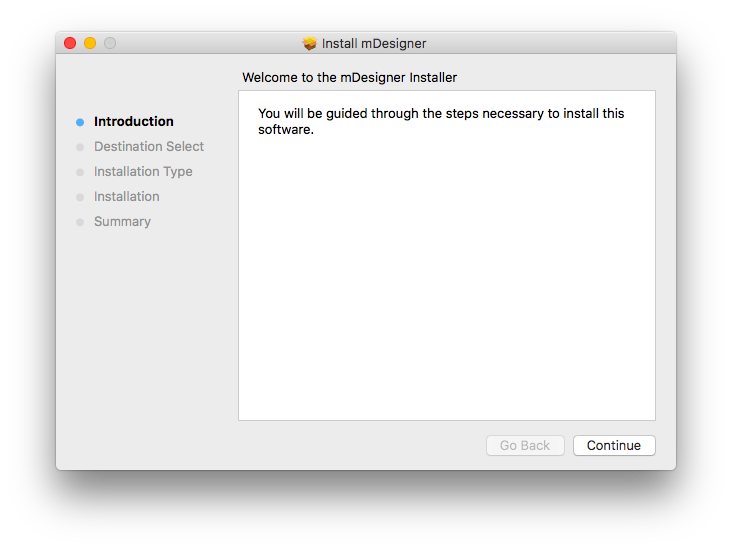
The mDesigner installer will launch. Click Continue. |
| Step 5:
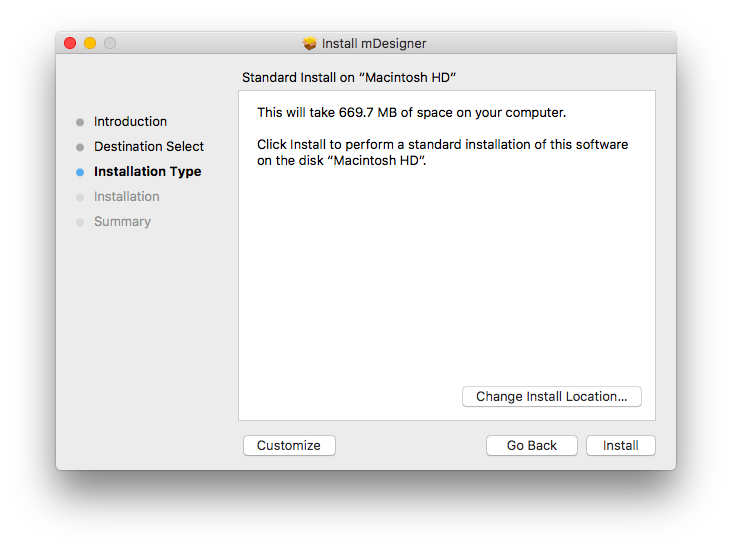
Click Install. |
| Step 6:
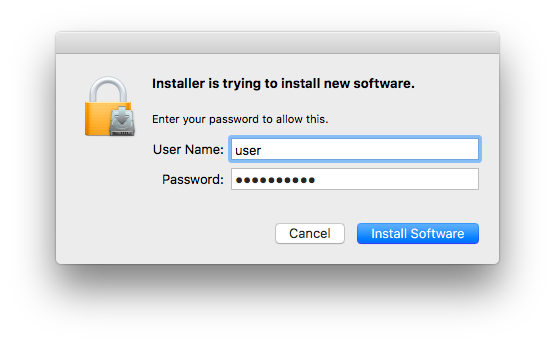
You will be prompted to confirm you wish to install. Enter your login credentials and click Install Software to confirm. |
| IMPORANT: Installation requires a restart of the computer. SAVE ALL WORK PRIOR TO PROCEEDING! |
| Step 7:
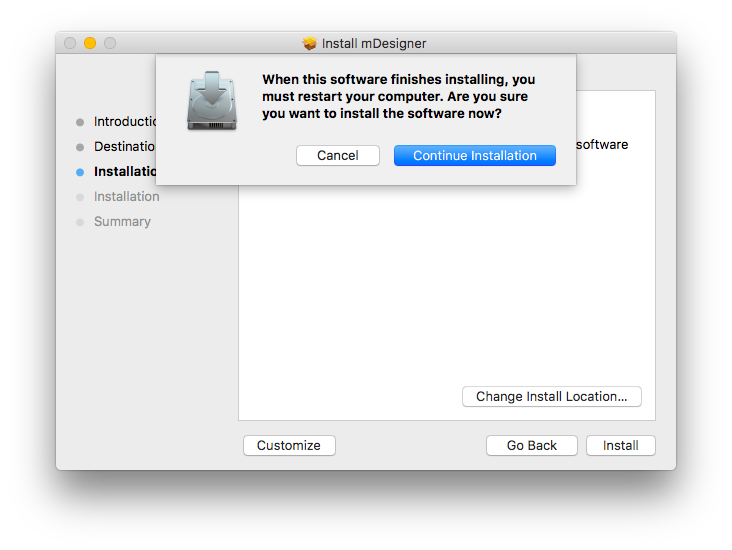
You will be prompted that installation will require a restart of the computer. Ensure you save all work prior to proceeding. Click on Continue Installation to continue. |
| Step 8:
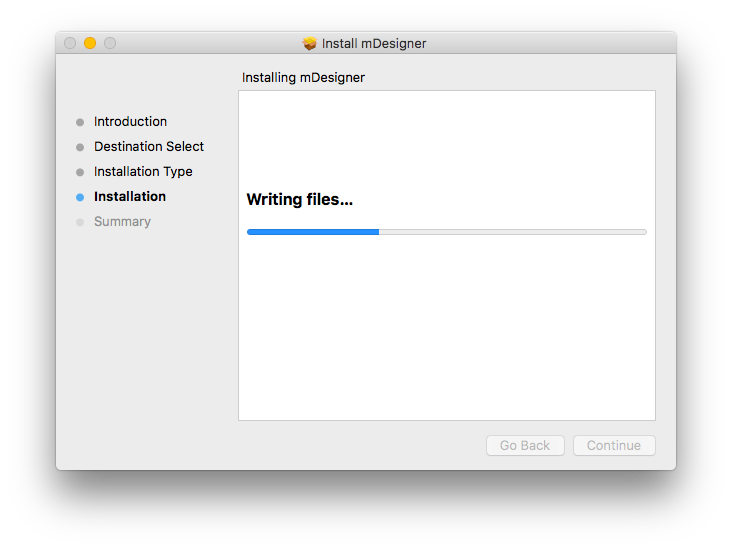
mDesigner will begin installing. |
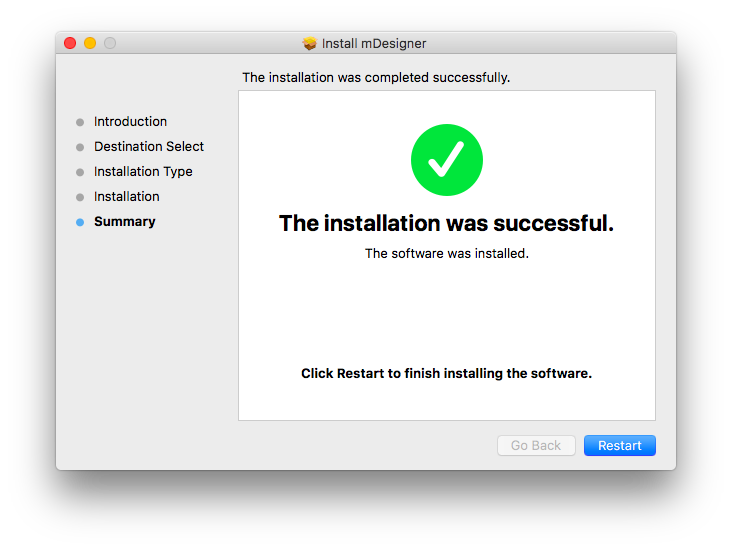
| Step 9:
Once installation is complete. Click Restart to restart your computer. |
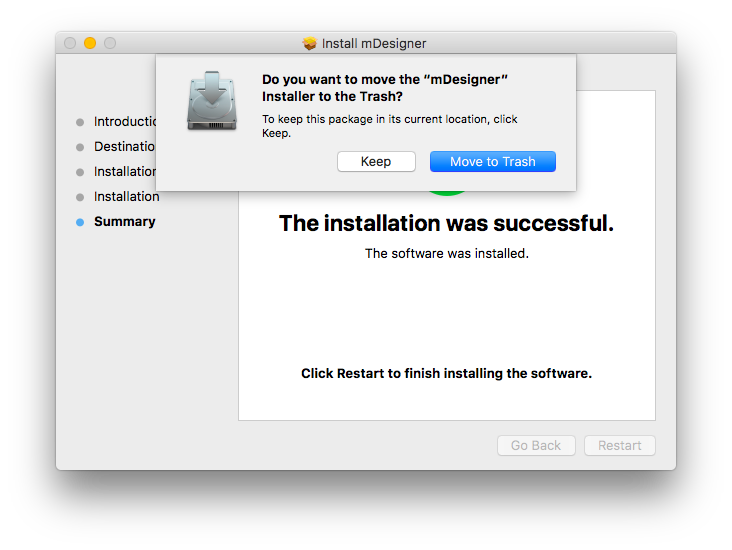
| Step 10:
You will be prompted if you wish to delete the installer. You may delete it as it is no longer needed. |
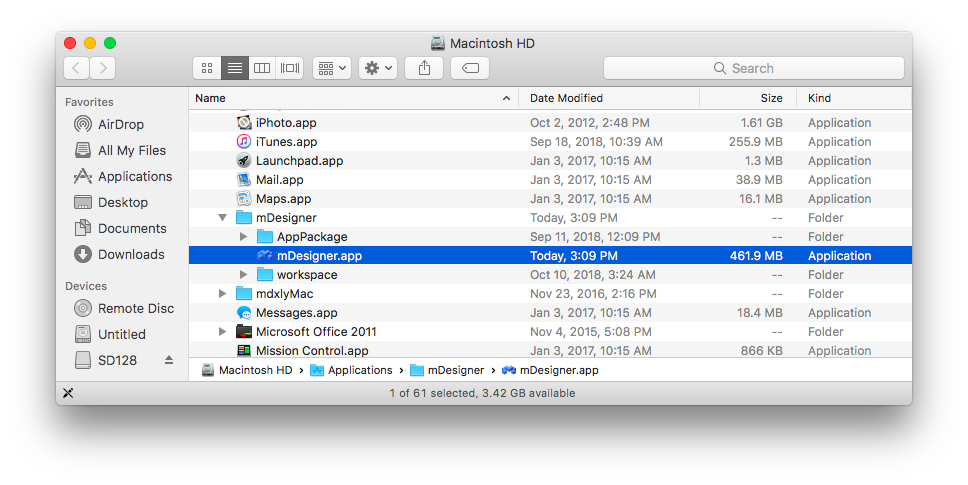
| Step 11:
Once your computer has restarted. Navigate to your Applications folder, then locate the mDesigner folder. Double click mDesigner.app to launch mDesigner. |
| Step 12:
mDesigner will start loading. |
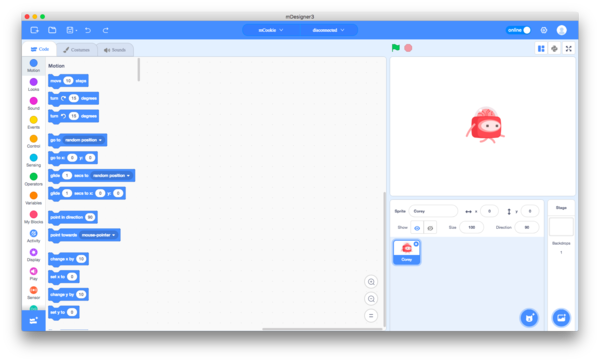
| Step 13:
mDesigner will complete loading and will be ready to use. |

