Difference between revisions of "Lesson 1--Microduino "LED and a Breadboard""
| Line 57: | Line 57: | ||
==Program== | ==Program== | ||
| − | *Using delay() | + | *Using delay() function: |
<source lang="cpp"> | <source lang="cpp"> | ||
Latest revision as of 07:16, 12 September 2016
| Language: | English • 中文 |
|---|
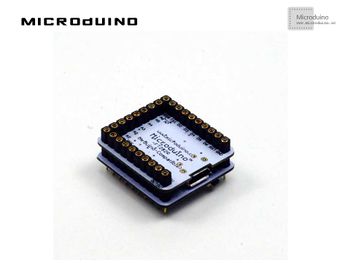
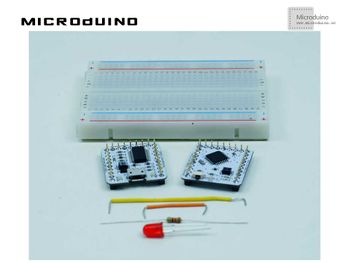
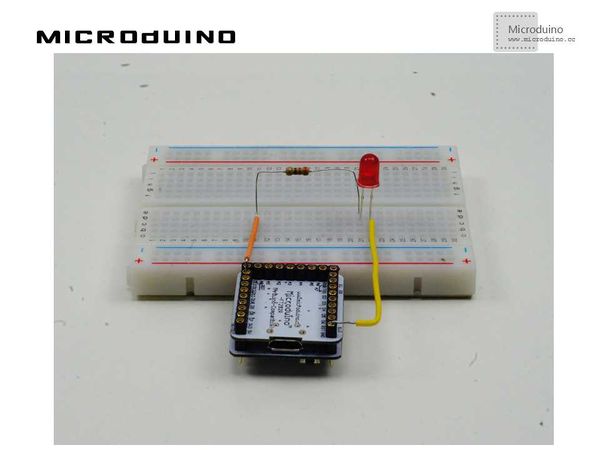
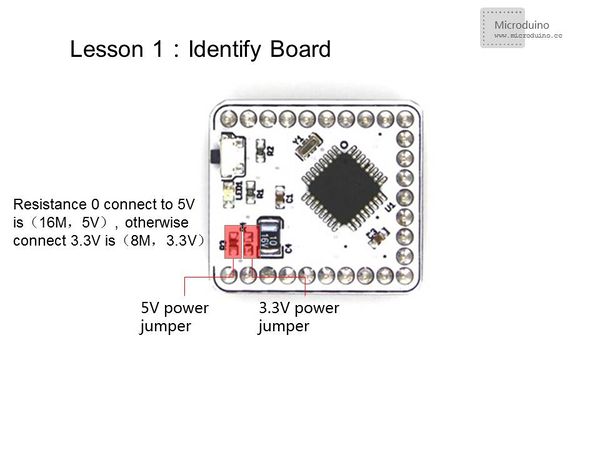
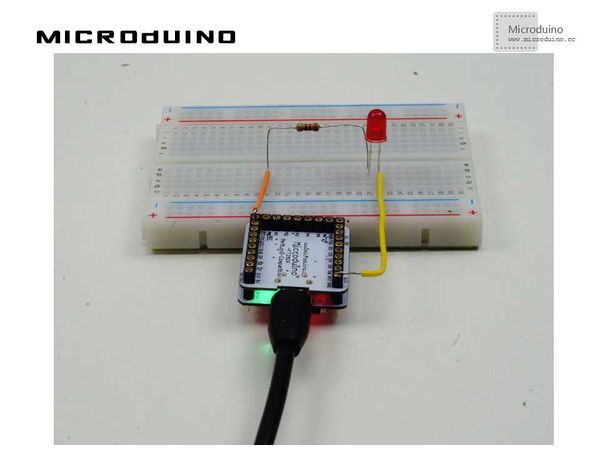
ContentsObjectiveThis lesson will teach you how to use Microduino to control a LED. Once you are familiar with Microduino's I/O ports, you will have developed solid fundamentals for future projects. EquipmentMicroduino-Core is an 8-bit microcontroller development board based on Atmel ATmega328P, ATmega168PA series. It is open source and compatible with the Arduino UNO. This module is used to upload your program into the core. You can stack it directly onto the Microduino-Core or Microduino-Core+ and communicate with your PC. Similar to many smartphones, it uses a MicroUSB as the download/upload port.
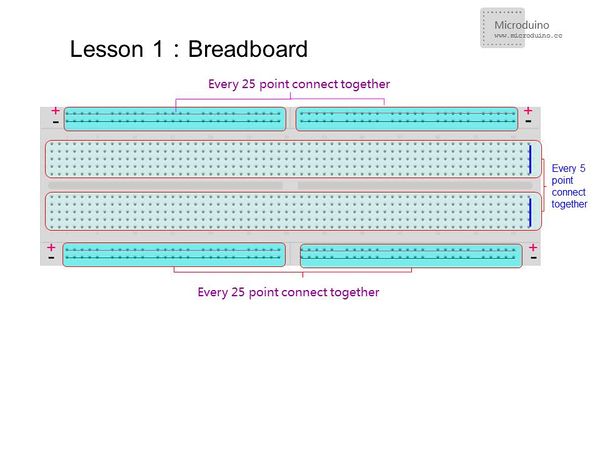
BreadboardIn the breadboard provided in the picture, for the two long strips in the middle,every 5 points are connected vertically. For the four strips running along the outer board, every 25 points are connected horizontally. For the outer two strips, one row is usually connected to GND and the other to VCC.
Resistor and LEDResistors prevent your LED from being damaged by limiting the voltage supplied. Max voltage for red and green LEDs is 1.8 ~ 2.4V, blue and white is 2.8 ~ 4.2V. 3mmLED rated current is 1 ~ 10mA, 5mmLED rated current is 5 ~ 25mA, and 10mmLED rated current is 25 ~ 100mA. You can use Resistance = Voltage / Current to calculate the resistance required. 200-400 ohms of resistance is usually adequate. How to Judge the Positive/Negative Ends of a LED Light
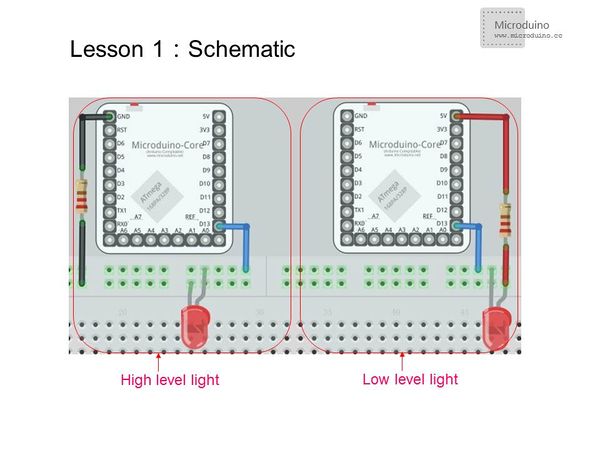
Test a LED Light via a Multimeter When using an analog multimeter to test a diode, you must choose the "Rxl0k" slot since the voltage of the battery inside the multimeter is only 1.5V when the multimeter is under the "R×lk" slot, lower than the voltage drop of a 3V LED light. In that case, it is impossible to test LED lights no matter what connection method you adopt. While the analog multimeter is under the "R×l0k" slot, you can test the LED light for the voltage of the battery is about 9V(or 15V), higher than the voltage drop. Since the black probe of the analog multimeter shows positive and the red probe shows negative, you need to connect the black probe to the positive of the LED light and the red probe to the negative. If the LED lights up, then it works. Different from the analog multimeter, the digital multimeter shows contrary electrode. Adopting the right connection method, you will know the LED is working when it lights up. Experiment SchematicThere are two connection methods:
Program
int led = 13;// Define the PIN
void setup() {
  pinMode(led, OUTPUT);  // Define the I/O port 13 as output
}
void loop() {
digitalWrite(led, HIGH); //Set I/O port 13 output as High.In high level connection: LED will turn on; low level connection: LED will turn off
delay(1000);               // delay 1s
digitalWrite(led, LOW); //Set I/O port 13 output as Low.In high level connection: LED will turn off; low level connection: LED will turn on
delay(1000);               // delay 1s
}
int ledPin=13;
#define TIME 1000
long time1=0,time2=0;
void setup()
{
  pinMode(ledPin,OUTPUT);
}
void loop()
{
if(millis()<time2+TIME)
{
digitalWrite(ledPin,HIGH);
time1=millis();
}
else
{
digitalWrite(ledPin,LOW);
if(millis()>time1+TIME)
time2=millis();
}
}
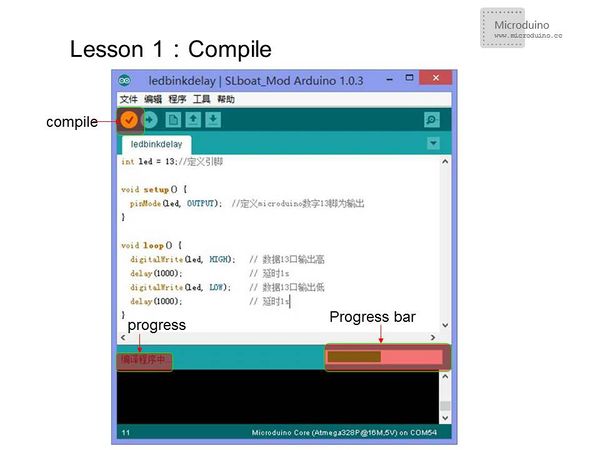
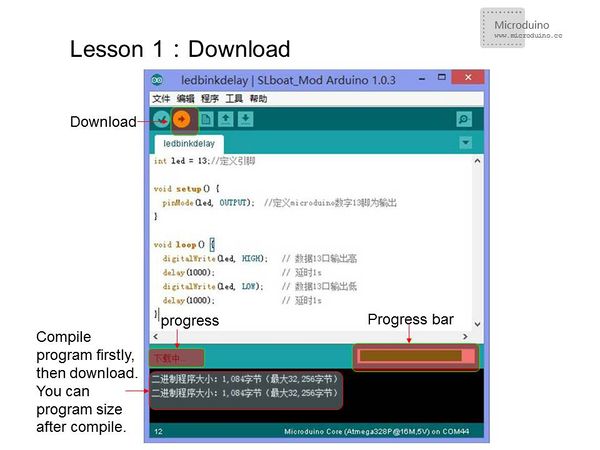
Although the code looks more complicated when using millis(), it is more efficient than the delay() function since it uses less resources and causes fewer delays on the system. It may not be of concern for now and you are free to use delay(), but when projects get large, using delay() may cause unintended lag. How To Download The Program
ResultAfter the download, you can see the LED flash once every second! Video |
