Difference between revisions of "Getting started: mDesigner for Mac"
From Microduino Wiki
| Line 2: | Line 2: | ||
For kit specific getting started guides please follow the appropriate links in the [[#Kit_Specific_Software_Setup_Guides]] section: | For kit specific getting started guides please follow the appropriate links in the [[#Kit_Specific_Software_Setup_Guides]] section: | ||
| − | |||
| − | |||
| − | |||
=Download= | =Download= | ||
Revision as of 18:38, 23 October 2018
The guide below is a software setup guide for mDesign under the Mac OS platform aimed for general use of Microduino products.
For kit specific getting started guides please follow the appropriate links in the #Kit_Specific_Software_Setup_Guides section:
Contents
[hide]Download
Download the latest mDesigner (for Mac): HERE
Installation
Security Settings
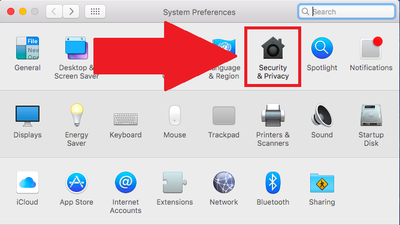
- Change your settings to allow identified developers by going to: (Apple Logo) >>> System Preferences...
- Then go to Security & Privacy.
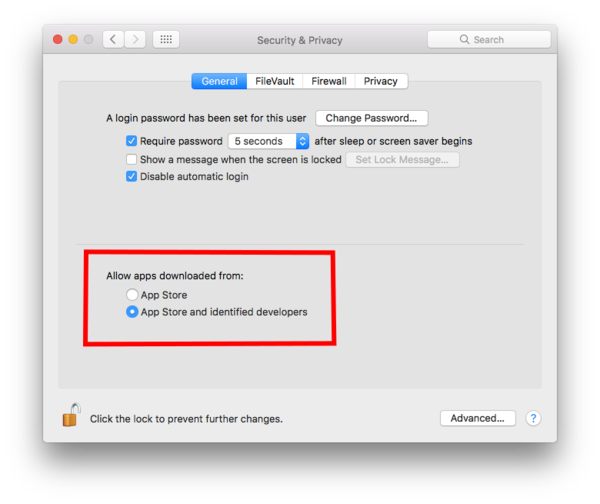
- Click on then Lock icon and enter your credentials to be able to change settings.
- Under Allow apps download from: select App Store and identified developers
- Click the Lock icon again to lock and save changes.
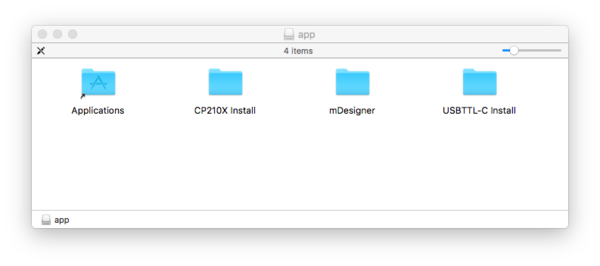
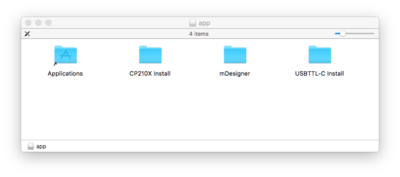
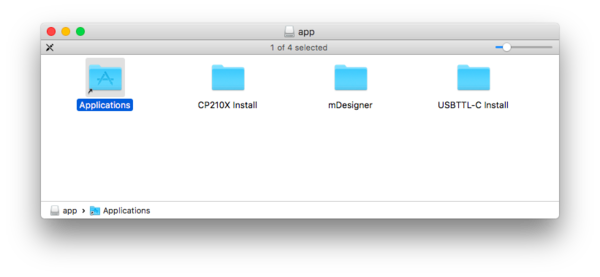
- Open the downloaded file. A folder will open containing the mDesigner software and drivers for the hardware.
Drivers Installation
CP210X Driver
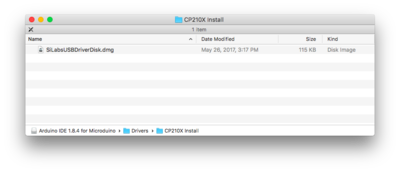
- Open the CP210X Install folder. This is a driver that needs to be installed.
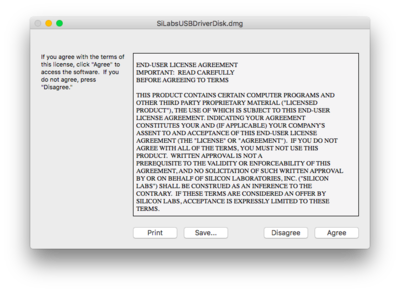
- Open SliLabsUSBDriverDisk.dmg. Follow the on-screen instructions to install the driver.
CH34x Driver
- Important Note: This driver requires you to restart your computer. Save all work before installing this driver!!!
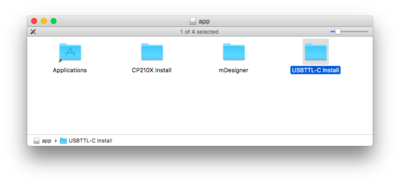
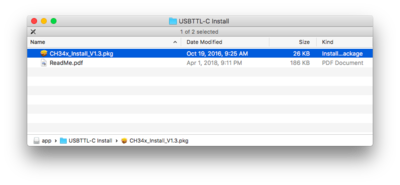
- Once completed return to the main folder. Open the USBTTL-C Install folder. This folder contains the driver needed to communicate with the Microduino hardware.
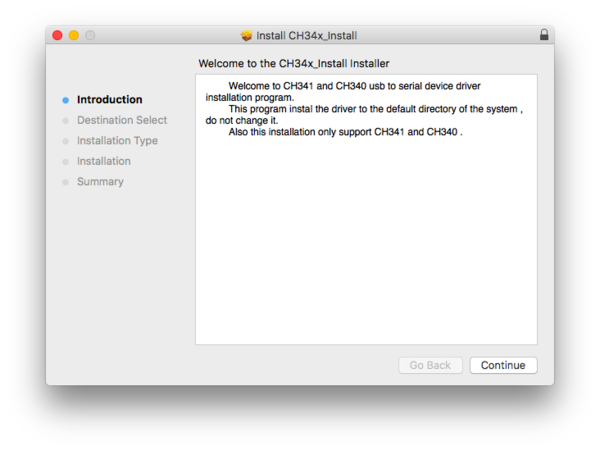
- Launch the CH34x_Install___.pkg to start the driver installation process.
- Follow the on-screen instructions to install the driver.
Application Copying
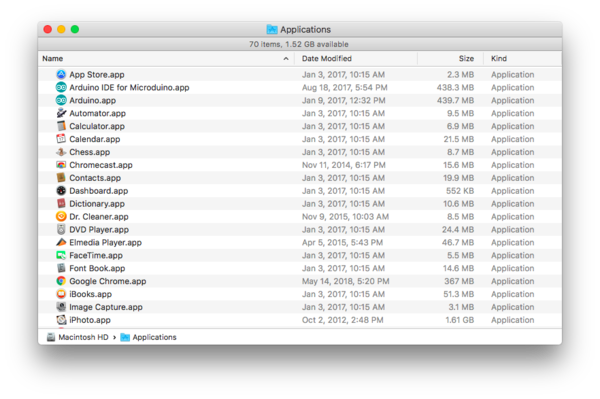
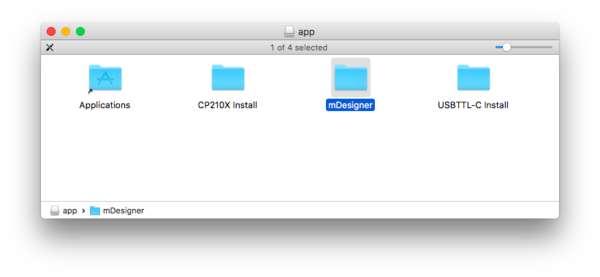
- Return back to the open downloaded folder and open the Application shortcut. This will open a your Application folder on your computer.
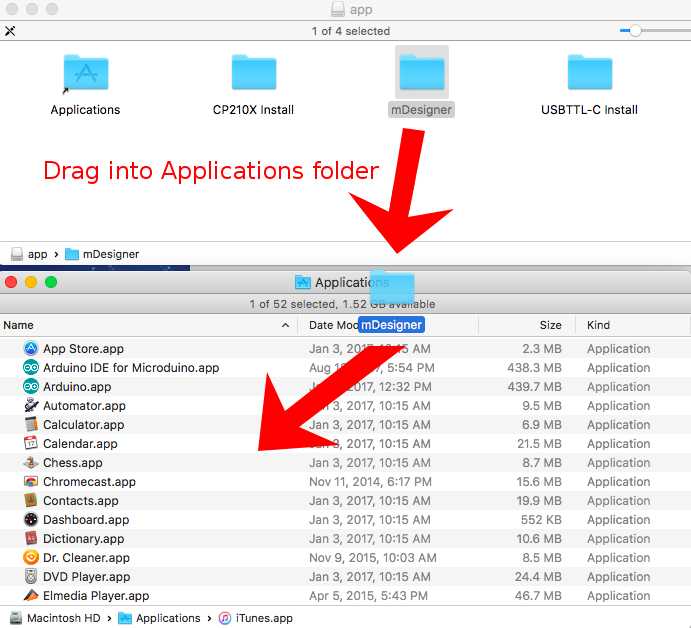
- Drag the mDesigner folder into the opened Application folder. This will copy the folder into your computer's Application folder.
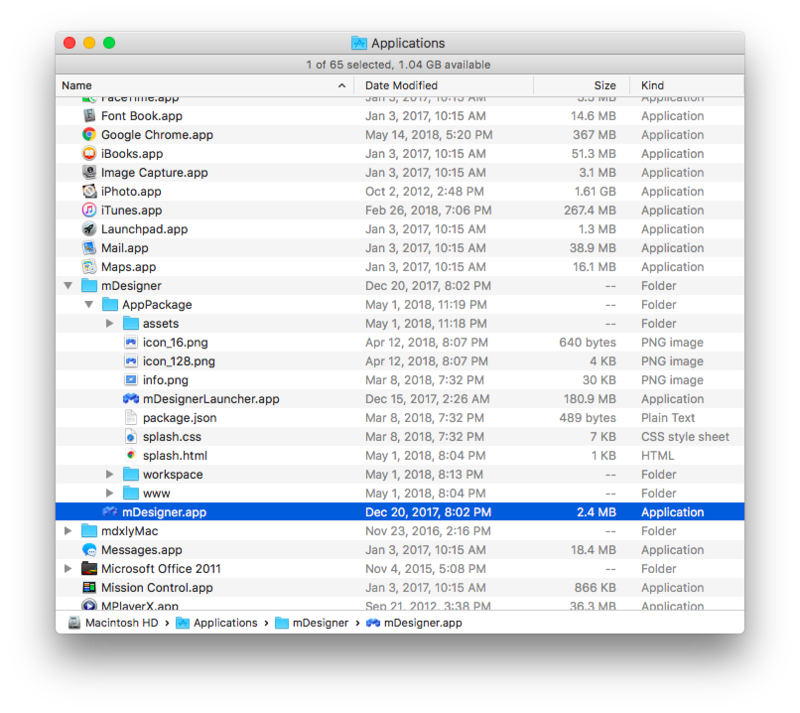
- Locate the mDesigner folder in your computer's Application folder (if there is partial circle, it is currently copying, wait until copying is complete).
- Locate the mDesigner.app file and launch it. (Make a note, you'll launch mDesigner from this location in the future.)
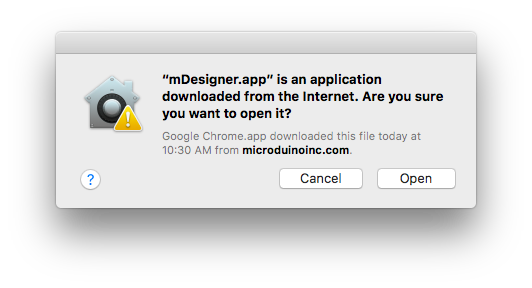
- Confirm you wish to open the file downloaded from the internet. This only needs to be done once.
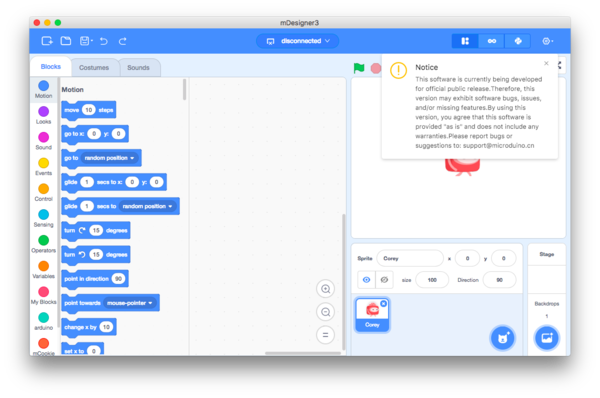
- mDesigner will start loading.
- mDesigner will complete loading and will be ready to use.

