Difference between revisions of "Somatosensory interaction - Microduino V1"
(Created page with "{{Language | 体感互动-Microduino V1}} {| style="width: 800px;" |- | ==Objective== This tutorial will teach you using the Microduino V1 module to control the movement of a ...") |
|||
| Line 24: | Line 24: | ||
==Debug== | ==Debug== | ||
| − | Step | + | Step 1: Set up hardware system, as follows: |
[[File:ProcessingMicroduinoV1ConnectionDiagram.jpg|600px|center|thumb]] | [[File:ProcessingMicroduinoV1ConnectionDiagram.jpg|600px|center|thumb]] | ||
| Line 55: | Line 55: | ||
myPort.bufferUntil('\n'); // Trigger a SerialEvent on new line | myPort.bufferUntil('\n'); // Trigger a SerialEvent on new line | ||
| − | //Use the | + | //Use the data the Microduino sent to control the movement of smile face. |
if (val != null) { | if (val != null) { | ||
| Line 85: | Line 85: | ||
Step 3: Compile the code and download it. | Step 3: Compile the code and download it. | ||
| − | Step | + | Step 4: After running, put Microduino V1's button, observe the smile face's movement. |
==Result== | ==Result== | ||
Latest revision as of 09:06, 13 September 2016
| Language: | English • 中文 |
|---|
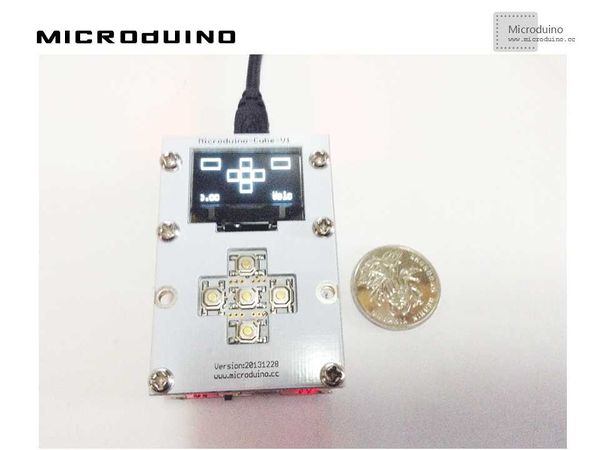
ObjectiveThis tutorial will teach you using the Microduino V1 module to control the movement of a smile face in Processing. Equipment
SchematicUse Microduino-V1 to control ProgramRefers to ProcessingMicroduinoV1 ProcessingMicroduinoV1Arduino DebugStep 1: Set up hardware system, as follows:
This example needs two parts code, one is Processing and the other is Microduino.
//Check if which button was pressed, and send the result to Processing. if(button<40) key_up=2; else if(button>50&&button<100) key_up=4; else if(button>138&&button<141) key_up=1; else if(button>358&&button<361) key_up=3; else if(button>228&&button<231) key_up=5; Processing: //Get the first serial port data, // is always my Arduino, so I open Serial.list()[0]. // Open whatever port is the one you're using. myPort = new Serial(this, Serial.list()[0], 9600);
myPort.bufferUntil('\n'); // Trigger a SerialEvent on new line
//Use the data the Microduino sent to control the movement of smile face. if (val != null) {
val = trim(val);
println(val);
buttonValue=Integer.parseInt(val);
switch(buttonValue) {
case 1:
yPos++;
break;
case 2:
xPos--;
break;
case 3:
xPos=400;
yPos=200;
break;
case 4:
xPos++;
break;
case 5:
yPos--;
break;
default :
}
image(face, xPos, yPos);
}
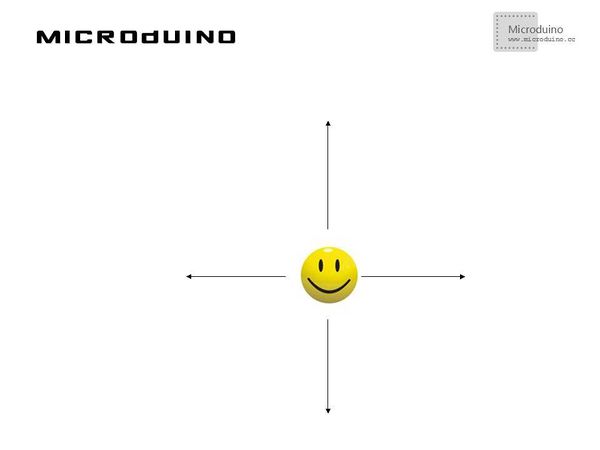
Step 3: Compile the code and download it. Step 4: After running, put Microduino V1's button, observe the smile face's movement. ResultYou can use the button to control the smile face, as follows: Video |

