Difference between revisions of "AVR Core: Getting Started"
From Microduino Wiki
(→Step 3: Installing Drivers) |
(→Step 4: Connecting Hardware) |
||
| Line 115: | Line 115: | ||
|- | |- | ||
| | | | ||
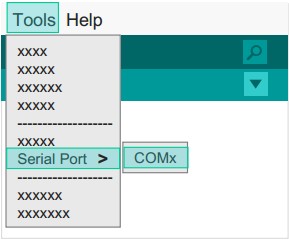
| − | ''' | + | '''Windows''' |
:1. Open the IDE. Go to "Tools" > "Serial Port". | :1. Open the IDE. Go to "Tools" > "Serial Port". | ||
:2. Select "COMXX". | :2. Select "COMXX". | ||
| Line 126: | Line 126: | ||
|- | |- | ||
| | | | ||
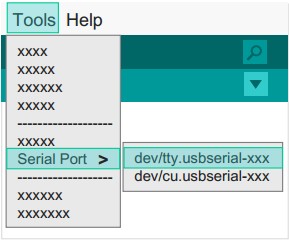
| − | ''' | + | '''Mac OS''' |
:1. Open the IDE, in the menu "Tools" in the "Serial Port". | :1. Open the IDE, in the menu "Tools" in the "Serial Port". | ||
:2. Select "dev / tty.usbserial-XX". | :2. Select "dev / tty.usbserial-XX". | ||
| Line 132: | Line 132: | ||
[[File:microduinoGettingStart6.jpg|289px|right|thumb]] | [[File:microduinoGettingStart6.jpg|289px|right|thumb]] | ||
|} | |} | ||
| − | |||
| − | |||
==Appendix== | ==Appendix== | ||
Revision as of 20:36, 30 June 2015
| Language: | English • 中文 |
|---|
|
ContentsStep 1: Arduino IDE Download*Arduino compatible, first install the basic IDE
Step 2: Verify IDE
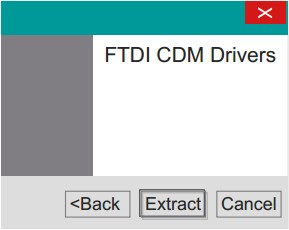
Step 3: Installing DriversAfter the IDE is configured, install the drivers
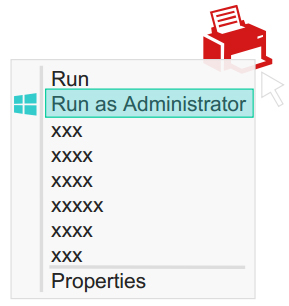
Note: If there is damage or missing signature file when prompted, you need to disable the digital signature system installation in windows 8。 1.Turn off the check. 2.Hold the shift key while clicking on Restart. 3.Select Troubleshoot > Advanced Options > Startup Settings > Restart. 4.After Restart select option 7. Step 4: Connecting Hardware
Appendix |
