Setup Microduino-CoreSTM32 with Maple IDE (Windows)
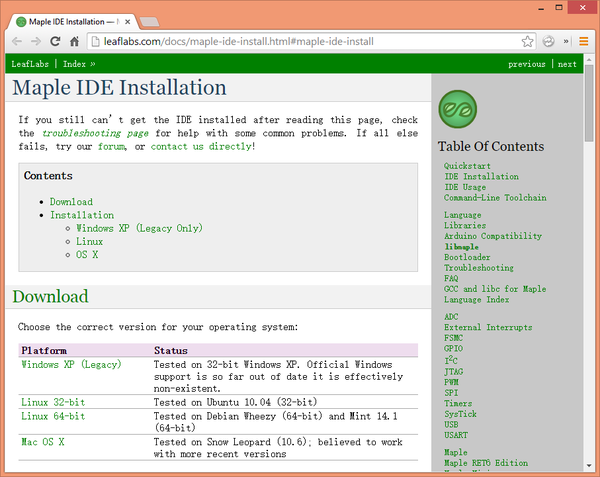
http://leaflabs.com/docs/maple-ide-install.html#maple-ide-install
- Although the document says Maple only supports WinXP 32-bit, but you can also run it on Windows 7 or Windows 8 with some workaroud.
- UnZip the Maple IDE into a folder, like C:\maple\
- If you are using Windows XP, just plug Microduino-CoreSTM32 into your USB port, Open your Device Manager, you will see a Device named "Maple", with a yellow exclamation.
- Right click on the Maple, Select "Update Driver". Click on "Not this time", then Next.
- Select the following option: Install from a list or specific location (Advanced), and then click Next.
- Select "Search for the best drivers in these locations", Click on "Include this location in the search, and then Browse into folder like "C:\maple\drivers", Click Next.
- You should now have the CoreSTM32 driver installed.
If you ar using Windows 7 64bit or Windows 8
Try this http://wiki.leaflabs.com/Maple_IDE_Windows_8_Installation
Programming Microduino-CoreSTM32
- Make sure you have already installed driver of CoreSTM32
- Download and setup Microduino-CoreSTM32 hardware supporting package
- Run Maple IDE, click menu Tools -> Board, select Microduino-CoreSTM32 to RAM if you just want to test the program, or Microduino-CoreSTM32 to Flash if you want to run the program after resetting the board.
|
