Dashboard
ObjectiveThe course will show you how to achieve a dashboard through Processing to display the inductive magnetic field change of Microduino. Equipment
SchematicJust use the HMC5883L magnetic field strength sensor of Microduino-10DOF.
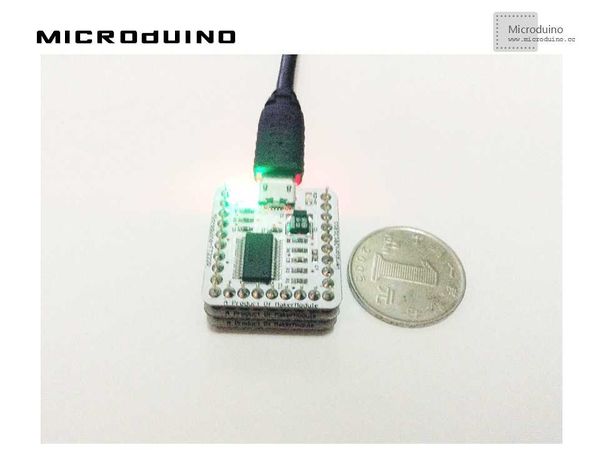
ProgramDebuggingStep 1:Build the hardware environment according to the schematic, just like: Download the library function of HMC5883L: https://github.com/manifestinteractive/arduino/tree/master/Libraries/HMC5883L Step 2: Here is the code: The code of the two ends(Processing and Microduino) Microduino: Initialize HMC5883L in “setup()” Calculate the angle of the magnetic induction //Output() used to output the calculated angle to the serial port // Output the data down the serial port.
void Output(int RoundDegreeInt)
{
//Serial.println();
Serial.println(RoundDegreeInt);
delay(150);
}
//Get the data of the first serial port. myPort = new Serial(this, Serial.list()[0], 9600); //The code below in drawCube() is used to acquire the serial data while (myPort.available() > 0) {
myString = myPort.readStringUntil(lf);
if (myString != null) {
//print(myString); // Prints String
angle=float(myString); // Converts and prints float
println(angle);
}
}
Function Reference: //Draw the center point of the dashboard buildpoint() //Draw the dashboard and the pointer scale builddashboard() //Receive the serial data and draw the center point drawCube() //Draw the whole dashboard drawCube1()
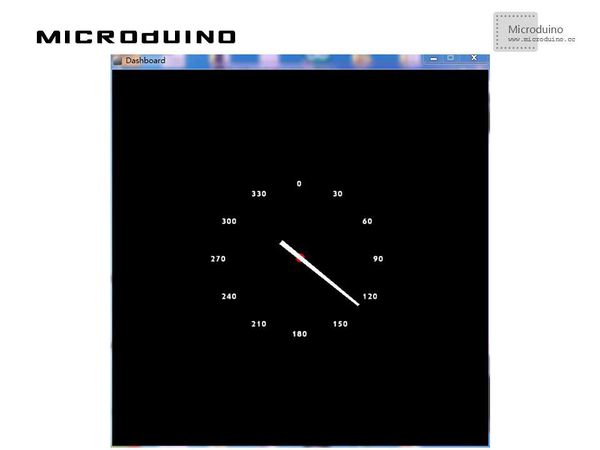
Step 4:Use a magnet to change the magnetic field to see if the pointer changes after the system goes well. ResultA little compass will be displayed on the scree, which goes along with the change of the magnetic field, just like:
Video |

