Light Indicator
From Microduino Wiki
Revision as of 08:55, 6 November 2015 by 1304410487@qq.com (talk)
| Language: | English • 中文 |
|---|
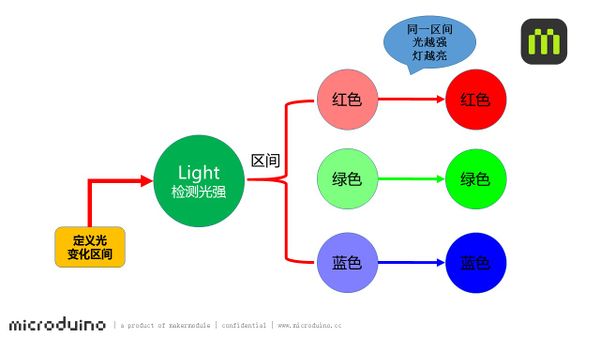
ContentsObjectiveHere we make a simple light indicator, which divides light value into three levels, that is, green, blue and red.PrincipleWe adopt the Light sensor to detect the light intensity. The system can judge which range the light intensity lies and let the LED present the corresponding color. In the same range, the color gets brighter along with the light intensity increases. Equipment
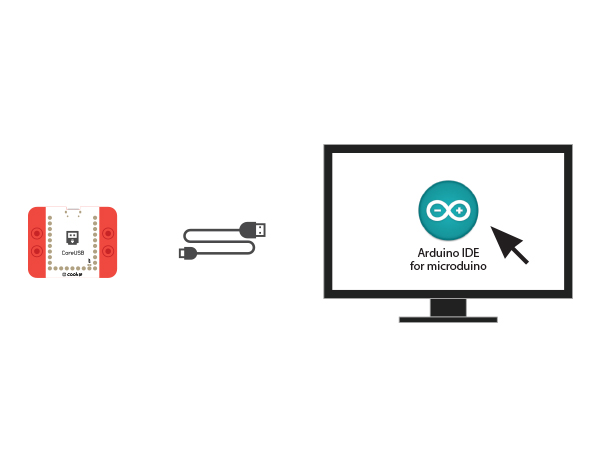
Preparation
Program Description
#define PIN 6
Adafruit_NeoPixel strip = Adafruit_NeoPixel(1, PIN, NEO_GRB + NEO_KHZ800);

#define Light_PIN A0
#define Light_value1 400
#define Light_value2 800
sensorValue = analogRead(Light_PIN);
if (sensorValue < Light_value1)
    colorWipe(strip.Color(0, map(sensorValue, 10, 400, 0, 255), 0));
  else if (sensorValue >= Light_value1 && sensorValue < Light_value2)
    colorWipe(strip.Color(0, 0, map(sensorValue, 400, 800, 0, 255)));
  else if (Light_value2 >= 800)
    colorWipe(strip.Color(map(sensorValue, 800, 960, 0, 255), 0, 0));
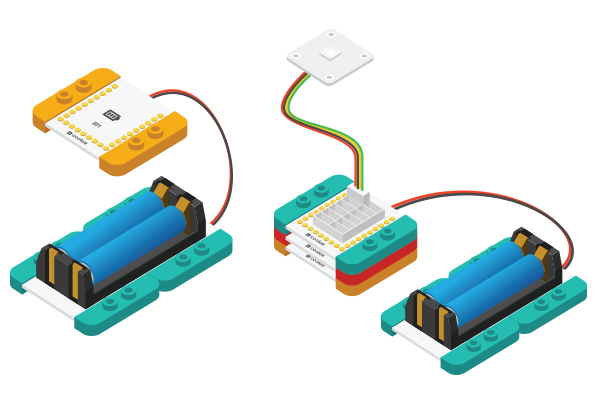
Hardware Buildup
ResultBy changing the light environment, the light from dark to bright colors are changed to green - blue - red, and the weaker the light is, the lower the brightness becomes. You can also build a beautiful look for this project through Lego boards. Video |


