Outline
The Microduino IR LED can emit infrared signals just like a remote control. Couple this with an infrared receiver and you can control projects from a distance. The maximum transmission distance for the emitter is 10 meters.
Specification
- Electrical Specifications
- Operation Voltage: 3.3V~5V
- This is an Output Device
- Technical Specifications
- Emitting Distance: 10 meters
- Emitting Angle: 25 degrees
- Wavelength: 940nm
- Dimensions
- LED: 5mm
- Board: 10mm x 20mm
- Connector: 4-Pin, 1.27mm-pitch
- Connector Interface
- Pins: D6 (on Hub), VCC (power), GND (ground) and NC (Not Connected)
- NOTE: To emit at the proper frequency for remote control (38KHz), the sensor must be connected to pin D6 on the Sensor Hub
Development
Equipment
Preparation
Setup 1: Connect the IR transmitter's interface with the Hub's D6 digital port.
- Setup 2: Connect the core, Hub and IR transmitter to a computer with a USB cable.
Debugging
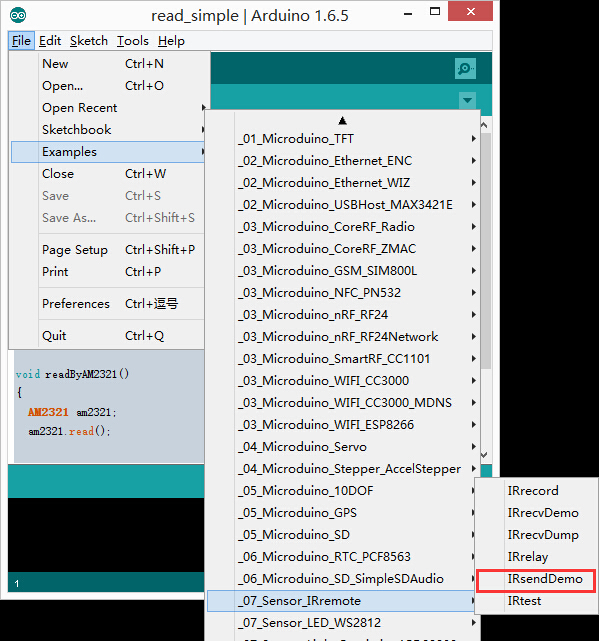
- Open " IRsendDemo " program in the libraries.
- include <IRremote.h> - Imports the IRremote library and allows you to use all functions.
- IRsend irsend; - Declares an object for the infrared transmitter to use IR functions.
- irsend.sendSony(0xa90, 12); - Sends an infrared code using a Sony remote protocol.
- Once you open the Serial Monitor, you can input any values into the console. The LED on the transmitter will blink once the infrared signal has been sent.
|


