Outline
- Project:Microduino pulse measure instrument
- Objective:Use pulsesensor and Microduino to measure the pulse.
- Difficulty:High
- Time-consuming:5 hours
- Maker:Microduino Studio-YLB
Bill of Materials
| Module |
Number |
Function
|
| Microduino-Core |
1 |
Core module
|
| Microduino-FT232R |
1 |
Download program
|
| Microduino-OLED |
1 |
Display
|
| Microduino-S1 |
1 |
Extension board
|
| pegboard |
1 |
Set up circut
|
| 9_Pin Row needles |
3 |
Fix Microduino core
|
| Soldering iron |
1 |
welding tool
|
| Solder |
1 |
welding tool
|
| Wire |
1 |
welding tool
|
| tweezers |
1 |
welding tool
|
Document
Debug
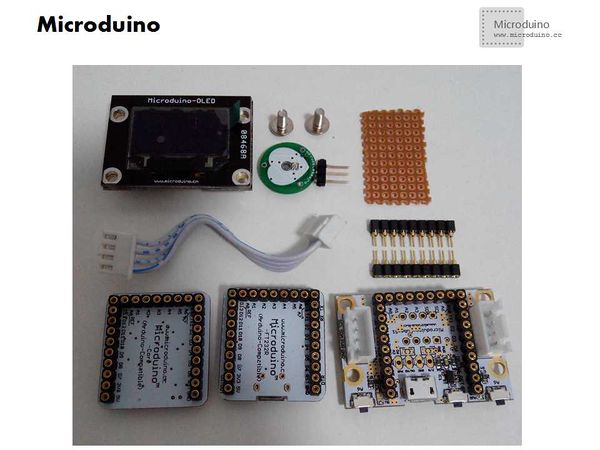
- Step 1:Prepare the experiment equipment
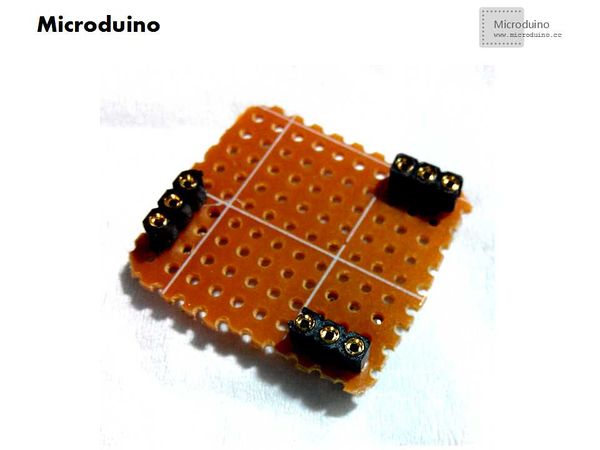
- Step 2:Build adapter board
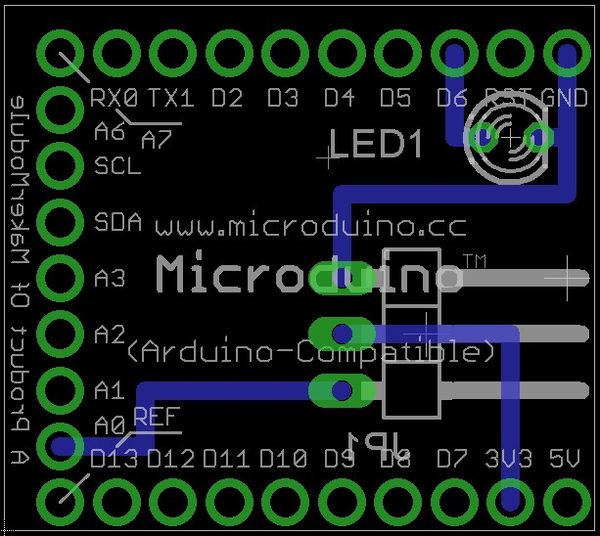
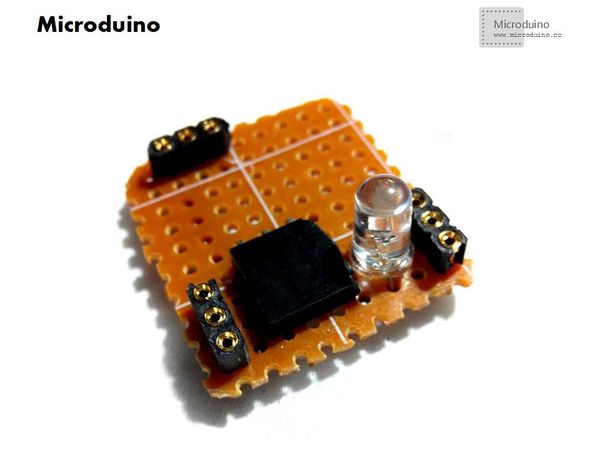
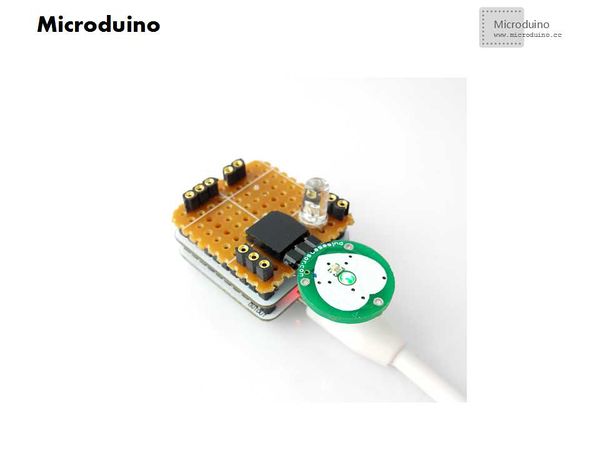
- Cut a certain specification size pegboard;
- Weld the row needles, using VCC(3.3V), GND, A0 abd D6;
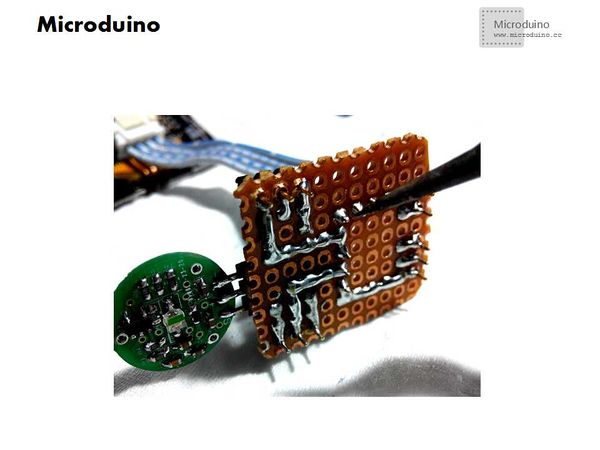
- Make sure the welding position is correct
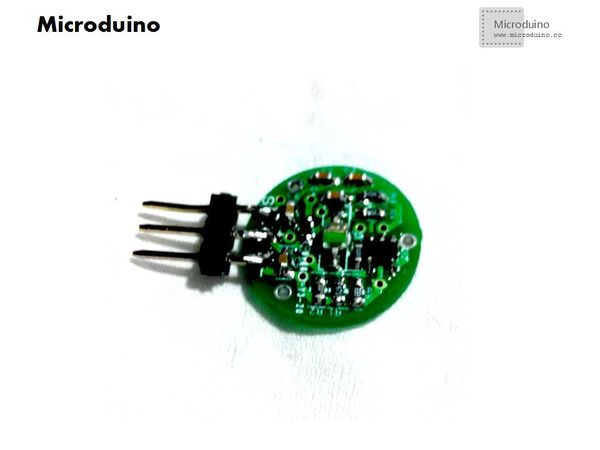
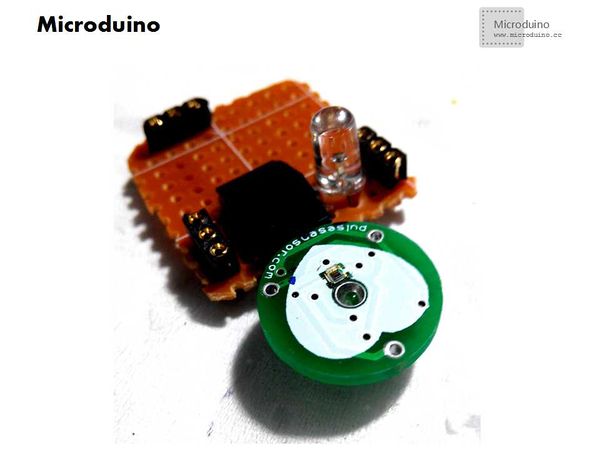
- Change the sensore, change the origianl pin to row needles.
- Weld the sensor port (A0) and LED indictor (D6)
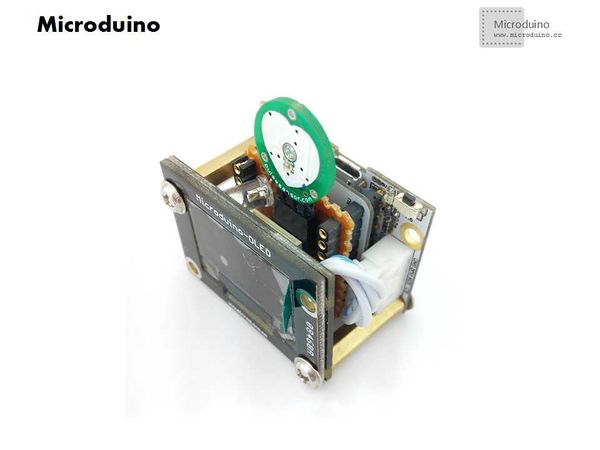
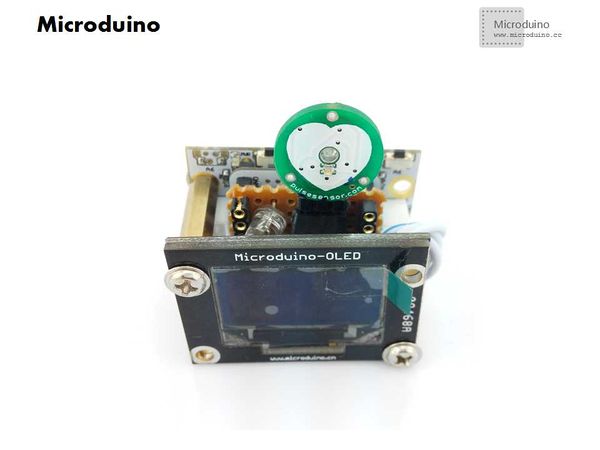
- OLED using Microduino Cube - S1 to connect, no need weld IIC communication pins (SDA and SCL), but the player can set aside on OLED interface.
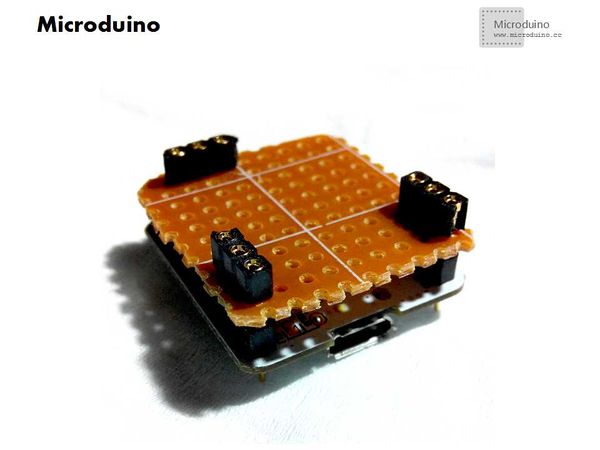
- Step 2:Set up hardware and test whether the welding is correct
Assembly Microduino Core, Microdino FT232 and welding board, then power on to check if the sensor indicator light.
- Start IDE, open "Microduino_Pulse_measurement" program, compile it and then download:
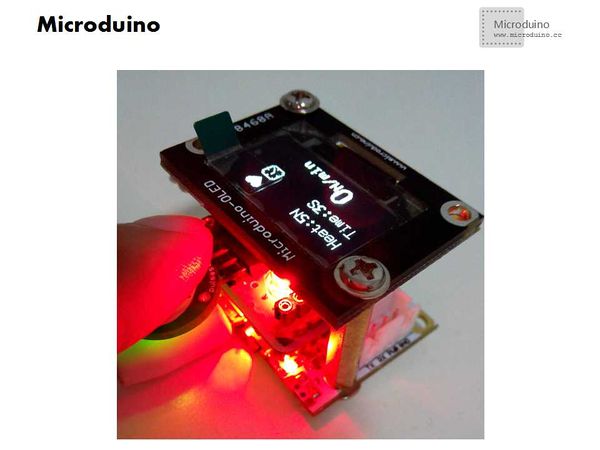
Put the finger on the sensor, observe whether LED is in a simulated heart beating
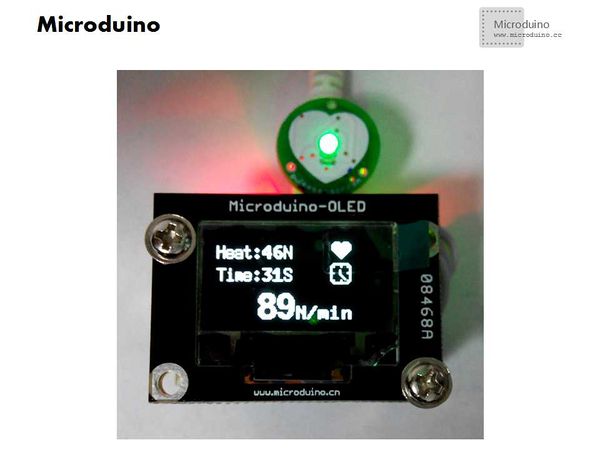
OLED data can be seen in changes, including the heartbeat, time, times in one minute. From detection to the heart of the first ten seconds is expected to jump how many times in one minute.
Result
- Use the LED to simulate the heart beating.
- OLED display the heartbeat, time, times in one minute.
Issues need to pay attention
- Weld sensor need more carefully.
- Can't delete the Interrupt in program.
|
