Microduino ENC Network (3)
| Language: | English • 中文 |
|---|
ObjectiveThis tutorial will show you how to connect and retrieve data from a web site. Equipment
DNSUsually you contact a website typing its name (such as http://www.microduino.cc), your PC, using a DNS server, is able to resolve that name into the corresponding IP address to perform the connection. It’s so very important to configure in Microduino the IP address of the DNS server in your network: if the configuration comes from a DHCP server, usually Microduino will be able to automatically get also DNS server; if the configuration is entered manually, you need to include the IP address of your DNS server when calling the staticSetup() method: Schematic
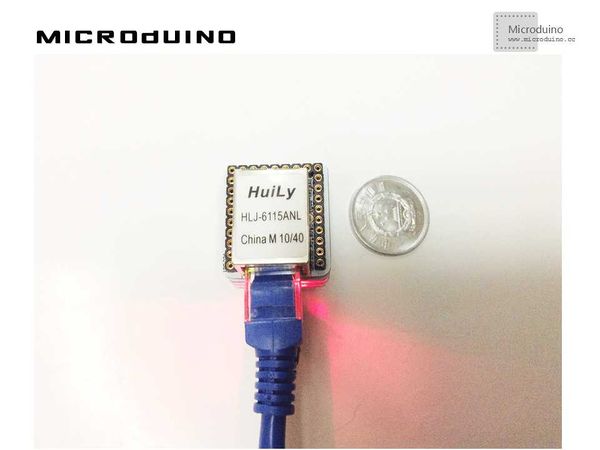
Stack all modules and then connect the ethernet cable, as follows:
ProgramDownload the program: https://github.com/Microduino/Microduino_Tutorials/tree/master/Microduino_ENC/ENCnetworkthree DebugStep 1: Download the EtherCard library and copy to your libraries fold of IDE, then restart IDE. https://github.com/jcw/ethercard Step 2: Explain the program: To make the following example more realistic, use a simple PHP web page that sends a random aphorism every time you connect (aphorisms from Aphorisms Galore): http://www.lucadentella.it/demo/aphorisms.php You'll write code to get those aphorisms and print them to serial connection. You can verify if name resolution works using dnsLookup() method: EtherCard library has a very handy method to connect to a website: browseUrl(). This method prepares the connection; which is completed in following steps performed – during the loop - by the two instructions you already learned: browseUrl() method needs some parameters: prog_char *urlbuf, address' fixed part; const char *urlbuf_varpart, address' variable part; prog_char *hoststr,website's name; void (*callback)(byte,word,word)), the name of a callback function, that is the function the library invokes at the end of the connection. Callback: The callback function contains the "actions" you want to execute at the end of the connection; in this example just the print of what you got through serial connection. You can choose the function name, but you have to declare it with the following parameters: static void response_callback (byte status, word off, word len) The first parameter contains the connection status, the second one the buffer offset from which the response is stored and the third one the response length. To understand the meaning of the offset parameter, you have to notice that all the data sent and received from ethernet connection is stored in the buffer we defined: byte Ethernet: buffer[700]; That buffer contains, when you receive data, the whole packet - including the fields for the header, checksum… Offset value tells you where the payload starts, that is where the website response is. A callback function to print the response is: static void response_callback (byte status, word off, word len) { Serial.print((const char*) Ethernet::buffer + off); }
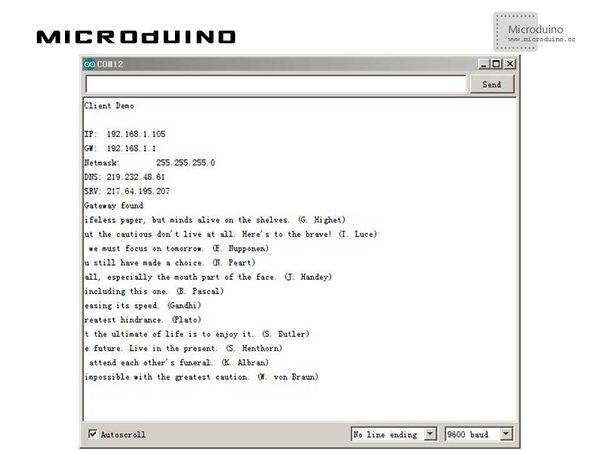
Step 4: Check the output of the serial port. ResultIf no other issues, you can see following result: Video |

