Microduino ENC Network (4)
| Language: | English • 中文 |
|---|
ObjectiveThis tutorial will show you how to power on a PC using the wake on Lan feature and your Microduino. Equipment
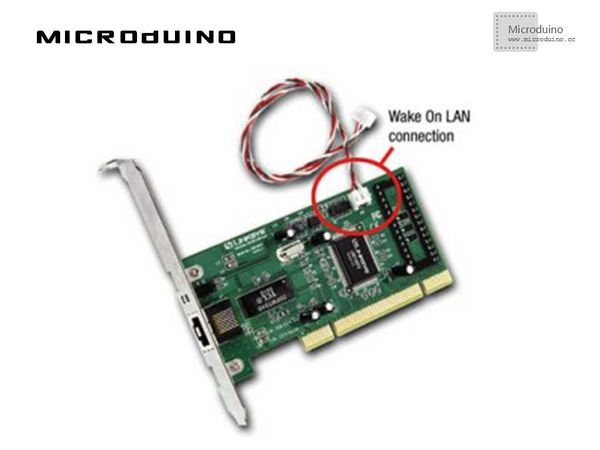
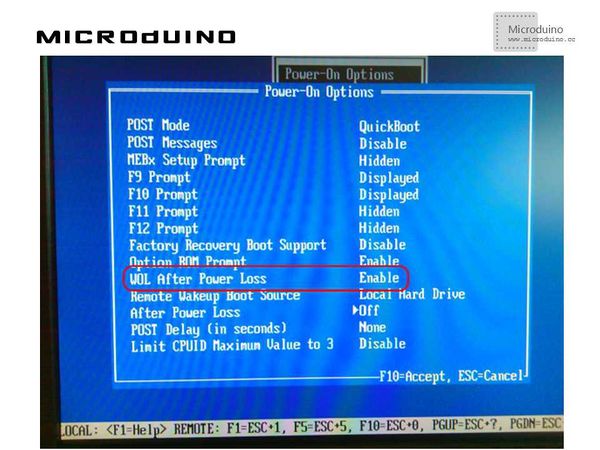
RequirementsAlmost all the actual network adapters have a feature called Wake on Lan, that is the ability to “wake” the PC with a special command sent through the network. Two main requirements to use this feature: if your network adapter is not embedded in the motherboard, you have to connect them with a cable the WOL functionality has to be enabled in the BIOS: A typical limit in WOL usage is that network adapter isn’t able to wake the PC if it was shut down by power loss. Actually, recent motherboards can enable WOL functionality even after a power loss; you can configure this feature in motherboard’s BIOS: Magic Packet: The wake command is issued sending on the network a specific packet, called Magic Packet (refer to http://en.wikipedia.org/wiki/Wake-on-LAN#Magic_packet). This packet is receved by all the devices connected to local network because it presents – as destination MAC address – the broadcast address (FF:FF:FF:FF:FF:FF). It includes six bytes valued FF, followed by the target PC’s MAC address repeated 16 times. Even if it’s not important which high level protocols you choose, it’s a convention to use UDP protocol and destionation port 7 or 9. Schematic
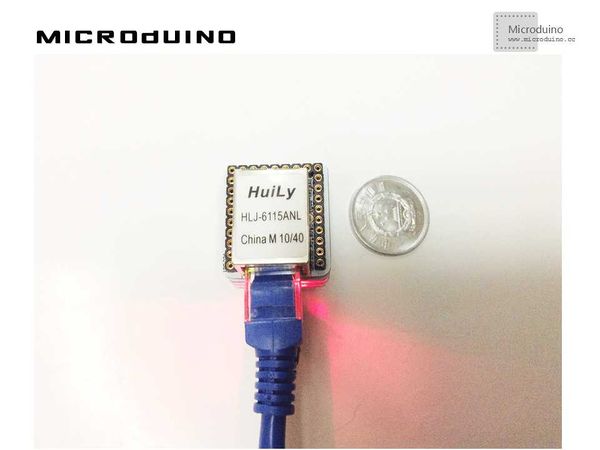
Stack all modules and then connect the ethernet cable, as follows:
ProgramRefer to ENCnetwork4 DebugStep 1:Download the EtherCard library and copy to your libraries fold of IDE, then restart IDE. https://github.com/jcw/ethercard Step 2:Explain the program: Note: EtherCard library had a bug in the Magic Packet creation. I solved the problem and my change has been accepted in the official repository: so make sure to download library’s latest version You can use sendWol() method to send the Magic Packet; that method needs target PC’s MAC address as a parameter: static byte targetmac[] = {0x00,0x1A,0x4B,0x38,0x0F,0x5C};
...
ether.sendWol(targetmac);
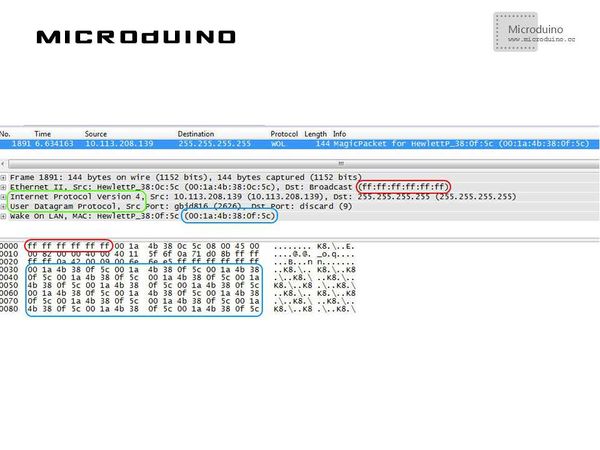
Step 3:Compile the code and download it. Step 4:Using a network analysis tool like Wireshark, you can inspect the packet sent by Microduino and note that it’s correct: in red the destination broadcast MAC address in green the choice of IP and UDP protocol in light blue the target PC’s MAC address repeated 16 times ResultYou PC will be waken by Microduino. Video |


