Microduino Number Selecting and Text Messaging through the Key

From Microduino Wiki
Revision as of 09:34, 11 August 2014 by Pkj (talk) (Created page with "{| style="width: 800px;" |- | ==Outline== *Project: Long-distance application of GPRS--Button Control Text Messaging *Purpose: Inputting numbers through Microduino-Cube-V1 an...")
(diff) ← Older revision | Latest revision (diff) | Newer revision → (diff)
Jump to: navigation, search

Outline

  • Project: Long-distance application of GPRS--Button Control Text Messaging
  • Purpose: Inputting numbers through Microduino-Cube-V1 and sending the fixed short message “Hello! @Microduino”. This is the smallest “phone” I’ve ever seen.
  • Difficulty: High
  • Time-consuming: 5-Hour
  • Maker:Microduino Studio-PKJ

Bill of Materials

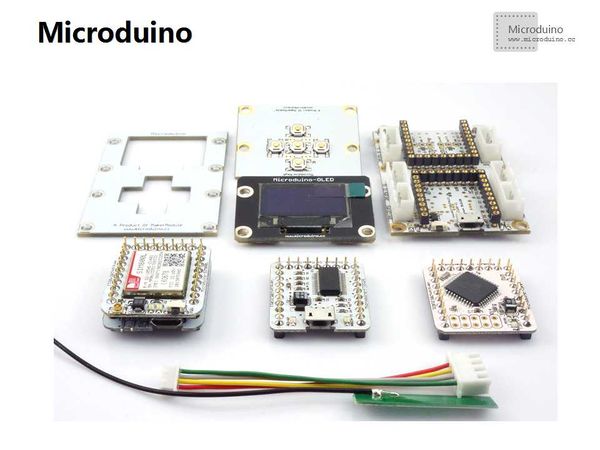
  • Microduino Equipment
Module Number Function
Microduino-Core+ 1 Core Boards
Microduino-FT232R 1 Download Program
Microduino-GPRS/GSM 1 Text Messaging
Microduino Cube-V1 1 Number Setup
Microduino OLED 1 Display
  • Other Equipment
USB cable 2 Data download & Power supply
SIM card 1 Sending short message
Microduino-GPRS-V1.jpg

Document

OLED drive library download: https://github.com/Microduino/Microduino_Tutorials/tree/master/Microduino_Libraries/_01_Microduino_OLED_MultiLCD

Example Program Download: https://github.com/Microduino/Microduino_Tutorials/commit/80ae5bd5ef867643fb8f22ef250dbf6dfecbf47b

Debugging

  • Step 1: Build the circuit system

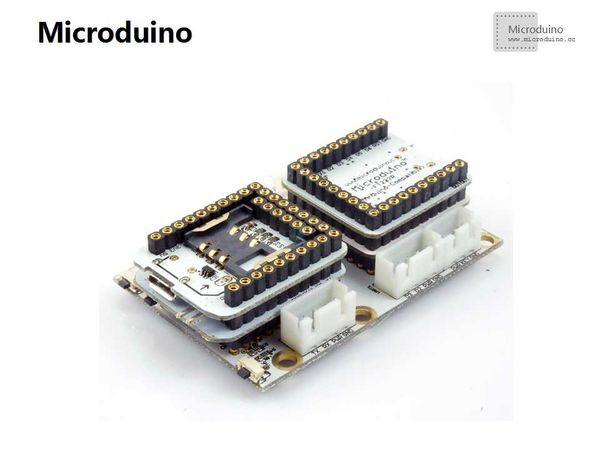
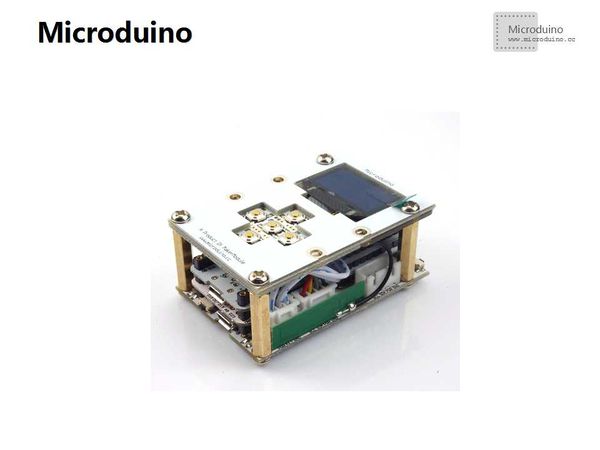
Stack modules needed to the UPIN27 base of Microduino-Cube-V1

Microduino-GPRS-setup1.jpg

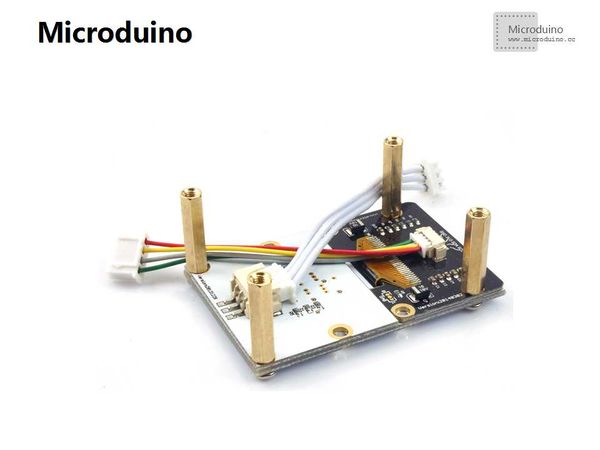
You need to connect Microduino-OLED to the IIC interface of the base through the connector and connect the simulated control panel to the corresponding simulated button interface of the base through jumpers. (The simulated interface can be detected through A7 pin.)

Microduino-GPRS-setup2.jpg
Microduino-GPRS-setup3.jpg

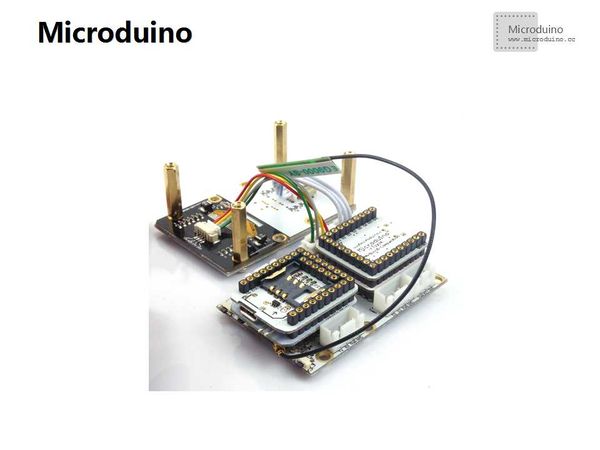
Build up the whole circuit.

Microduino-GPRS-setup4.jpg
  • Step 2: Microduino-GPRS/GSM power supply

There are two ways to supply power for Microduino-GPRS/GSM, including power supply by the micro USB cable and by Li-ion battery. Just choose one you like.

Microduino-GPRS-power.jpg
  • Step 3: Program debugging

The initializing number: Users can change the number as they like and store it into the array.

byte num[12] = 
{ 
    1, 8, 6, 7, 9, 2, 3, 8, 1, 2, 3 
};

The fixed short message: Users can change it as they like and save it into the character strings.

#define text "Hello! @Microduino"

Sending short messages through AT instructions

void SMS_sms(byte *c_num, char *c_text) 
{ 
    Serial1.print("AT+CMGF=1\r"); 
    //Because we want to send the SMS in text mode 
    delay(100); 
    while(Serial1.available()) Serial.write(Serial1.read()); 
 
    Serial1.print("AT+CMGS=\"+86"); 
    for(int a = 0; a < 11; a++) 
        Serial1.print(c_num[a]); 
    Serial1.println("\""); 
    delay(100); 
 
    Serial1.println(c_text);//the content of the message 
    delay(100); 
 
    Serial1.println((char)26);//the ASCII code of the ctrl+z is 26 
    delay(100); 
 
    Serial1.println(); 
    while(Serial1.available()) Serial.write(Serial1.read()); 
}

System Test

Step 1: Make sure the hardware buildup is right

  • Make sure the OLED and the connector of the simulated keyboard is correct;
  • Users can choose different power supply method as required.

Step 2: Start Microduino-GPRS/GSM

  • Press the power key for about 3 seconds and the green light indicates a successful start.

Step 3: Download the program

  • Connect it to Microduino-FT232R through micro USB cable and make the system connected with the computer;
  • Choose board Microduino Core+ (Atmega644P@16M,5V) and make sure the serial port is right, then download directly after getting compiled successfully.

Step 4: Set the number

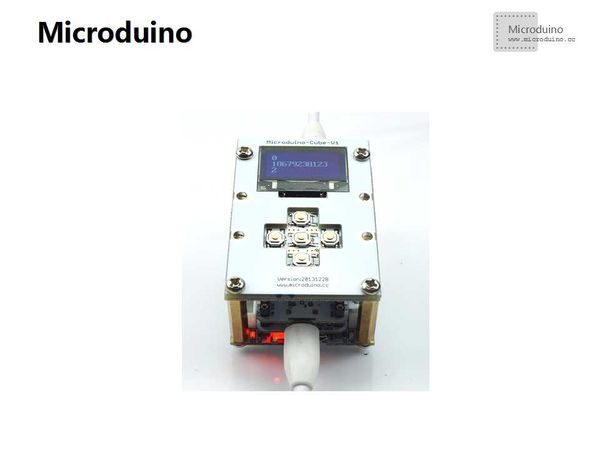
  • Change the sw value through the keys(left and right) to check where the numbers are, and check the number through the keys( up and down) .

Step 5: Send the short message

  • Just press the middle key and send the short message after making sure the number is right. The content as well as the number will be displayed on the OLED screen.

Test &Verify

  • Wait and see if the phone receives the message.

Notice

  • You need to connect the OLED wire to IIC pin and the button to the simulated button interface of the base;
  • If the system is powered on and off, you can try another power with higher current.