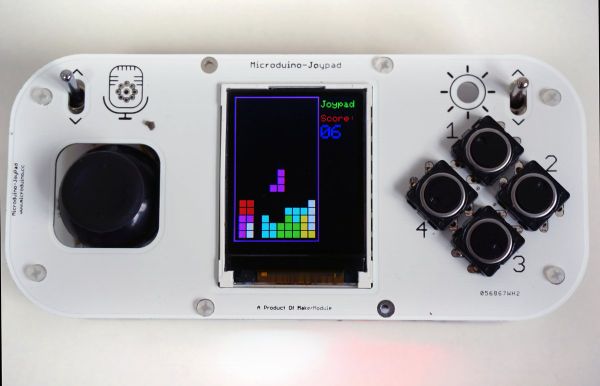
Joypad-Game-Tetris
ContentsOutlineUse Microduino-Joypad-Game to play Tetris. Bill of Material
DownloadTFT library: https://github.com/Microduino/Microduino_Tutorials/tree/master/Microduino_Libraries/_01_Microduino_TFT_ST7735 Joypad lib: https://github.com/Microduino/Microduino_Tutorials/tree/master/Microduino_Libraries/_08_Microduino_Shield_Joypad Code: https://github.com/Microduino/Microduino_Tutorials/tree/master/Microduino_Joypad/Microduino_JoyPad_Game/Microduino_JoyPad_teril Debugging
Microduino-Joypad_Getting_start
      if(Joypad.readButton(CH_SWITCH_R))
      {
      if(Joypad.readButton(CH_SWITCH_2)==0)
      joyx=100;
      else if(Joypad.readButton(CH_SWITCH_4)==0)
      joyx=-100;
       if(Joypad.readButton(CH_SWITCH_1)==0)
      joyy=-100;
      else if(Joypad.readButton(CH_SWITCH_3)==0)
      joyy=100;
      else if(Joypad.readButton(CH_SWITCH_1)==1&&Joypad.readButton(CH_SWITCH_2)==1&&Joypad.readButton(CH_SWITCH_3)==1&&Joypad.readButton(CH_SWITCH_4)==1)
      {
      joyx=0;
      joyy=0;
      }
      }
      else
      {
      joyx = map(Joypad.readJoystickX(), -280, 300, 100, -100);
      joyy = map(Joypad.readJoystickY(), -300, 230, -100, 100);
      }
Button control is the default setting by turning the left and the right switches to the top. So, the opposite operation is gravity induction control. Users can change the setting according to personal needs.
Joypad.motor(0);//Close
Joypad.motor(X);//0-255 Vibration can be adjusted
digitalWrite(speak,LOW);//Close
digitalWrite(speak,HIGH);//Open
Step 5: Compile the code and select the right board and COM port for download. After that, you can start to play. The sore is on the right top. Users can also try to use gravity induction control according to individual needs. |
