Microduino Intelligent Design of Laptop Base

From Microduino Wiki
Revision as of 02:31, 12 March 2015 by 1304410487@qq.com (talk) (Created page with "{| style="width: 800px;" |- | ==Purpose== This course will show you how to use temperature to control electric fan and to design an intelligent laptop base. ==Equipment==...")
(diff) ← Older revision | Latest revision (diff) | Newer revision → (diff)
Jump to: navigation, search


Purpose

This course will show you how to use temperature to control electric fan and to design an intelligent laptop base.

Equipment

Module Number Function
Microduino-Core 1 Core board
Microduino-USBTTL 1 Program download


  • Other Equipment
5v DC fan One
Bread jumper wire One box
Micro USB cable One
LM35 temperature sensor One

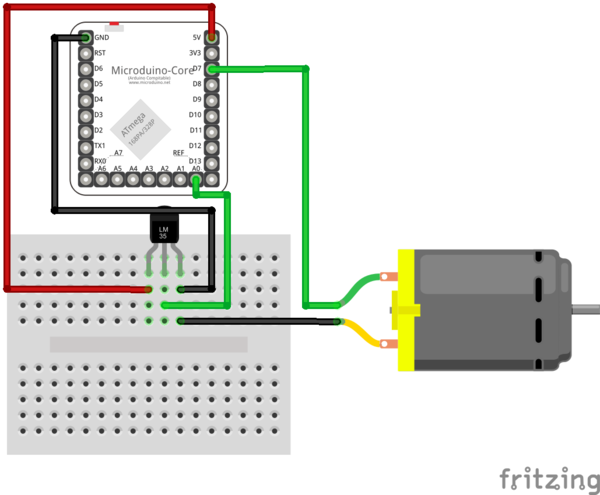
Schematic

TempControlFanSechmatic.png


Program

https://github.com/Microduino/Microduino_Tutorials/blob/master/Microduino_Advanced_Tutorial/MicroduinoTempContrlFan.rar

Debugging

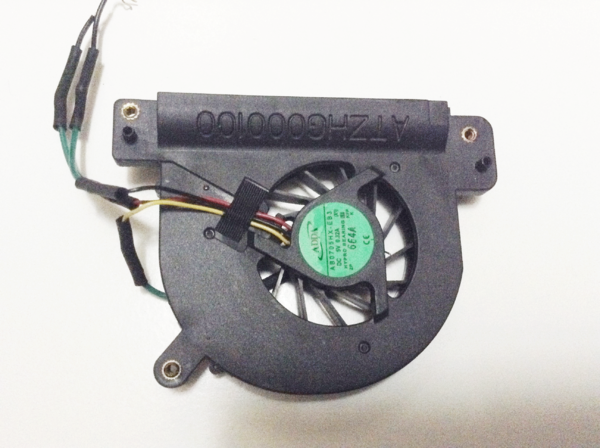
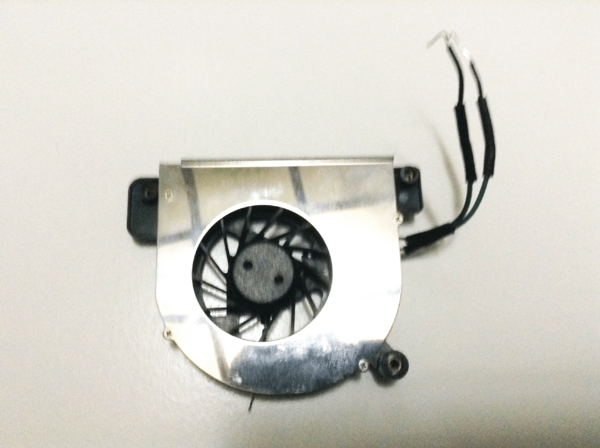
Step 1: Find a fan, such as a DC 5V 0.32A fan from the editor’s laptop. Have a little change about pins and make it suitable for breadboard. Just like this:

TempControlFan1.png
TempControlFan2.png


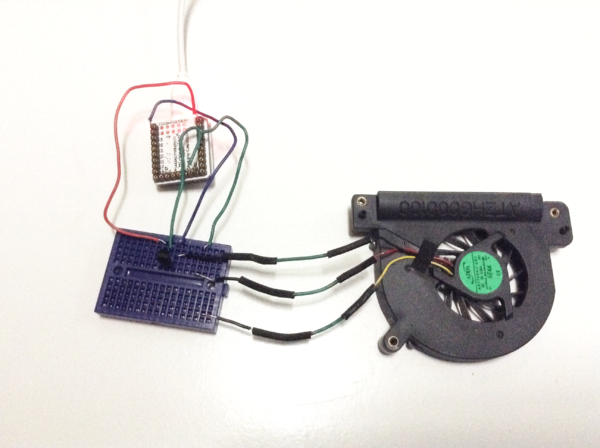
Step 2: Build the circuit according to schematic:  

TempControlFan3.png


Step 3: Download the code and compile. If there is no rotation, it means the detected temperature is below 23℃, which is the initial value of the code. You can take a hot water cup close to the temperature sensor. The higher the temperature is, the faster the fan rotates.

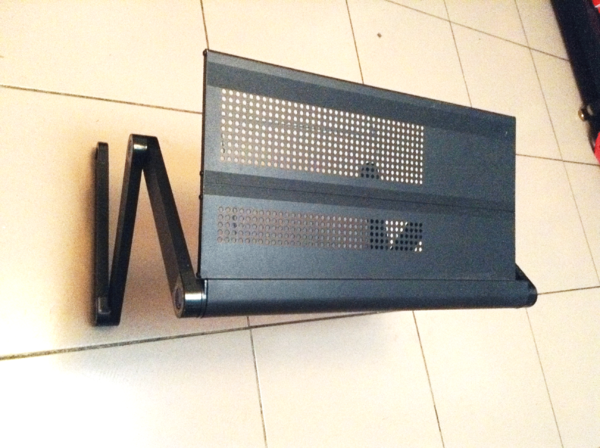
Step 4: Make use of the principle to cool your laptop. Here we adopt a simple Bed’nTable as the support:

TempControlFan4.png


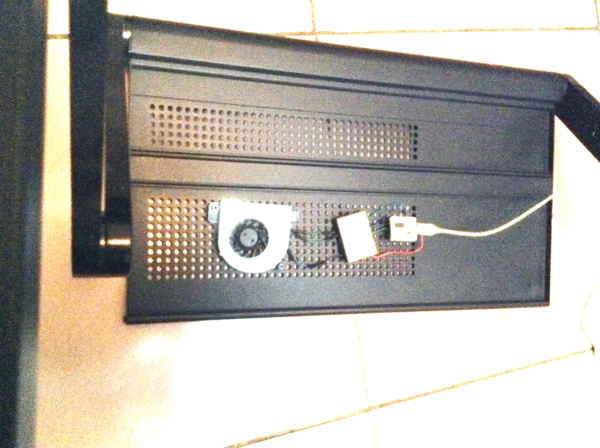
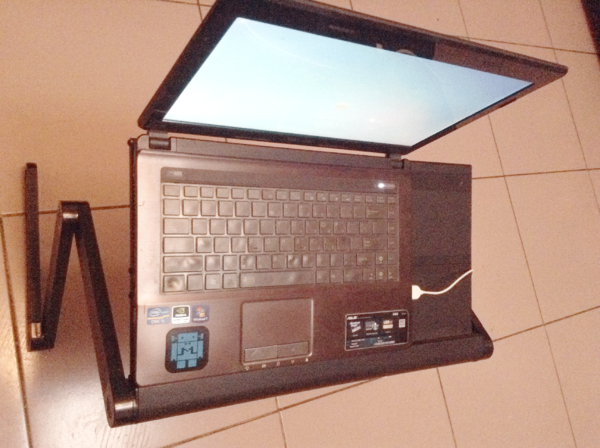
Take the sensor and fan near and below the CPU of the laptop:

TempControlFan5.png
TempControlFan6.png

Result

This smart laptop base can control temperature and be powered by USB cable.

Video