Lesson 47--Microduino Audio Spectrum & Video Output
ObjectiveThis course will show you how to use Microduino to get sound signal and display audio spectrum via FFT(Fast Fourier Transform) on your TV. Equipment
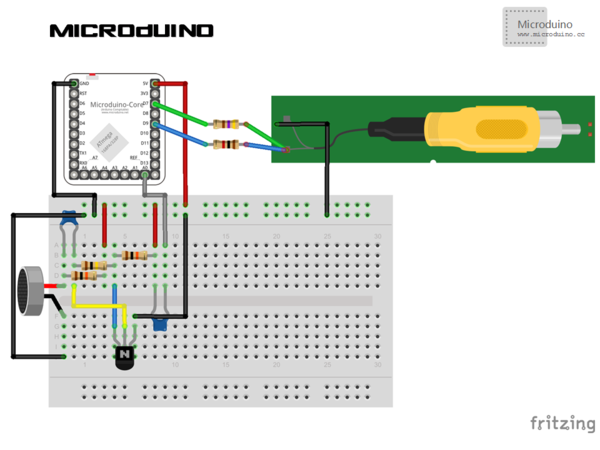
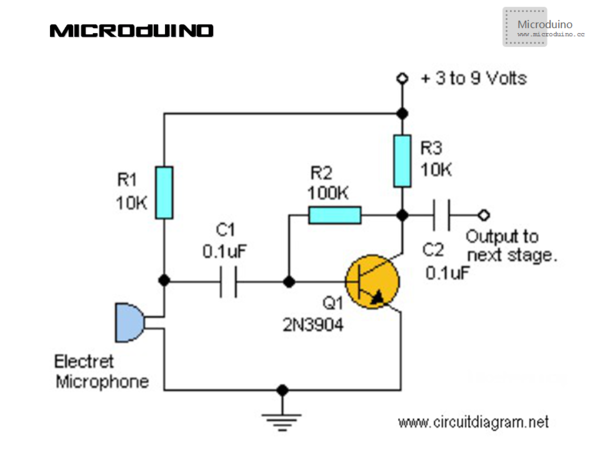
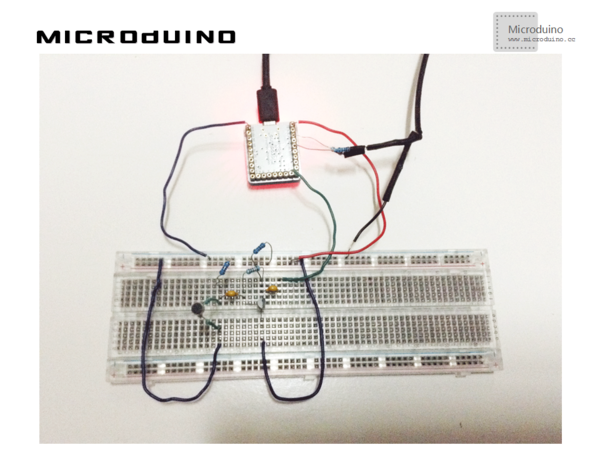
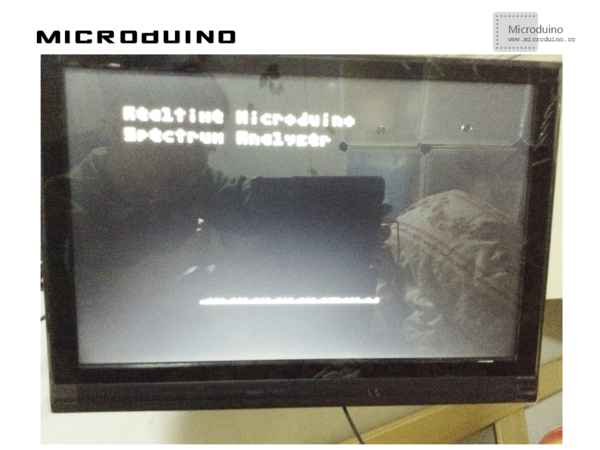
SchematicProgramDebuggingStep 1: First, we need an electric microphone to build a device that can receive sound signal, as follows: Connect the output terminal to Microduino's A0 port, you can use A0 output value to judge the circuit buildup. Step 2: Make RCA line, connect it to Microduino. For details, please refer to Microduino video output tutorial: Here is the well-built circuit: Step 3: Download the code and run. Program functions in: 1. Read data off A0 port. 2. Cut data for some time and process it with FFT. 3. Display the well-processed data in the way of scetches and lines. 4. That cycle repeats It is displayed as follows: ResultYou’ll see audio spectrum on displayer. Video= |


