MCookie-module-CoreUSB
Contents
Function of the Module
- You can refer to: MCookie-CoreUSB
Example 1: "Hello Word!"
Overview
How does your computer communicate with mCookie? The serial port plays an important role here. We can use the serial monitor to debug data or give control instructions to core module through the serial port.
Bill of Material
- Module List
- Other Material
- USB cable
Installation Steps
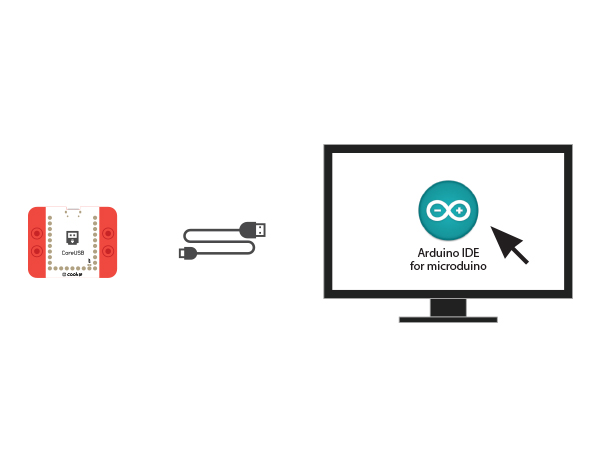
Step1:Connect the CoreUSB to the computer via a USB cable.
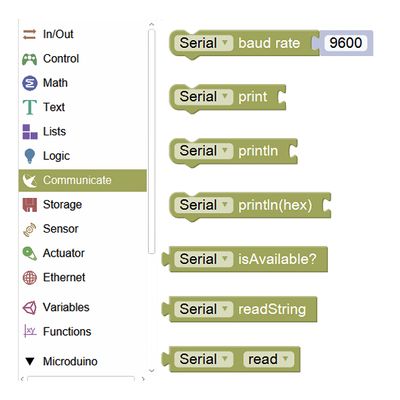
Step2:Open Mixly software; Set the baud rate of the serial communication. The baud rate is a speed of communication and the serial monitor should be consistent with it, which can be found in the communication control.
Step3:Find "Print" under the item of "Control", which can print the information you want in the serial monitor. It'll wrap automatically after printing and print next information.
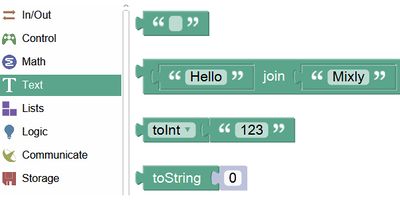
Step4:Fill in the content you want to print in the item of "Text", which must be English characters.
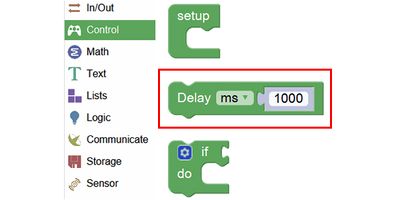
Step5:Find "Wait and delay time" in the item of "Control", which means it'll delay for a while and then perform other.
Step6:See syntax description after buildup.
Debugging
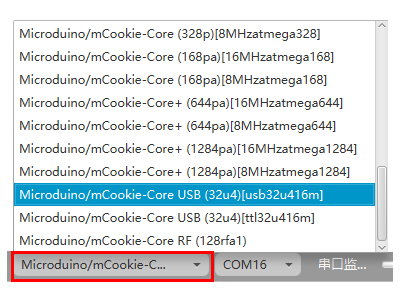
Step1:Select the right board card(Core USB 32U4) and COM port(Recognized automatically by default).
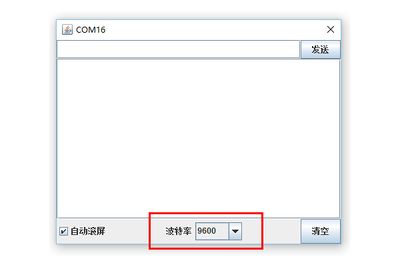
Step2:Open the serial monitor.
Step3:Make sure the serial baud rate is the same with the pre-set one.
Step4:You can see " Hello Word!" printed on the serial monitor every second.
