How to Use Microduino to Transmit Morse Code
|
Contents[hide]PurposeThis tutorial will show you how to use Microduino to transmit Morse code. Equipment
Morse Code
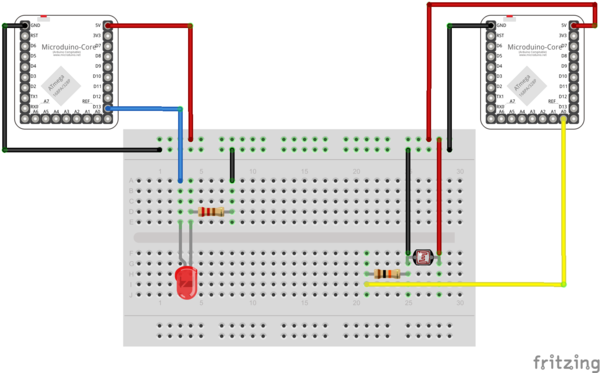
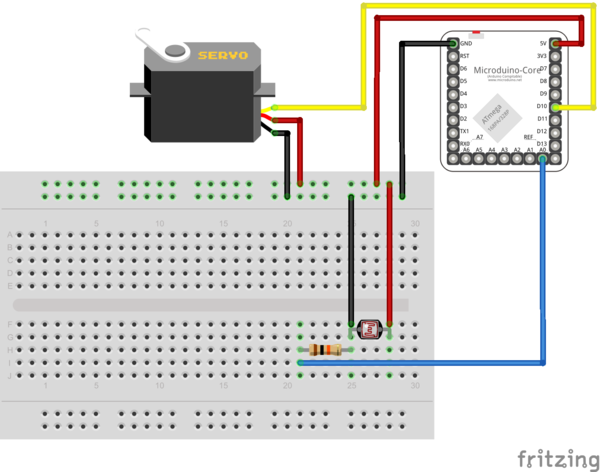
SchematicTest 1: The left and the right are transmitting and receiving end respectively. Test 2:
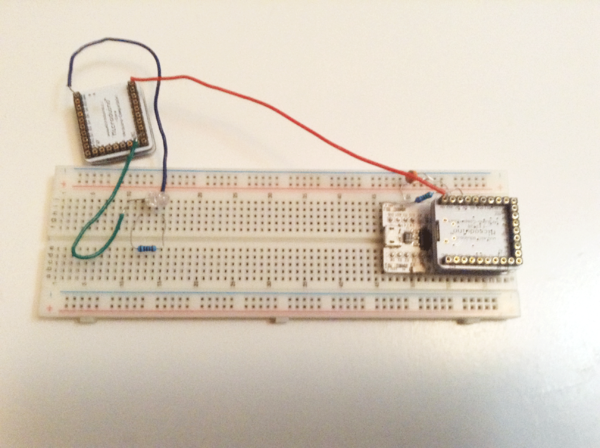
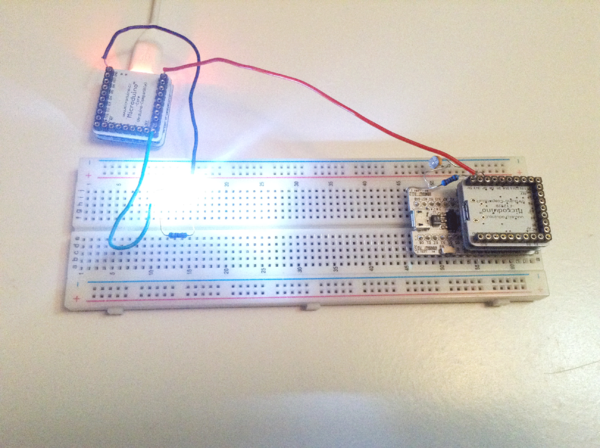
ProgramDebuggingTest 1: Step 1: Build the circuit according to Test 1, as follows: Step 2: Download the code of Test 1. Code of transmitting end: MicroduinoMorseSender.ino Code of receiving end: MicroduinoMorseReciver.ino
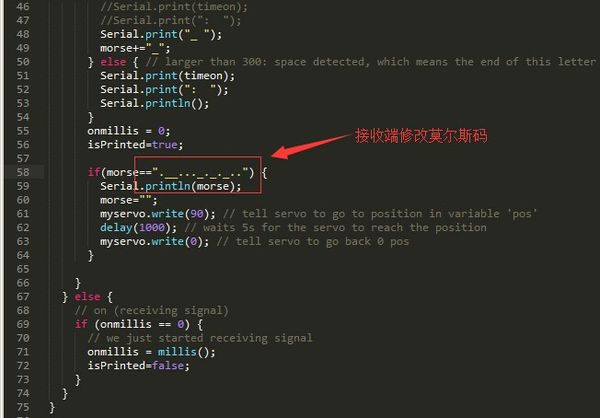
Step 4: The initializing password of the program is abcd. You can check the receiving information in the serial output of the receiving end.
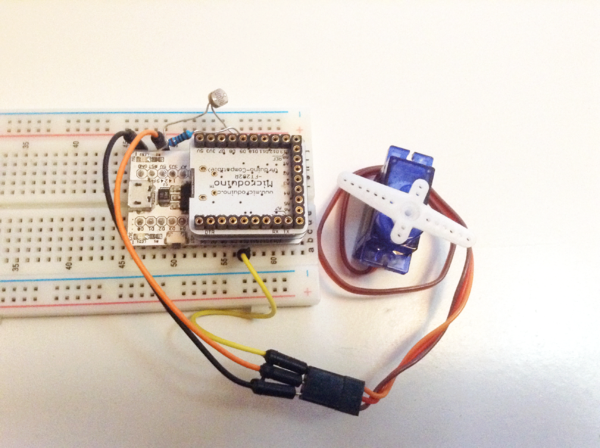
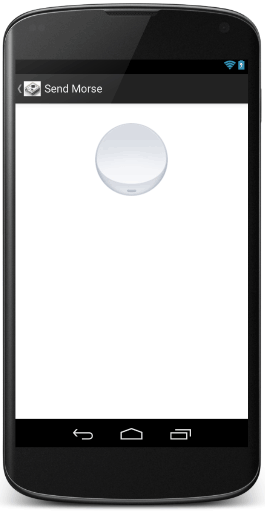
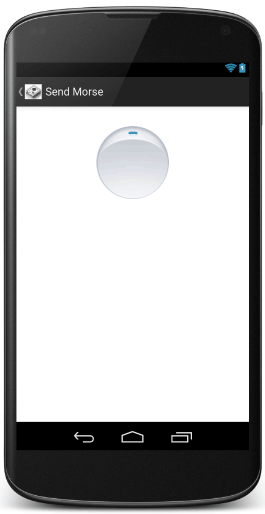
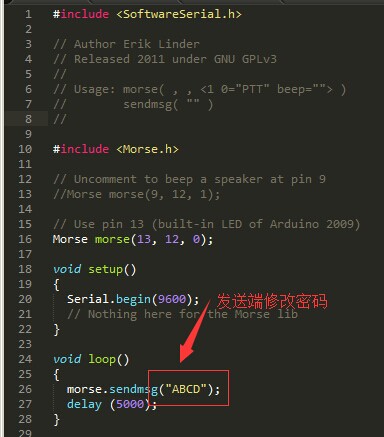
Step 5: Build the circuit according to Test 2, as follows: Step 6: Download the code of Test 2. Android phone app: app-debug.apk Android phone app receiving end: MicroduinoFlashMorsReciver.ino Step 7: Compile and run the code of Test 2. Step 8: Install FlashMorse.apk in your android phone. And if there is app icon below, it means successful installation: Step 9: Open app with initial interface. First, you need to input the password you want to set. (Since the initial password in the receiving end is abcd, so here you'd better input abcd.): Click and enter. Put the flashing light of the phone close to the photosensitive resistor and then click "switch" button: Meantime, the flashing light will send Morse code according to flashing frequency.You can tell Morse code receiving by checking whether the steering engine runs or not. Step 10: By change the password of the program, you can reset your own password:ResultThe transmitting end can deliver Morse code by light transmission and the receiving end can tell if it is the fixed password by photosensitive resistor and then react correspondingly. Video |

