Objective
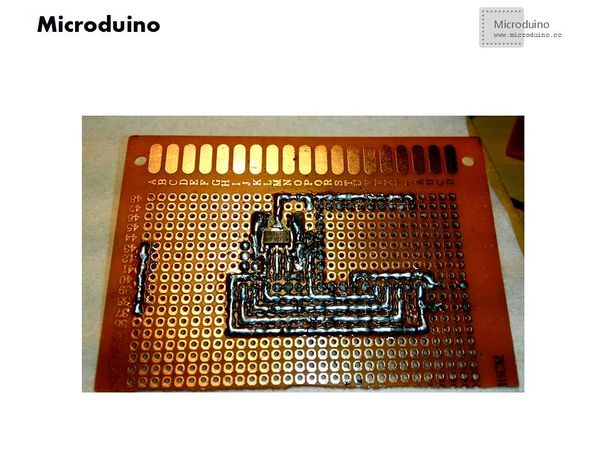
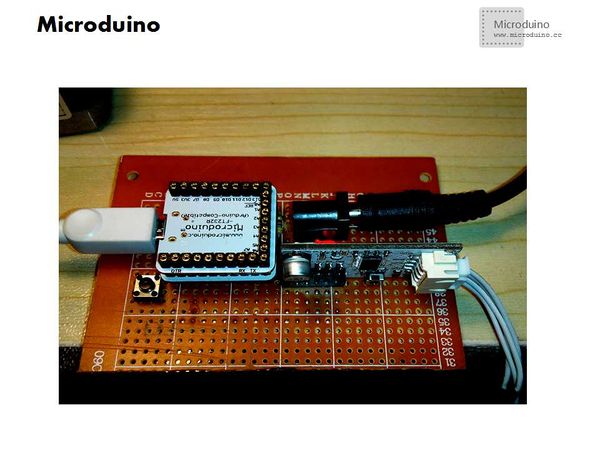
This tutorial will show you how to control the stepping motor by Microduino-Stepper module, and welding the stepping motor control board.
Equipment
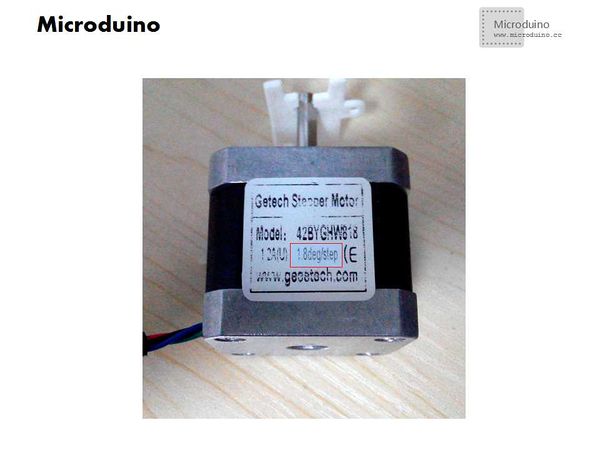
Stepper motor
- Connection method for the stepping motor:
Connect the stepper motor to Microduino-Stepper module:
- Four wire two phase stepper motor has two sets of coil A and B, each group coil's resistance is very small, only a few ohm. A and B group is absolutely insulation and disconnected. Measured with a multimeter, connected is a set;
- After measured group A and B, connect one group coil to OUT1A and OUT1B, the other group coil connects to OUT2A and OUT2B;
- By changing the MS1 & MS2 to change the stepping mode (Microduino-Stepper uses 1/16 stepping mode by default).
Stepper motor parameters: 1.8deg/step, that is stepper motor moves one step turned every 1.8°.
- Step number=360/1.8*16=3200 step
Multiplied by 16 because Microduino A4982 default use 1/16 step mode.
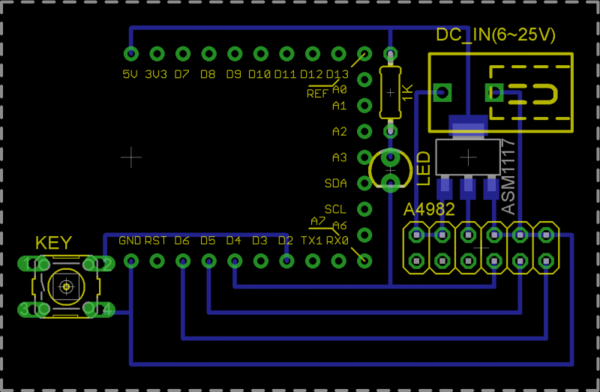
Schematic
Debugging
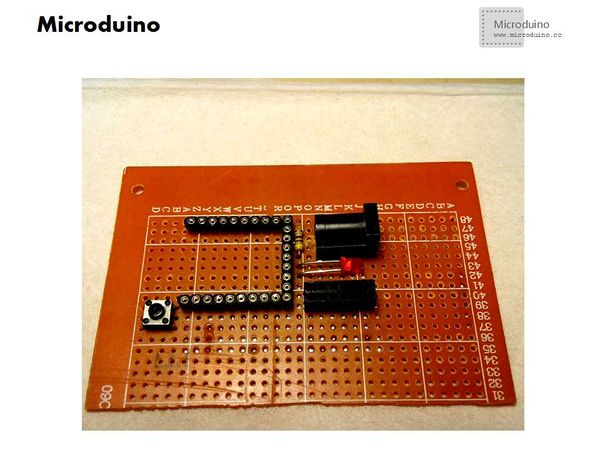
- Step 1: Crop the pegboard as specified size;
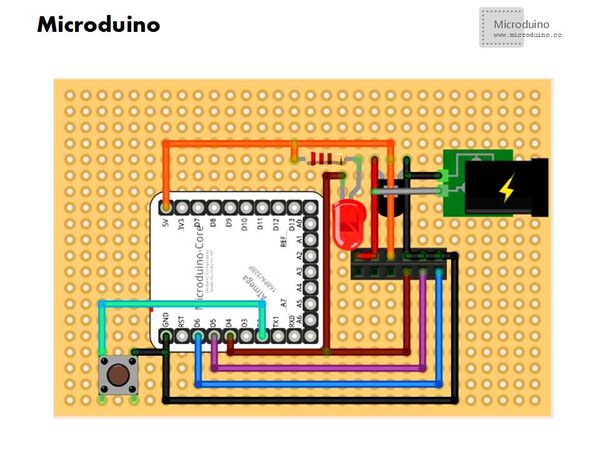
- Step 2: Determine the Microduino's base position, then welding the circuit according to the schematics:
Programming
- Used library: 【AccelStepper librarygithub下载 】
- Download test program:File:Program Test A4982.zip
- Compile it and select the correct board type to download.
- Test
- Connect power (6-25V), the motor won't move in initial state;
- Press the button, the stepper motor will rotate as settled pace, and LED indicator lights, reverse rotation after a few laps, the cycle repeated;
- Press the button again, close the drive, LED indicator turn off.
Result
We can control the four-wire two-phase stepping motor successfully by Microduino-Stepper module.
Video
http://v.youku.com/v_show/id_XNjg5MTcwOTA0.html
|
