Lesson 4--Microduino Phone Dialer
| Language: | English • 中文 |
|---|
Contents[hide]ObjectiveThis lesson will show you how to generate dual tone multiple frequency signal by Microduino. How to make a call? The answer is very easy: Picking up the receiver, press the phone keypad to dial the number. But have you think that no need to press the phone keypad still can make a call? The answer is yes. So we will introduce how to generate dual tone multiple frequency signal bye Microduino. Usage introduction: Picked up the phone, and put the speaker close to the microphone. Send the phone number by the serial, wait for a moment call will be set up. Extend the usage: Drive switch simulates phone pick machine, using this circuit dial-up, and then Microduino controls the voice module (WT588D, etc) send different voice to the phone line. To complete a whole automatic dialing machine which can make alarm, or telephone reminders. Equipment
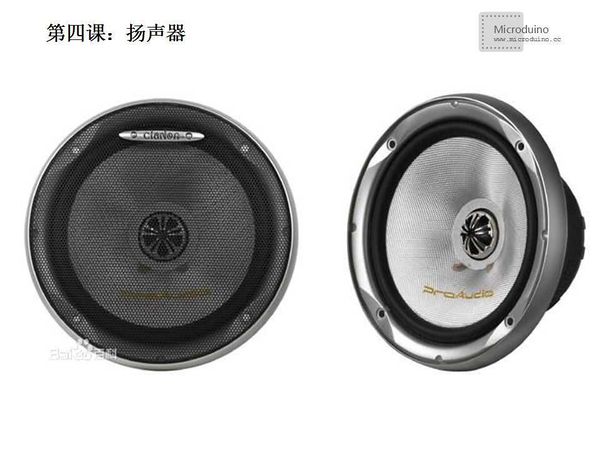
Speaker The structure and working principle Electrodynamic speaker is the most widely used, it is divided into cone type, drum and dome-shaped. Here only the first two. Here introduces the first two only.
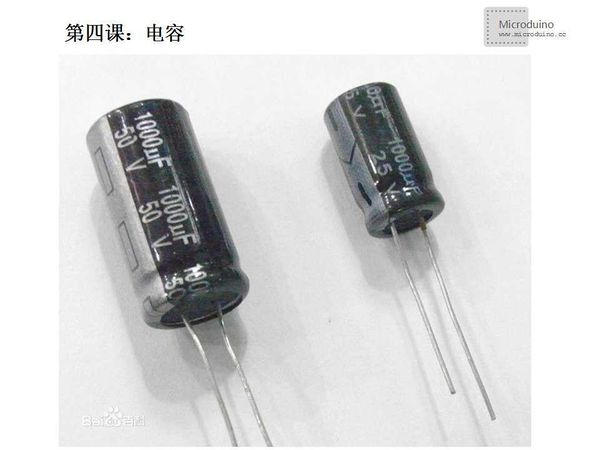
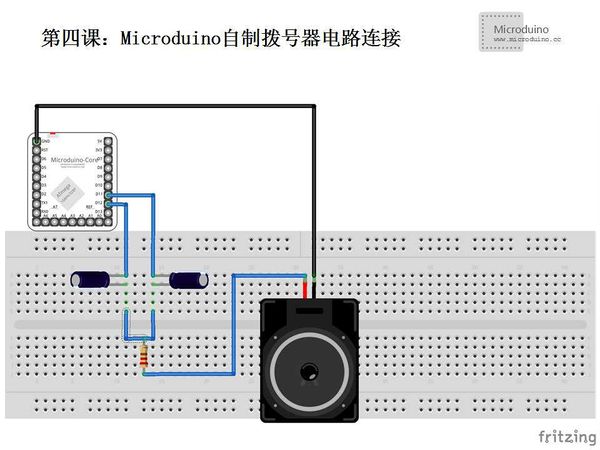
2. Drum speaker Drum speakers comprise vibration system (high) and the trumpet. Vibration system similar to the cone speaker, the difference is its diaphragm is not paper bowl, but a ball shaped diaphragm. Diaphragm vibration through the trumpet (Two reflection) to the radiation sound wave in the air. It has high frequency, the volume is big, often used for outdoor amplification and square. Capacitance Short for capacitors, is one of the extensive used electronic components in electronic equipment, widely used in every straight, coupling, bypass, filtering, tuning, energy conversion circuit, control circuit, etc. SchematicD11, D12 connected in parallel and series a resistor to the speaker's signal line, the GND of speaker connected to Microduino's GUN. ProgramDownload program: https://github.com/Microduino/Microduino_Tutorials/tree/master/Microduino_Advanced/MicroduinoPhoneDialer /*
Generate dual tone multiple frequency signal by Microduino
Ansifa 2011/11/27
*/
#include <Tone.h>
String Phone_Number = "";
int i = 0, mark = 0;
//Define freq1, freq2 as the Tone instance, and define the frequence of DTMF
//DTMF frequency, refer to: [url]http://zh.wikipedia.org/zh/%E5%8F%8C%E9%9F%B3%E5%A4%9A%E9%A2%91[/url]
Tone freq1;
Tone freq2;
const int DTMF_freq1[] = {1336, 1209, 1336, 1477, 1209, 1336, 1477, 1209, 1336, 1477};
const int DTMF_freq2[] = {941, 697, 697, 697, 770, 770, 770, 852, 852, 852};
void setup()
{
Serial.begin(9600);
//Define the video pin on D11,D12
freq1.begin(11);
freq2.begin(12);
}
void loop()
{
//Read the serial data and compose string Phone_Number
while (Serial.available() > 0)
{
Phone_Number += char(Serial.read());
delay(2);
mark = 1;
}
//Play DTMF audio, the call number come from Phone_Number, duration time is 200ms, the interval is 300ms
PlayDTMF(Phone_Number, 200, 300);
//If received the number, then clean the Phone_Number, and reset mark
if(mark == 1)
{
Phone_Number = "";
Serial.println();
mark = 0;
}
}
/*
DTMF play function
Call format: playDTMF(number(0~9), duration time).
*/
void PlayDTMF(String Number, long duration, long pause)
{
//If input number is NULL, or duration < 0, or pause <0, then return to main function
if(Number.length() == 0 || duration <= 0 || pause <= 0) return;
//Split the number
for(i = 0; i < Number.length(); i++)
{
//Check the number range
if(Number[i] >= '0' && Number[i] <= '9')
{
//ASCII minus the '0', get pure Numbers
Number[i] -= '0';
//Output to serial port
Serial.print(Number[i], DEC);
//Output the first DTMF
freq1.play(DTMF_freq1[Number[i]], duration);
//Output the second DTMF
freq2.play(DTMF_freq2[Number[i]], duration);
delay(pause);
}
}
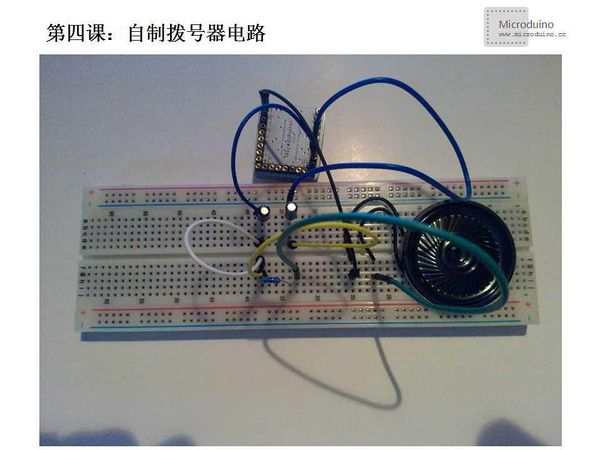
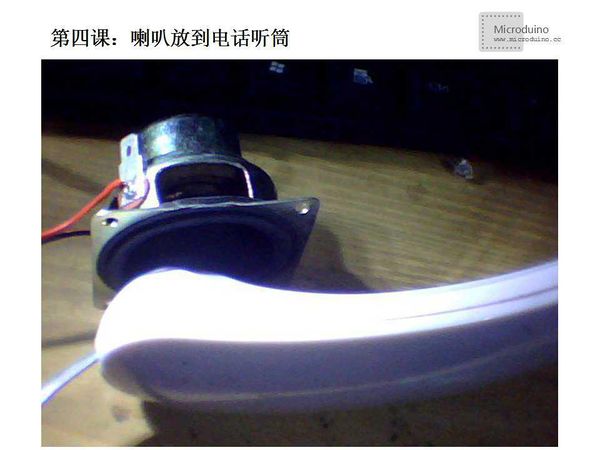
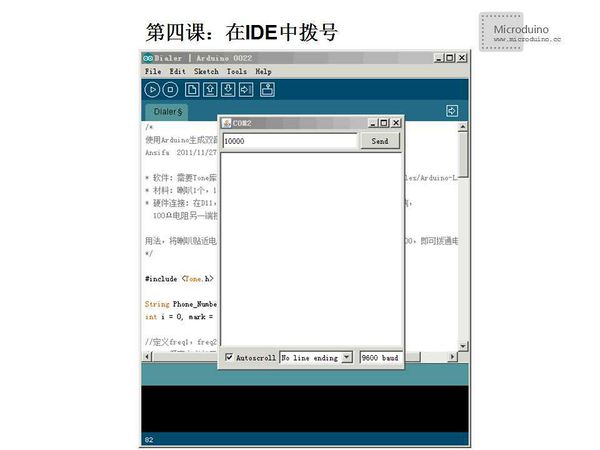
}DebugStep 1: Download the Tone library, and uncompress to arduino-0022\libraries. Compared with the own tone function, this Tone library has more functions. It can output waveforms of different frequency in multiple output pin simultaneously, but with own tone function only can output in a pin over a period of time. Note: Uncompress, change the "#include <wiring.h>" to "#include <Arduino.h>" in Tone.cpp Step 2:Setup circuit, as follows: Step 3:Complete code in IDE Step 4:Speaker close to phone and dial Setp 5:Send phone number in serial port
ResultInput phone in serial port, then set up the call. Video |
